
Embed IPTC fields for Headline, Caption, Credit, Copyright, and Object Name before you export using an AI Press Release Generator to pair your images with a properly formatted press release. Deliver a vertical, a horizontal, and a square crop, attach three or four hero shots directly to your email, and link the rest through a shared folder. That’s the whole recipe, and once you understand why each piece matters, you’ll never send a rejected file again.
TL;DR:
- Photos should be resized to at least 3600 pixels on the long edge and converted to sRGB before export to meet newsroom quality standards.
- Include complete IPTC metadata such as headline, caption, credit, copyright, and object name to prevent automatic rejection of perfect images.
- Provide multiple aspect ratios—landscape, portrait, square, and safe circle crops—matching resolution needs, with a focus on 2400 pixels for web and 3600 or more for print.
- Attach only a few hero images via email while linking the rest through a shared folder named clearly to facilitate quick access and organization.
- Build a full, well-structured press kit with consistent cropping variations, metadata, and file naming conventions to streamline article placement and avoid delays.
Table of Contents
- What Are the Press Photo Requirements Editors Actually Check?
- How to Export Your Master Files Into Press-Ready JPGs
- The Metadata Fields Editors Won’t Publish Without
- Which Crops and Aspect Ratios Should You Send?
- Planning a Shoot That Produces a Full Press Kit, Not Just One Good Photo
- How Should You Deliver Files to Editors on a Deadline?
- Building a Press Kit Editors Can Actually Navigate
- Final Checks Before You Hit Send
- A Real Mistake I’ve Seen Cost an Artist a Placement
- When a Professional Studio Is Worth It
- Sources
- FAQ
What Are the Press Photo Requirements Editors Actually Check?
Every wire service and newsroom runs incoming images through some form of automated triage before a human ever looks at them. That system reads the pixel dimensions, checks the color space, and scans the metadata fields. AP and most major newsrooms want at least 2400 pixels on the long edge for anything running online, and 3600 pixels if there’s a chance the image lands in print. Miss that threshold and your photo either gets bounced or shrunk into a thumbnail nobody wanted.
Here’s the quick reference I hand to clients before every shoot:
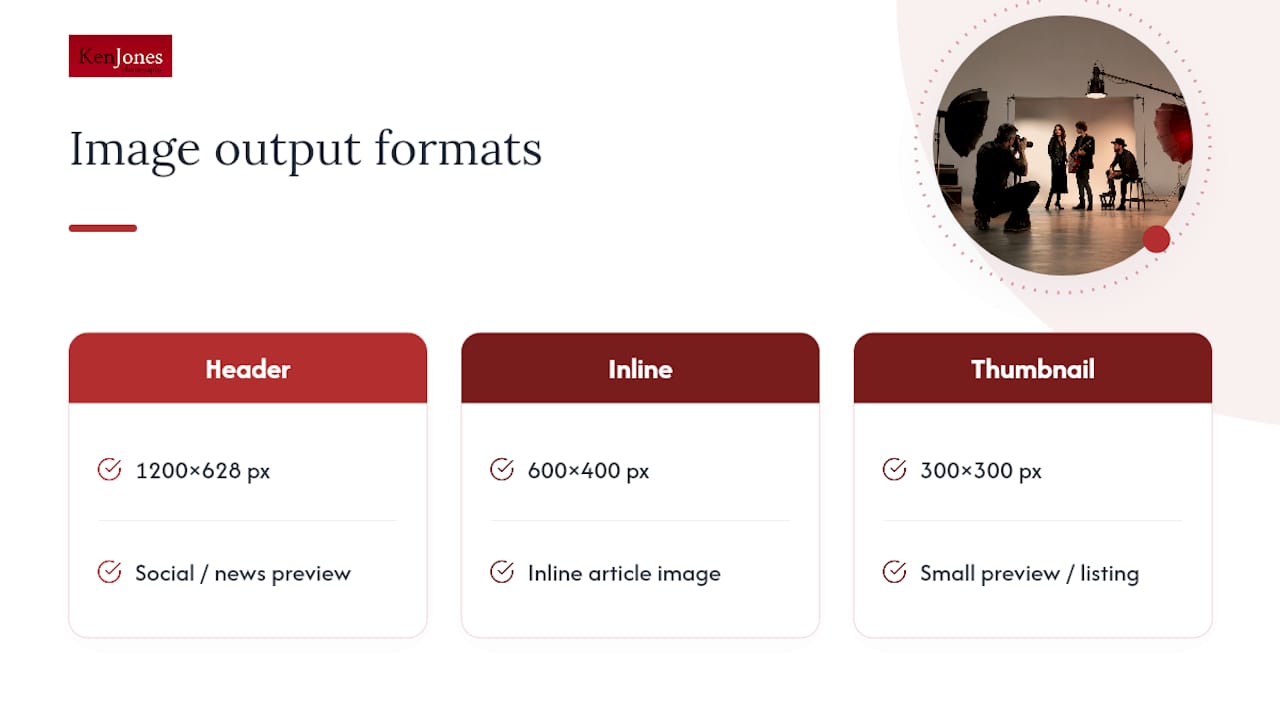
Header images for social and news previews commonly run 1200×628 pixels, with inline shots around 600×400 and thumbnails at 300×300. TIFF only makes sense when a magazine art director specifically requests a cover candidate. Otherwise you’re just making a production assistant’s inbox groan. DPI, by the way, is a printing hint baked into the file header. Editors don’t look at it. They look at pixels.
How to Export Your Master Files Into Press-Ready JPGs
You shoot RAW or capture a TIFF master because you want editing flexibility, not because a newsroom wants that file. The export step is where most submissions go wrong, and it’s a five-minute fix once you build the habit.
- Open your TIFF or RAW master in Lightroom or Photoshop and pick your hero frame.
- Resize to 3600 pixels on the long edge using bicubic sharper (best for downsizing).
- Convert the color profile to sRGB, not Adobe RGB or ProPhoto.
- Export as JPG at quality 85, which typically lands you around 4 MB.
- Run the file through a compressor like TinyJPG if you’re still over 6 MB, or use Photo Mechanic’s batch export to hit your target size automatically.
Keep the TIFF master in your archive. Never send it to a desk editor unless an art director asks for a cover file, and even then, confirm they actually want the larger format before you attach a 40 MB file to an email that bounces.
Pro Tip: Build a Lightroom export preset named “Press JPG 3600” once, and you’ll never manually recalculate dimensions or quality settings again. Every subsequent shoot becomes a one-click export instead of a fifteen-minute fumble.
Tools like FastStone Image Viewer work fine for quick batch resizing if you don’t own the Adobe suite. The goal is the same regardless of software: a clean, correctly profiled JPG that opens instantly on a busy editor’s screen.
The Metadata Fields Editors Won’t Publish Without
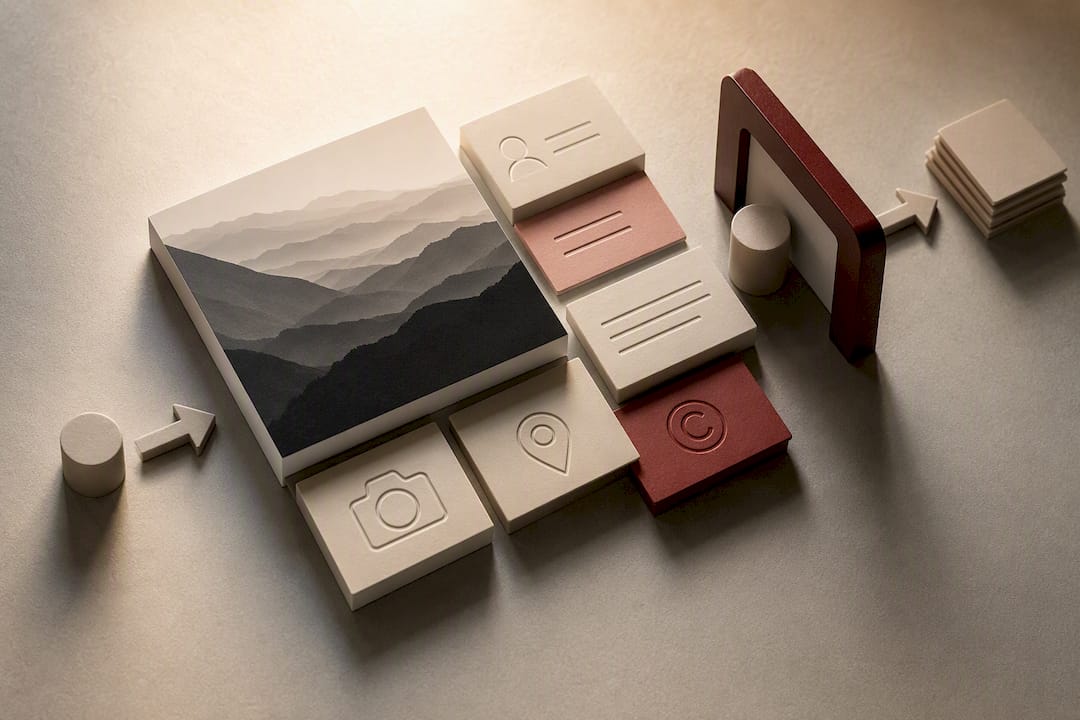
Wire ingest systems read EXIF and IPTC headers automatically, and images missing Headline, Caption, or Credit fields often get auto-rejected before anyone reviews the actual photo. This is the single most common reason a technically perfect image never runs.
Fill in these fields before you export, not after:
- Headline: short and specific, like “Jane Doe, Singer-Songwriter, 2026 Tour Portrait.”
- Caption/Description: a full sentence with context, location, and date.
- Credit: the photographer’s name, formatted the way you want it printed.
- Copyright Notice: “© 2026 [Photographer Name]. All Rights Reserved.”
- Object Name: a short internal reference, often matching your filename.
State your usage terms plainly in the caption or a separate rights line: “Editorial use permitted with credit. Contact [email] for licensing.” If a person other than the credited artist appears in the frame, keep a signed model release on file, and store it in the same folder as the image so nobody has to hunt for it during a legal question weeks later.
Which Crops and Aspect Ratios Should You Send?
Editors work in different templates depending on whether they’re building a homepage header, a streaming profile, or a print spread. Sending only one crop forces someone to re-edit your photo, and that’s how good images get replaced with worse ones from a competitor’s press kit.
- Supply landscape, portrait, and 1:1 square versions of your hero shot.
- Include a circle-safe crop for streaming platforms and social profile use, keeping the subject centered with nothing critical near the edges.
- Leave roughly 20% breathing room around the head and shoulders. Editors need this margin because different layouts crop differently, and a tight crop gives them nowhere to work.
- Match resolution to purpose: headshots need at least 2400 pixels on the long edge, product shots want 3600 or more, and event coverage should hit 4000 pixels with several crop options since editors pick different moments for different stories.
Planning a Shoot That Produces a Full Press Kit, Not Just One Good Photo
The mistake I see constantly with new clients, especially musicians and debut authors, is booking a session for “one great photo” and walking away with exactly that: one photo, in one crop, that works for exactly one use case. A proper press session yields a coherent visual system, not a single lucky frame.
- Pick one visual direction for this cycle and commit to it. Don’t mix a moody black-and-white concept with a bright studio look in the same kit.
- Shoot your hero frame first, then capture supporting horizontal, vertical, and square variants of the same setup before moving locations.
- Keep wardrobe and hair consistent across the session, and limit yourself to two locations maximum so the kit reads as one cohesive story.
- Plan for 8 to 12 final deliverable files from a single day: one hero, four to six crop variants, and two or three detail or candid shots for editors who want something less formal.
A single primary set paired with smaller supporting variants is what keeps a press cycle from turning into a scramble every time a new outlet asks for a different orientation. Musicians preparing for a release cycle benefit from planning the shoot around this system from day one rather than trying to patch it together after the fact.
How Should You Deliver Files to Editors on a Deadline?
Attach only three or four hero images directly to your email. Anything beyond that risks bouncing against attachment limits or landing in a spam filter, and it clutters an inbox an editor is trying to clear in five minutes. Link everything else through a clearly named shared folder.
- Name folders by artist or project and date, like “JaneDoe_PressKit_2026-03.”
- Most wires cap attachments around 10 MB total; Reuters technically allows more, but staying under 8 MB per image avoids upload timeouts on older systems.
- Your 3600-pixel JPG at quality 85 should land in the 3 to 6 MB range, comfortably inside every practical limit.
- For embargoed releases, name files with a clear convention like “EMBARGO_2026-03-15-0900_JaneDoe_Hero.jpg” and double check the timestamp against the actual release time before uploading to any FTP.
Building a Press Kit Editors Can Actually Navigate
An editor working three deadlines at once doesn’t want to dig through forty unlabeled files hunting for the right crop. Structure your kit so anyone can find what they need in under a minute.
- Organize folders as
/PressKit/Images/HighRes,/Web,/Captions.txt,/Releases. - Use a filename pattern like
2026-03-15_Doe_Hero-V.jpgso variant type is obvious at a glance. - Include a
captions.csvmapping each filename to its caption, credit line, and usage rights in one place. - Post a public folder link on your press page rather than making journalists request access, since most press kits succeed or fail on how fast an editor can grab a usable file.
Final Checks Before You Hit Send
- Open the file’s info panel and confirm dimensions, sRGB profile, and all five IPTC fields are populated.
- Preview the crop on both a phone screen and a laptop, checking thumbnails for visible compression artifacts.
- Cross-check that captions and credit lines match exactly across every variant in the kit.
- For embargoed images, confirm the FTP upload succeeded and the timestamp is correct; for open releases, confirm the shared folder’s permissions actually allow outside access.
A Real Mistake I’ve Seen Cost an Artist a Placement
A musician client once sent a technically flawless image to a magazine, correct pixels, correct profile, and it still got skipped for the issue. No IPTC credit field. The desk’s system flagged it as unattributed and moved on to the next submission in the queue. Re-exporting with embedded IPTC fixed it instantly, but the window had closed.
In the studio, I shoot multi-aspect frames by shifting camera height slightly between takes while keeping lighting consistent, then run batch-export presets to generate every required crop in minutes. If you hire a photographer for press work, ask directly whether they deliver both aspect variants and embedded IPTC as standard practice, not an add-on.
When a Professional Studio Is Worth It
Handling this yourself works fine for a quick update photo. But when a full release cycle is on the line, hiring a studio that already builds crops, color profiles, and metadata into the workflow saves you from re-shooting later. Our portrait and headshot portfolio shows the kind of press-ready output we deliver, and booking a session is as simple as reaching out through Ken Jones Photography.
— Ken
Sources
- Jpg
- A Guide to Photo Shoots For Artists That Covers Press, Streaming Profiles, And Social – Magnetic Magazine
- Headshot for Press Kit: What Journalists and Media Outlets Need
- Best image sizes for press-release images — NewswireJet
- How To Create an Artist Press Kit – Contemporary Art Issue
FAQ
What are the guidelines for photojournalism-style press photos?
Press photos should be unaltered beyond standard exposure and color correction, clearly captioned with who, what, where, and when, and credited to the photographer. Heavy retouching or staged elements marketed as documentary work will get an image rejected outright.
What is the recommended image size for a press release?
Use at least 2400 pixels on the long edge for web use and 3600 pixels if there’s any chance the image runs in print, exported as an sRGB JPG around 3 to 6 MB.
What are the general requirements for submitting press photos?
Editors expect correct pixel dimensions, an sRGB color profile, complete IPTC metadata (Headline, Caption, Credit, Copyright, Object Name), a file size under roughly 10 MB, and multiple crop orientations delivered together.
How do I know if a magazine or outlet is accepting photo submissions?
Check the outlet’s press or contributor page for submission guidelines and current calls, since requirements and open windows change often and vary widely by publication.
Should I send TIFF or JPG files to a newsroom?
Send JPG for almost all editorial use. Reserve TIFF exclusively for confirmed magazine cover candidates, since most newsroom systems are built around smaller, faster JPG files.