
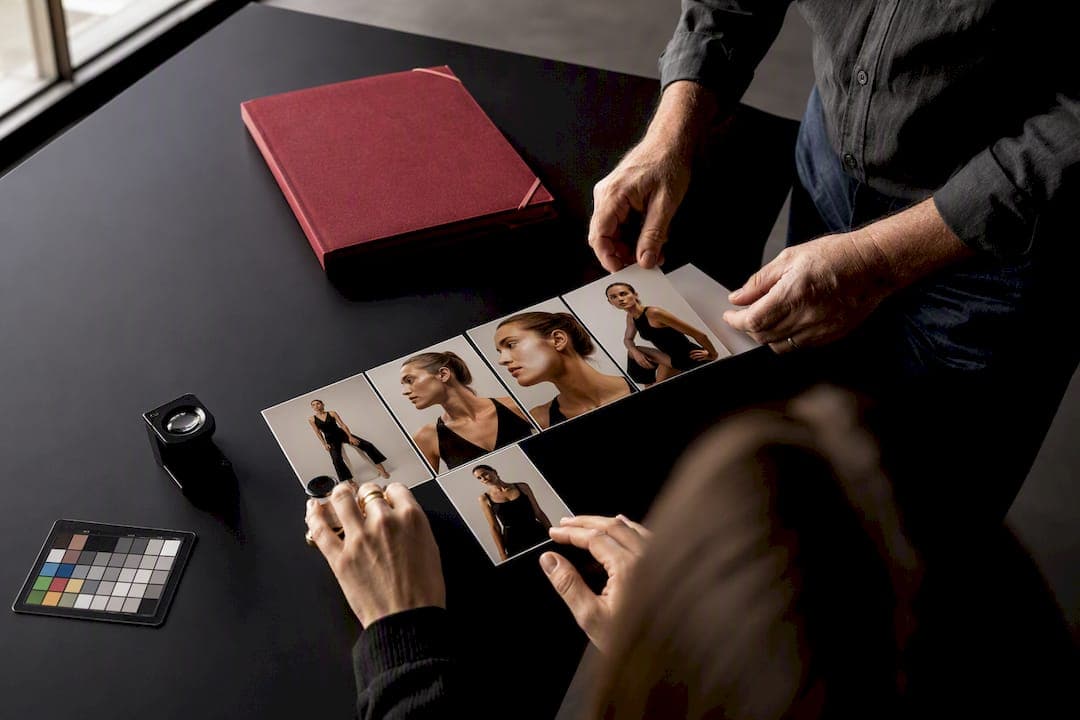
Photo proofing is the controlled review step between culling and final delivery. It works when you hand clients a curated, low-resolution watermarked gallery, tell them exactly how many images to pick, and give them one deadline. Skip any of those three pieces and proofing turns into an open-ended mess that eats your week.
TL;DR:
- Proper culling before export is essential, as dumping hundreds of images into a gallery leads to client confusion and delays.
- Using a watermarked digital soft proof around 1200–1600 pixels with 20–40% opacity ensures effective client review without risking misuse.
- Clear instructions, a specific number of favorites, and a strict deadline of five to seven business days help prevent proofing delays and misunderstandings.
- A traceable approval workflow with staged sign-offs and documented feedback reduces revision chaos and ensures final files are released only after payment.
- Managing proofing end to end in a professional studio setup is ideal for brand-critical jobs with multiple approvers and tight deadlines.
Table of Contents
- What Is the Photo Proofing Process, Step by Step?
- What Are the Different Types of Photo Proofs?
- What Should You Look for in a Proofing Platform?
- What Should You Tell Clients Before They Start Reviewing? For tips on effectively communicating proofing and deliverables expectations, check out Photography SEO Services for photographers.
- How Do You Track Revisions Without Losing Your Mind?
- What Are the Most Common Proofing Mistakes?
- Ken Jones’ Studio Rules: Three Habits We Use in NYC Productions
- How Ken Jones Photography Handles Proofing for Clients
- Sources
- FAQ
What Is the Photo Proofing Process, Step by Step?
The word “proof” comes from the darkroom era, when photographers made a quick preview print before committing to a full production run. The digital version does the same job: it lets the client weigh in before you spend hours retouching images nobody wanted. A solid online photo proofing workflow has five moving parts: the right number of images, clear instructions, the right tool, structured feedback, and a hard deadline. Here’s how that plays out on an actual shoot.
- Cull hard before you export anything. Cut technical rejects, closed eyes, motion blur, and near-duplicates. Nobody needs to choose between eleven nearly identical frames of the same pose.
- Group what’s left. Sort by scene, outfit change, or time of day so clients aren’t scrolling through 300 unsorted thumbnails.
- Export and prepare proofs using the settings in the next section.
- Build the gallery with download locks, watermarks, and plain-language instructions baked into the invite.
- Send the invite, then compare notes. Mark your own recommendations as you go. When your picks and the client’s picks overlap, that overlap becomes the real edit list, a practice worth building into every review.
- Retouch only the agreed images, then deliver finals and close the job.
That sequence sounds obvious written out, but the failure point is almost always step one. Photographers who skip a real cull and dump 600 images into a gallery are the same ones fielding client emails a week later asking, “Which ones do you like?”
What Are the Different Types of Photo Proofs?
Not every proof serves the same purpose, and mixing them up wastes time. A contact sheet gives a fast visual overview, useful for internal review or a quick client check-in. A soft proof, meaning a low-resolution watermarked JPEG built specifically for selection, is what most clients interact with. A test print, sometimes called a hard proof, is a small physical print used to verify color when the stakes are high enough to justify it, think a beauty campaign heading to print or a lookbook going to a commercial printer.
| Proof type | Purpose | Typical spec |
|---|---|---|
| Contact sheet | Fast overview, internal or client scan | Thumbnail grid, no full-res needed |
| Soft proof (digital) | Client selection | 1200–1600 px long edge, JPEG quality 70–85, watermark opacity 20–40% |
| Test print (hard proof) | Color-critical final check | Small physical print, matched to ICC profile |
For everyday galleries, export at 1200 to 1600 pixels on the long edge with JPEG quality between 70 and 85. That’s plenty for a client to judge expression, composition, and lighting, but useless for anyone trying to lift a file for their own printing or social use. Watermark opacity of 20 to 40% is the sweet spot: visible enough to deter misuse, light enough not to obscure the shot. If you’re overlaying a solid logo mark rather than a repeating pattern, drop the opacity toward the lower end so it doesn’t read like a stamp across someone’s face.
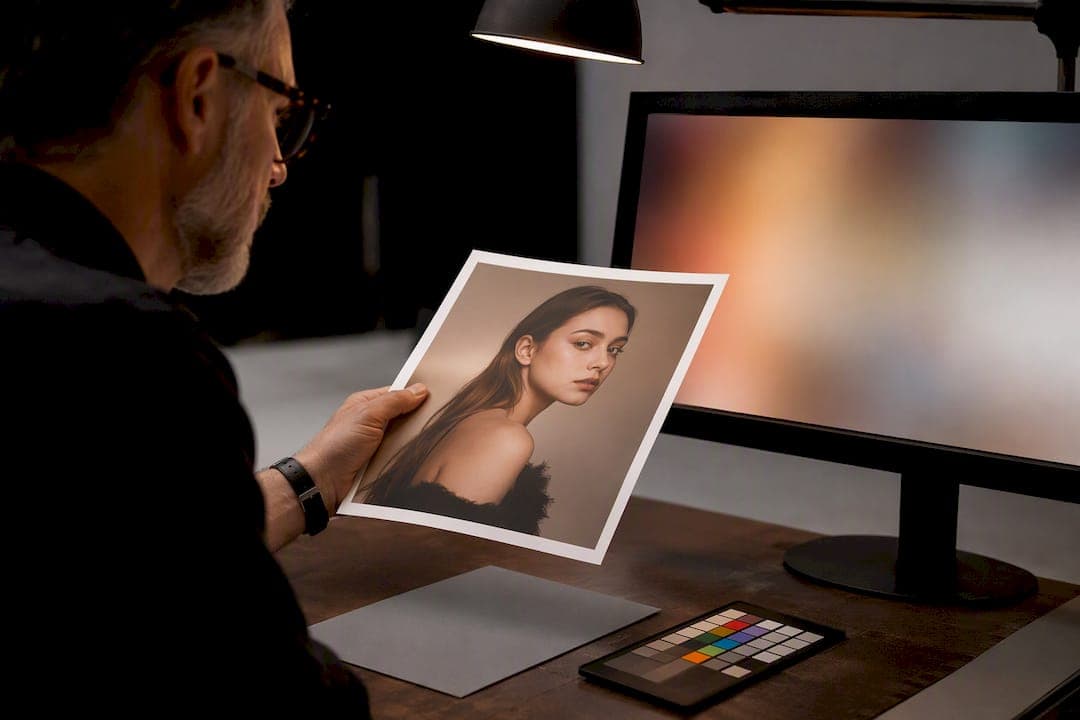
Pro Tip: When color is genuinely on the line, don’t rely on a laptop screen. Order a physical test print and check it against a calibrated monitor using the same color profile you’ll use for the final delivery. Screens lie. Paper doesn’t.
What Should You Look for in a Proofing Platform?
Vendors love to argue about ShootProof vs Pixieset vs SmugMug, and the honest answer is that most mid-tier platforms cover the basics fine. What matters more is matching the feature set to how you actually work.
- A visual grid layout that loads fast on mobile, since most clients review on a phone
- Favorites and contextual comments or markup, which studies on client selection behavior show reduce revision rounds and speed approval by keeping feedback tied to a specific frame instead of a vague email
- No-login share links so clients aren’t creating accounts just to look at proofs
- Download controls that lock high-res originals until final approval
- CSV export or a direct Lightroom sync for pulling selections back into your edit queue
For high-volume weddings or events, a sync plugin that pushes client picks straight into Lightroom saves real hours compared to manually cross-referencing filenames. For a single headshot session or a small commercial job, a simple gallery with favorites and comments is enough. Enterprise features like sub-galleries, role-based permissions, and automated reminder emails start earning their keep once you’re running multiple approvers or recurring corporate accounts.
What Should You Tell Clients Before They Start Reviewing? For tips on effectively communicating proofing and deliverables expectations, check out Photography SEO Services for photographers.
Most proofing delays trace back to one thing: nobody told the client what “good feedback” looks like. Paste something close to this into your gallery invite.
- State the number to pick. Portrait sessions: 10 to 20 favorites. Commercial or editorial jobs: the exact number in the contracted package, not “a handful.” Weddings and events: staged sub-galleries by moment (ceremony, reception, portraits) with a combined deadline.
- Tell them what to look for: expression, composition, and overall feel, not pixel-level retouching notes. That’s your job, not theirs.
- Show them how to mark favorites and leave comments directly on the image, using specific language like “crop tighter left” or “warm up the skin tone” rather than “make it pop.”
- Set the deadline. Five to seven business days is the standard window most photographers give, and it works for nearly everything short of a rush commercial turnaround agreed at booking.
Pro Tip: Ask clients to review on a laptop or tablet, not a phone, if color accuracy matters at all. Phone screens oversaturate skin tones constantly, and you don’t want a client rejecting a perfectly good shot because their iPhone made it look orange.
How Do You Track Revisions Without Losing Your Mind?
Approvals fall apart when nobody can say who signed off on what. Fix that with named stages and a simple record, whether that’s a spreadsheet or fields inside your proofing platform.
- Internal review (you check your own picks before the client sees anything)
- Client review open (gallery live, deadline stated)
- Selects received (client has submitted favorites)
- Retouching in progress (only agreed images move forward)
- Revision ready (edits sent back for a second look, if included in the package)
- Final approval (named approver signs off)
- Delivered (files sent, project closed)
For each stage, record the approver’s name, the image ID, the version number, and the approval date. A traceable approval workflow means every revision creates a new version rather than overwriting the last one. Require the authorized approver, not just anyone on the client’s team, to give final sign-off, and if payment terms tie to delivery, don’t release final files until that payment clears.
What Are the Most Common Proofing Mistakes?
The classic error is sending an unwatermarked high-res link instead of a proof gallery. I’ve seen a studio accidentally attach a full-resolution delivery folder to a proofing email meant for client selection only, and within a day, low-res versions of unapproved images were circulating on a client’s internal Slack. The fix was blunt: retract the link, reissue a properly watermarked gallery, and rebuild trust with a tighter deadline.
Other repeat offenders: no selection guidance, unlimited revision rounds with no cutoff, and galleries so bloated that clients give up halfway through. The fixes are just as direct. Cap revisions in the contract, apply a fee past the second round, and if a color dispute drags on, settle it with a test print instead of arguing over monitor settings.
Pro Tip: Treat every proof gallery as review-only. Never attach a commercial license or final files to a proofing link. Keep a separate “approved master” export folder that only gets built after sign-off.
Ken Jones’ Studio Rules: Three Habits We Use in NYC Productions
Three rules run every proofing job at our studio. Cull ruthlessly before anything goes out. Set a hard selection limit before the client sees a single frame. And deliver one timeline with one final approval step, not a rolling negotiation.
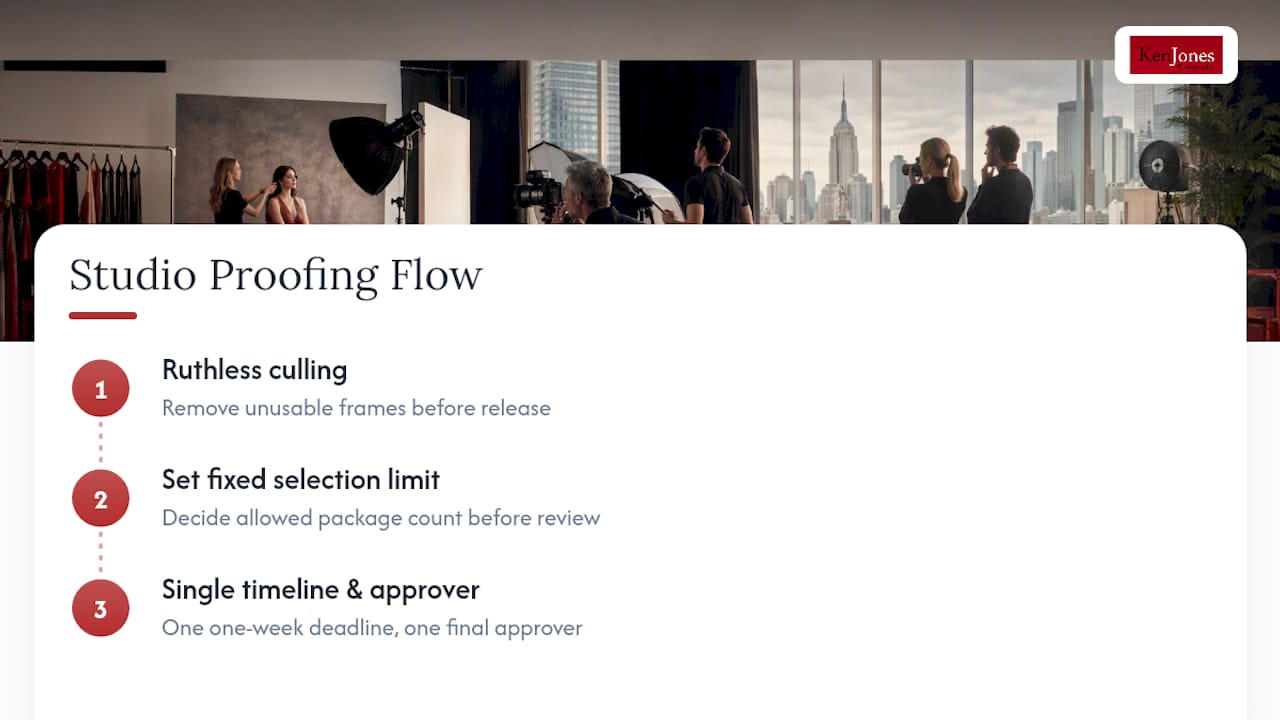
I remember a commercial job in the Financial District where the client’s marketing team and their agency both had separate opinions on the album, and neither had seen the other’s notes. The gallery turned into chaos within 48 hours. We pulled it, reissued a single curated sub-gallery limited to the agreed package count, and gave everyone a one-week deadline with one designated approver. Done in five days.
For color-critical retouching decisions after selects come in, our retouching workflow picks up exactly where proofing ends.
— Ken
How Ken Jones Photography Handles Proofing for Clients
Running your own proofing workflow works fine when you’ve got the time to build galleries, chase selections, and manage version control on top of shooting. The studio handles all of that as part of full-service production, so brand-critical jobs never sit in someone’s inbox waiting on feedback.

That means proof galleries, structured selection rounds, professional retouching, and final delivery are managed end to end, not stitched together from separate vendors. If your project has a tight deadline, brand-sensitive color requirements, or multiple approvers who need to sign off before anything ships, that’s exactly where a managed studio process earns its keep over a DIY gallery link. This applies across corporate and executive portraits, beauty photography, product and e-commerce work, and fashion editorial productions shot in the Financial District studio or on location. If you’re planning a shoot and want proofing handled without the back-and-forth, reach out through the Ken Jones Photography site to check availability and get a quote.
Sources
- What are proofs photography? — LensesPro
- Online photo proofing guide — Cullengo
- Photography client approval workflow — The Studio Hero
- Photo selection: favorites, comments, markup — Gump
FAQ
What Is Photo Proofing?
Photo proofing is the review stage where a photographer shares a curated set of preview images, low-res soft proofs or physical test prints, so a client can select favorites before final retouching and delivery.
What Is the 20-60-20 Rule in Photography?
Definitions vary by studio, but the common version splits a shoot roughly into 20% standout hero shots, 60% solid usable frames, and 20% experimental or backup shots, a rough guide for culling rather than a strict formula.
How Long Does It Take to Get Proofs From a Photographer?
Most photographers deliver proofs within a few days to a week of the shoot, and clients typically get five to seven business days to review and select once the gallery goes live.
How Do I Preserve My Final Photos Long Term?
Keep at least two backup copies of final delivered files in separate locations, one local drive and one cloud service, and re-verify the files every couple of years since storage media and formats do age.
Does Ken Jones Photography Manage Proofing for Clients?
Yes. Ken Jones Photography, KenJonesNYC, Ken Jones NYC, builds and manages proof galleries as part of its production services, handling selection, retouching, and final delivery for corporate portraits, fashion, beauty, and commercial shoots.
Recommended
- Lighting for Truth: Why Professional Scrims Beat iPhone Filters for Model Digitals
- Commercial Photography Retouching Workflow: A Pro Guide
- The Art of the Clean Digital: Why ‘Simple’ Agency Shots Require Professional Precision
- The #1 Pain Point Fashion Clients Face When Working With a Photographer (And How to Avoid It)