

TL;DR:
- A professional retouching workflow relies on non-destructive layering techniques to preserve original image data and allow flexible revisions. Using frequency separation, dodge and burn, and targeted color correction produces polished images efficiently, supported by organized files and calibrated hardware. Implementing structured processes and avoiding common mistakes ensures consistent, natural results suitable for high-end commercial photography.
A professional commercial photography retouching workflow is defined as a layered, non-destructive editing pipeline that takes RAW files from capture through final delivery without permanently altering the original image data. The industry term for this approach is “non-destructive post-production,” and it is the standard practice across fashion, beauty, and advertising work. The most effective workflows combine frequency separation, dodge and burn, and batch processing to produce polished images efficiently. Kenjonesnyc has built its Manhattan studio practice on exactly this foundation, applying it to everything from luxury fashion editorials to corporate headshots. Getting this pipeline right is what separates images that look finished from images that look worked on.
What makes a solid commercial photography retouching workflow?
The core principle is simple: never destroy original data. Every correction, every skin refinement, every color grade lives on its own layer or adjustment layer in Photoshop. That structure means you can respond to client feedback at any stage without rebuilding the file from scratch. Non-destructive layered editing keeps retouches flexible and reversible, which is not a luxury on commercial shoots. It is a contractual necessity.
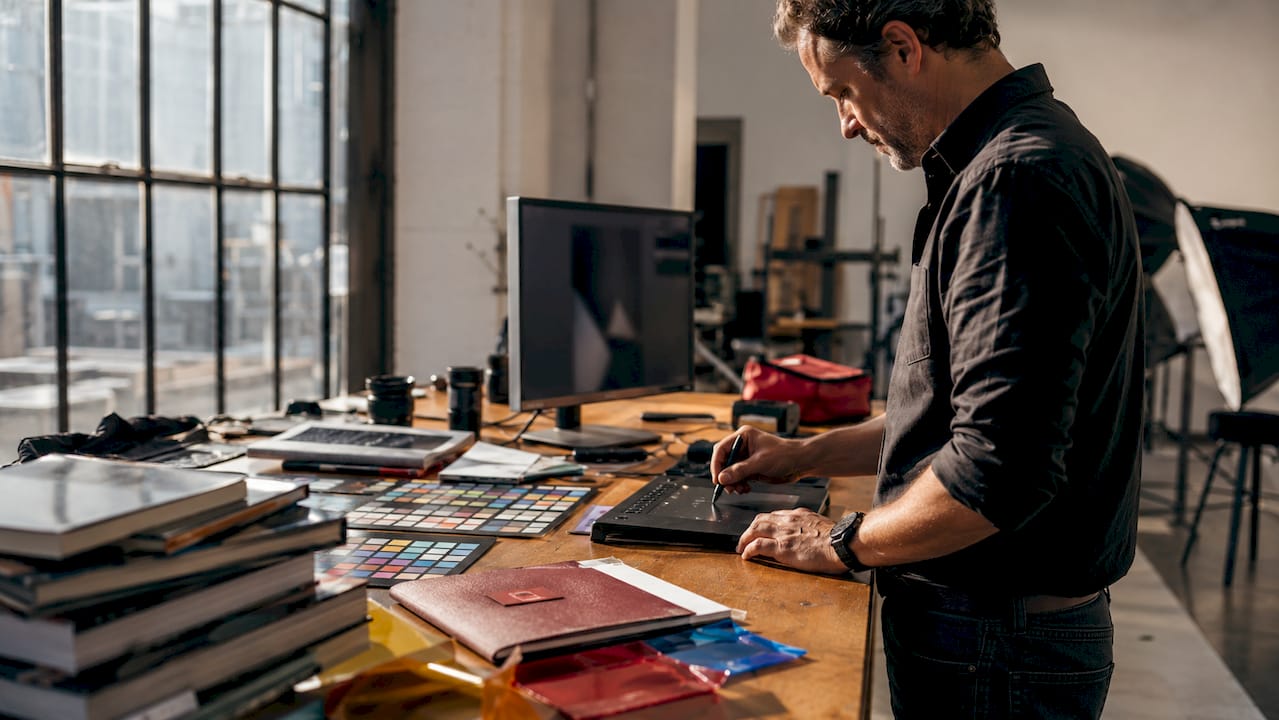
The three techniques that define professional commercial image enhancement are frequency separation, dodge and burn, and targeted color correction. Frequency separation splits a file into two layers: one carrying texture (high frequency) and one carrying color and tone (low frequency). That separation lets you even out skin tone without touching the pore structure, which is the difference between a beauty image that reads as real and one that reads as plastic. Dodge and burn shapes light and shadow across a face or product surface with surgical control. Color correction, done through Curves and Selective Color adjustment layers, brings the image into the color space the client’s brand requires.
Organization is the third pillar. Layer groups labeled by function, consistent file naming, and a clear folder structure are not administrative details. They are what allows a creative team of three people to work on the same Photoshop file without chaos.
What tools and prerequisites do you need before you start?
The right hardware and software setup determines how fast and how accurately you can work. Skipping calibration or using the wrong input device costs more time than it saves.
Hardware essentials
- Drawing tablet: A pressure-sensitive tablet, such as a Wacom Intuos Pro or Cintiq, is the standard tool for detailed retouching. Professional retouchers rarely use a mouse for detailed work because a mouse cannot replicate the variable pressure needed for natural dodge and burn strokes.
- Calibrated monitor: Color accuracy is non-negotiable on commercial work. Hardware calibration tools like the X-Rite i1Display Pro are industry standard for color management. A monitor that drifts even slightly will cause color decisions that fail when the client views the file on a calibrated display.
- Sufficient RAM and storage: Photoshop files for high-resolution commercial work routinely exceed 500MB. Fast NVMe storage and 32GB of RAM or more prevent the lag that breaks concentration during detailed work.
Software and file preparation
Adobe Photoshop remains the primary tool for detailed retouching in commercial photography post-production. Adobe Lightroom and Camera Raw handle the RAW processing stage, where you normalize exposure, white balance, and lens corrections across the full shoot before any image enters Photoshop. This normalization step is what makes batch processing viable later.
Before retouching a single image in detail, cull the shoot down to selects. Editing unusable frames wastes hours. Culling before detailed retouching avoids wasted effort on frames that will never be delivered. On a 600-frame commercial shoot, that discipline can save a full day of post-production time.
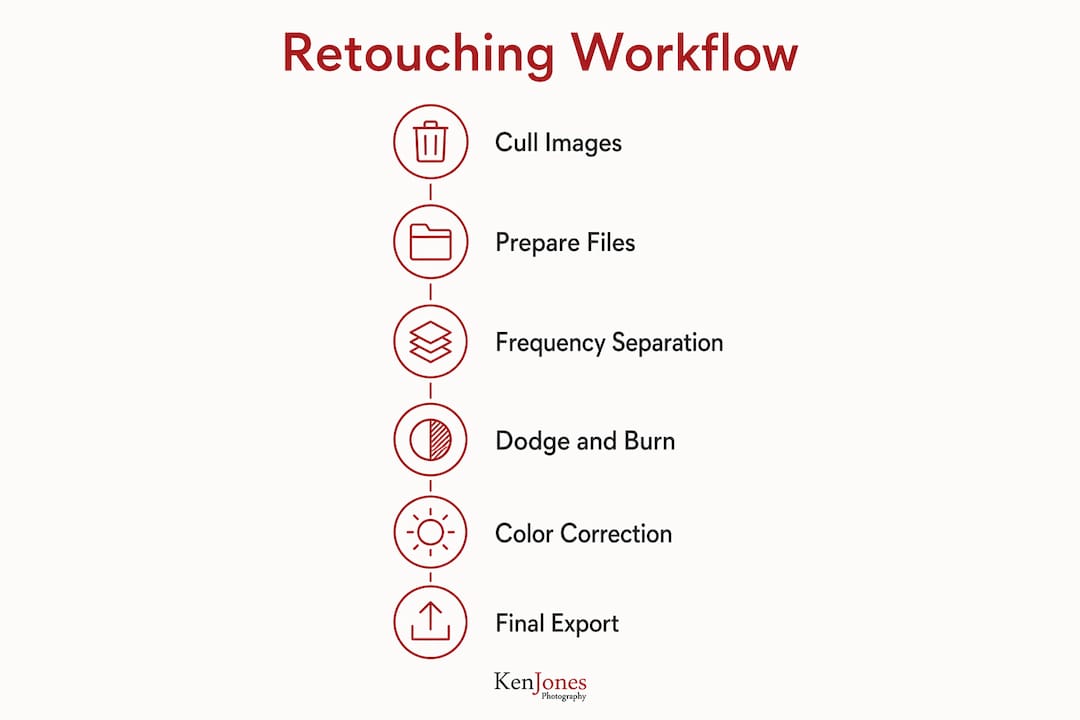
Pro Tip: Set up a master Photoshop template with pre-labeled layer groups (Cleanup, Frequency Separation, Dodge and Burn, Color, Final) before you open your first file. Paste that structure into every new retouch and your team will always know where to find what they need.
| Setup Element | Why It Matters |
|---|---|
| Pressure-sensitive tablet | Enables variable opacity strokes for natural dodge and burn |
| Calibrated monitor | Guarantees color decisions hold up on client displays |
| RAW normalization in Lightroom | Creates a consistent baseline before detailed Photoshop work |
| Layer group template | Keeps complex files navigable across multiple editing passes |
| Culled selects only | Prevents wasted retouching time on unusable frames |
How do you execute frequency separation, dodge and burn, and color correction?
This is where the photography editing process either produces a commercial-grade result or reveals its weaknesses. Each technique requires a specific setup and a disciplined approach to brush work.
Frequency separation step by step
- Duplicate the background layer twice. Label the bottom copy “Low Frequency” and the top copy “High Frequency.”
- Apply Gaussian Blur to the Low Frequency layer. The blur radius depends on the image resolution. For a 50-megapixel file, a radius of 6–8 pixels is a common starting point. The goal is to blur until individual skin texture disappears but overall tone and color remain.
- Apply Image > Apply Image to the High Frequency layer. Set the blending mode to Subtract, scale to 2, and offset to 128. This calculation isolates only the texture information. Convert this layer to a Smart Object to keep it editable.
- Set the High Frequency layer blend mode to Linear Light. The image should now look identical to the original. You now have two independent layers: one for texture, one for tone and color.
- Retouch the Low Frequency layer with a soft brush. Clone, heal, or paint directly on this layer to even out uneven skin tone, remove shadows under the eyes, or correct color irregularities. Because texture lives on a separate layer, none of these corrections disturb the pore structure.
Frequency separation layers differentiate texture from color and tone, which is what makes this technique the standard for beauty and fashion retouching. The result is skin that looks refined without looking retouched.
Dodge and burn for contouring and depth
Dodge and burn works on a neutral gray layer set to Overlay or Soft Light blend mode. Create a new layer, fill it with 50% gray, and set the blend mode to Overlay. The gray disappears visually but accepts light and dark brush strokes that affect the image below. Use a soft brush set to 5–10% opacity and build strokes gradually.
Professional retouching for high-end portraiture typically involves 200–300 individual low-opacity brush strokes on dodge and burn layers for natural contouring. That number sounds high until you realize that each stroke covers a small area at minimal intensity. The cumulative effect is dimension and depth that reads as natural light, not post-production. Rushing this stage and using high-opacity strokes is the most common reason a retouch looks artificial.
Pro Tip: Create two separate dodge and burn layers: one for broad tonal shaping across the face or body, and one for fine detail work like catchlights in the eyes or highlight definition on product edges. Keeping them separate lets you dial back the broad layer without losing your fine detail work.
Color correction with Curves and Selective Color
Color correction in commercial photography post-production happens in two passes. The first pass uses a Curves adjustment layer to set overall contrast and neutralize any color cast from the shoot’s lighting conditions. The second pass uses a Selective Color adjustment layer to refine specific color ranges, such as pulling warmth out of skin tones or adding depth to a garment’s shadow areas.
Work in Adobe RGB (1998) color space for commercial print deliverables and sRGB for digital and web use. Confirm the color space requirement with the client before you start. Delivering a file in the wrong color space after a full retouch is an expensive mistake that Kenjonesnyc has seen derail more than one production timeline.
Working at 100% zoom for detailed cleanup and then zooming out to fit-screen to assess overall naturalness is the standard discipline for retouchers. The 100% view catches blemishes and texture inconsistencies. The fit-screen view reveals whether the overall image still reads as real.
What workflow optimizations speed up commercial retouching?
Speed without quality loss comes from building repeatable systems, not from cutting corners on technique.
- Photoshop actions for repetitive setups: Record a Photoshop action that creates your frequency separation layers, sets up your dodge and burn gray layer, and adds your standard adjustment layer stack. Running that action at the start of each file saves 5–8 minutes per image. On a 40-image commercial delivery, that is 3–5 hours recovered.
- Lightroom catalog syncing for batch corrections: After normalizing one hero image in Lightroom, sync those settings across all images shot in the same lighting setup. Batch correction and automation maintain editing consistency across large commercial photo sets, which is critical for brand coherence across a campaign.
- AI-powered skin smoothing as a first pass: AI-powered skin smoothing tools can reduce initial manual retouching time by approximately 40% while preserving natural texture better than traditional methods. Use AI cleanup as a starting point, then refine with manual frequency separation for areas that need precision. Do not rely on AI alone for beauty or fashion close-ups. Clients at the level Kenjonesnyc serves will see the difference.
- Quality assurance checkpoints: Build two review points into every project. The first is after the Lightroom normalization pass, before any file enters Photoshop. The second is after the first complete retouch, before final color grading. Catching a white balance error at checkpoint one costs minutes. Catching it after a full retouch costs hours.
Pro Tip: Keep a reference image open in a second window while retouching. Comparing your work-in-progress against a known-good approved image from the same campaign prevents style drift across a large set.
Consistent workflow steps from culling through final export reduce bottlenecks common in high-volume commercial shoots. The photographers and creative teams who deliver on time are almost always the ones who built their system before the shoot, not during post-production.
What are the most common retouching mistakes, and how do you avoid them?
The mistakes that damage commercial retouching work fall into a predictable set of categories. Recognizing them early saves client relationships and production budgets.
- Over-retouching skin. Over-retouching is indicated when individual skin pores and natural textures disappear, resulting in an artificial look. The fix is to zoom out regularly and compare against the original. If the skin reads as a texture-free surface, you have gone too far. Pull back the Low Frequency layer opacity or reduce the dodge and burn layer intensity.
- Using a mouse for detailed work. A mouse produces uniform-pressure strokes that look mechanical on skin and product surfaces. A pressure-sensitive tablet is not optional for professional retouching. The quality difference is visible at 100% zoom and often visible in print.
- Skipping monitor calibration. Color decisions made on an uncalibrated monitor are guesses. When the client opens the file on their calibrated display, those guesses become problems. Calibrate with a hardware tool like the X-Rite i1Display Pro at least once a month.
- Poor layer and file organization. Unlabeled layers, no layer groups, and inconsistent file naming create confusion when a client requests revisions three weeks after delivery. Layer groups and organization in Photoshop files are vital for managing complex commercial retouch projects involving multiple passes of corrections. Name every layer. Group by function. Save versions with clear naming conventions.
- Retouching every frame in the shoot. Culling is part of the retouching workflow. Spending detailed retouch time on frames that will never be selected is a direct loss of billable hours. Make final selects before opening Photoshop.
For corporate and executive portrait work, the same principles apply. The corporate headshot retouching process follows the same non-destructive logic: clean skin, natural contouring, and color accuracy that holds up across LinkedIn, press releases, and print. The standard does not change because the subject is wearing a suit instead of a fashion look.
Understanding client proofing workflows is equally important. Delivering a proof round before final retouching locks in the selects and the overall direction, which prevents the costly scenario of finishing 40 images before the client decides they preferred a different expression on frame 12.
Key Takeaways
A disciplined commercial photography retouching workflow built on non-destructive techniques, calibrated hardware, and batch processing is the most reliable path to consistent, client-ready image quality.
| Point | Details |
|---|---|
| Non-destructive pipeline | Work exclusively on layers and adjustment layers to keep every correction reversible. |
| Frequency separation | Split texture and tone onto separate layers to retouch skin without destroying natural detail. |
| Dodge and burn discipline | Use 5–10% opacity brushes and build 200–300 strokes for natural contouring. |
| Batch processing and culling | Normalize in Lightroom and cull selects before any file enters detailed Photoshop work. |
| Calibrated monitor | Use hardware calibration tools like the X-Rite i1Display Pro to guarantee color accuracy on delivery. |
What 30 years of NYC commercial shoots taught me about retouching
The hardest lesson I learned early in my career was that the best retouch is the one the client never notices. I shot a beauty campaign for a skincare brand in the mid-1990s. The art director asked for “perfect skin.” I delivered exactly that: pore-free, shadow-free, completely smooth. The client rejected the entire batch. Their exact words were, “It doesn’t look like skin anymore.” That note changed how I approach every retouch I have done since.
The clients who commission high-end commercial work are not asking you to erase reality. They are asking you to present reality at its best. There is a meaningful difference between those two requests. Frequency separation and low-opacity dodge and burn exist precisely to honor that difference. They let you refine without erasing.
The other thing NYC commercial production teaches you is that speed matters as much as quality. A retoucher who produces beautiful work but misses delivery windows does not get rehired. The workflow systems I described above, the layer templates, the Lightroom batch sync, the culling discipline, are not shortcuts. They are what allow you to deliver 60 retouched images in three days without the quality dropping on frame 58. Clients notice consistency. They notice when the last image in a set looks slightly different from the first.
Working with creative teams also requires that your files be legible to someone other than yourself. I have opened Photoshop files from other retouchers that looked like a 200-layer archaeological dig with no labels. When a creative director needs to pull a specific correction at 11 PM before a morning press deadline, a well-organized file is not a courtesy. It is a professional obligation.
— Ken
Kenjonesnyc’s approach to commercial retouching in NYC
Kenjonesnyc brings the same disciplined post-production approach to every project that leaves the Manhattan studio, from luxury product photography to high-fashion editorial campaigns. The studio’s retouching process follows the non-destructive, layered pipeline described throughout this guide, with calibrated color management and consistent style application across full campaign sets.
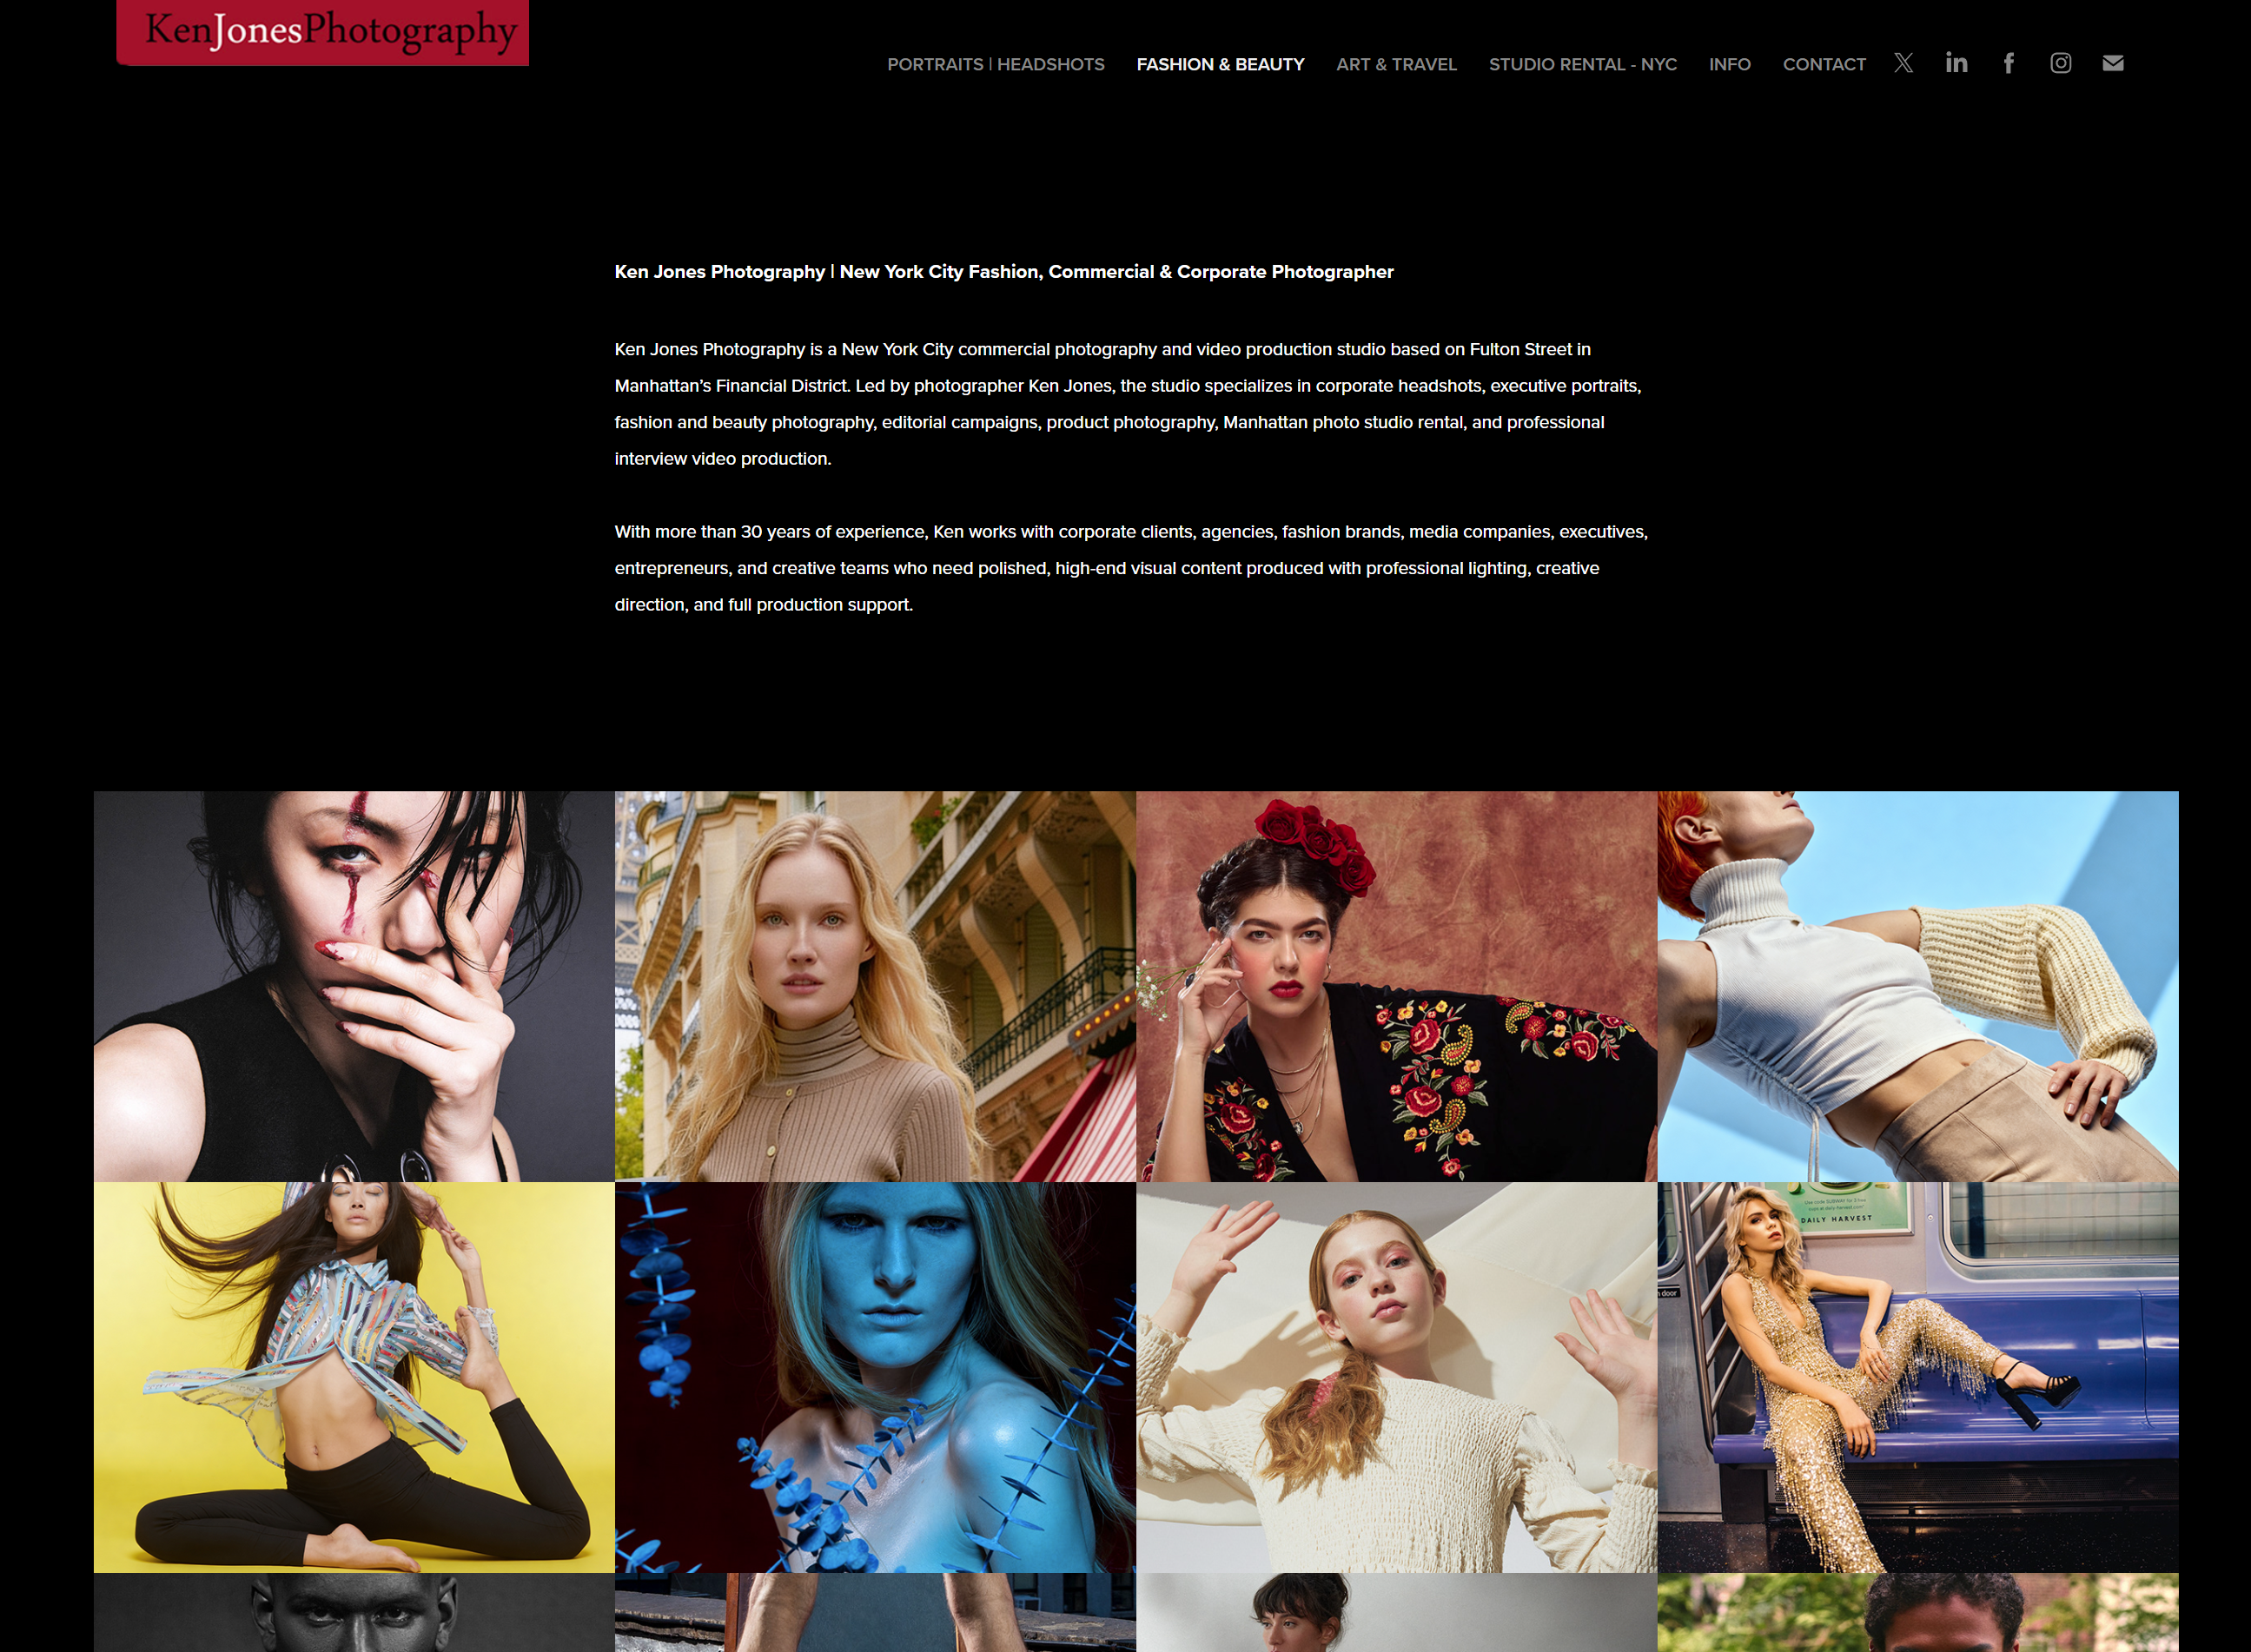
Whether you are a brand looking for polished campaign imagery or a creative team that needs a reliable production partner in New York City, Kenjonesnyc offers full-service capabilities including casting, styling, studio rental, and post-production. The advertising campaign photography portfolio shows the level of finish that a structured retouching workflow produces at scale. Reach out through kenjonesnyc.com to discuss your next project.
FAQ
What is frequency separation in commercial retouching?
Frequency separation is a Photoshop technique that splits an image into two layers: one for texture and one for color and tone. This lets retouchers correct skin tone and color without disturbing natural pore structure or surface detail.
How long does a professional commercial retouch take per image?
Timing depends on the complexity of the image and the level of finish required. A standard commercial beauty retouch with frequency separation and dodge and burn typically takes 45–90 minutes per image for a skilled retoucher.
Do I need a drawing tablet for commercial retouching?
A pressure-sensitive tablet is the professional standard for detailed retouching work. Using a mouse produces uniform-pressure strokes that look mechanical on skin and product surfaces, which is visible at delivery resolution.
What is the best software for commercial photography post-production?
Adobe Photoshop is the industry standard for detailed retouching, while Adobe Lightroom and Camera Raw handle RAW processing and batch corrections. Most professional workflows use both applications in sequence.
How do you avoid over-retouching in commercial photography?
Work at 100% zoom for detailed cleanup, then zoom out to fit-screen regularly to assess overall naturalness. If individual skin pores and natural textures have disappeared, the retouch has gone too far and needs to be pulled back.