
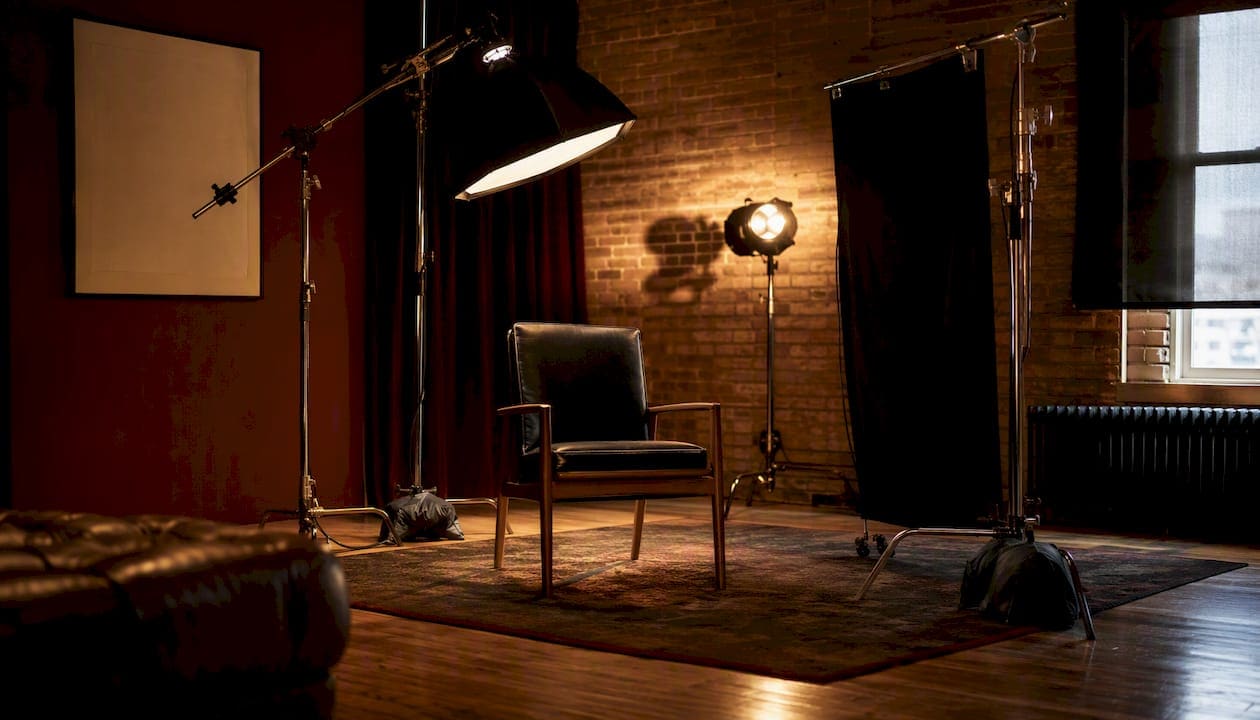
A solid interview lighting setup starts with three lights: a soft key at 45° from the camera-subject axis and slightly above eye level, a softer fill on the opposite side, and a hair or backlight positioned behind the subject to separate them from the background. That configuration, confirmed by NBCU Academy as the industry standard, works in a broadcast studio, a Manhattan conference room, or a home office. You can have it functional in under ten minutes.
Before you roll, run this quick camera-side check:
- White balance: Set a custom kelvin value or use a gray card. Never leave it on auto.
- Exposure: Enable zebra at 70–80 IRE for skin, or switch to false color and confirm faces read in the correct exposure band.
- Focus: Pull focus to the subject’s near eye. Verify on a monitor, not the viewfinder.
- Catchlights: Look for a clean specular reflection in both eyes. If you see none, raise or move the key slightly.
- Background: Check for distracting hot spots or dead-black voids. Both read poorly on camera.
Pro Tip: Set your camera to record a short test clip, not just a live preview. Steed Films notes that many lighting errors only appear on playback, not on the live monitor.
Key Takeaways
Three-point lighting (key at 45°, softer fill opposite, hair light behind) is the most reliable interview lighting setup, and a 10-second test clip before rolling is the single most effective quality check on set.
| Point | Details |
|---|---|
| Start with three-point | Key at 45° above eye level, fill opposite at lower intensity, hair light behind the subject. |
| Set contrast ratio first | 2:1 reads natural for corporate; 3:1 adds cinematic depth; 4:1 suits moody or dramatic looks. |
| Test in camera, not by eye | Record a short clip and check false color, histogram, and shadow detail before the subject sits down. |
| Secure every stand | Sandbag all C-stands and gobo arms; tape cable runs to the floor before the subject enters the set. |
| Ken Jones Photography | FultonStudio in Manhattan offers controlled interview production with full grip support and lighting infrastructure. |
Table of Contents
- How to master three-point lighting for interviews
- What gear actually works on interview shoots
- How to set contrast ratios and read them on camera
- How to use hair lights and background accents for depth
- Lighting two people and multi-camera setups
- Remote and virtual interview setups that actually look good
- Pre-shoot checklist and on-set camera tests
- Safety, cable management, and subject comfort
- When to hire a pro or rent a studio for interview shoots
- What 30 years on set actually taught me about interview lighting
- Professional interview video production in NYC
- Sources
- FAQ
How to master three-point lighting for interviews
Three-point lighting is the Swiss-Army-knife solution for interview shoots because it separates the subject from the background, models the face with directional light, and gives you independent control over contrast. Think of it as a starting framework, not a rigid rule.
The key light does most of the work. Place it at roughly 45° from the camera-subject axis and tilt it 15–30° downward from slightly above eye level. That angle creates natural facial modeling, casts a small shadow under the nose, and produces a clean catchlight. A large softbox or a book light (a large reflector with diffusion stretched across the front) gives you the soft, wrapping quality that reads well on close-up interview framing. Hard sources at that angle create unflattering shadows on the neck and jaw.
The fill light controls contrast. Position it on the opposite side of the camera from the key, roughly at eye level or just below. Its job is not to eliminate shadows but to open them enough to hold detail. A 2:1 ratio (fill at half the key’s intensity) reads as natural and works well for corporate or broadcast content. A 3:1 ratio adds dimension and suits more cinematic or documentary looks. You can achieve fill with a dedicated panel, a large reflector, or even a white foam-core board when budget is tight.
The hair or backlight separates the subject from the background. Place it behind and above the subject, aimed at the crown and shoulders. Keep the intensity lower than the key; you want a rim of light, not a blown-out halo. Barn doors or a snoot help control spill so the light does not hit the lens or the background unevenly.
ColoradoGaffer frames this well: think of the process as sculpting. Soft directional key, gentle fill, and a small hair rim shape the face. Negative fill (a black flag or dark fabric placed opposite the key) can increase contrast without adding another fixture.
Pro Tip: In a cramped Manhattan office or conference room, there is often no room to place a key at a true 45°. Move the camera closer to the subject and use a smaller softbox mounted on a gobo arm clamped to a shelf or door frame. The angle matters more than the distance.
A three-point lighting diagram on Wikimedia Commons shows the basic placement geometry if you want a quick visual reference before your first setup.
What gear actually works on interview shoots
The right modifier depends on the space, the subject, and the look. Here is a practical breakdown:
- Large softboxes (24"×36" or bigger): The most reliable key-light modifier for interviews. Soft, directional, and easy to control with a grid to reduce spill.
- Bi-color LED panels: Ikan recommends bi-color panels for their ability to match color temperature on the fly and reduce heat on long shoots. App-controlled versions let you adjust from camera position without touching the fixture.
- Book lights: A large reflector with diffusion stretched across the front, bounced into a second reflector. Produces an exceptionally soft, wrapping source. Slower to set up but worth it for close-up beauty-style framing.
- Fresnels: Useful as a hair light or background accent. Controllable beam, easy to flag. Not ideal as a key unless you add heavy diffusion.
- Reflectors (5-in-1 or foam core): A white or silver reflector opposite the key gives you a passive fill with no power draw. The angle of incidence equals the angle of reflection, so position it carefully to direct light where you need it.
- Practicals (lamps, sconces): Add warmth and depth to a background. Swap the bulb for a known-kelvin LED to control color temperature.
- Ring lights: Acceptable for solo webcam setups but produce flat, on-axis light with a telltale circular catchlight. For any professional interview video, a softbox at 45° reads better.
Avoid these on professional shoots: Small on-camera LED lights as a primary key (too hard, too close to the lens axis), uncontrolled practical lamps mixed with daylight-balanced panels (color temperature mismatch), and cheap no-name LED panels with poor CRI ratings (skin tones go gray or green).
For stands, C-stands are the workhorse of any professional set. Baby stands work for low-angle fills or background lights. Gobo arms let you position lights in tight spaces without a floor footprint. On a busy studio floor, always sandbag every stand, no exceptions.
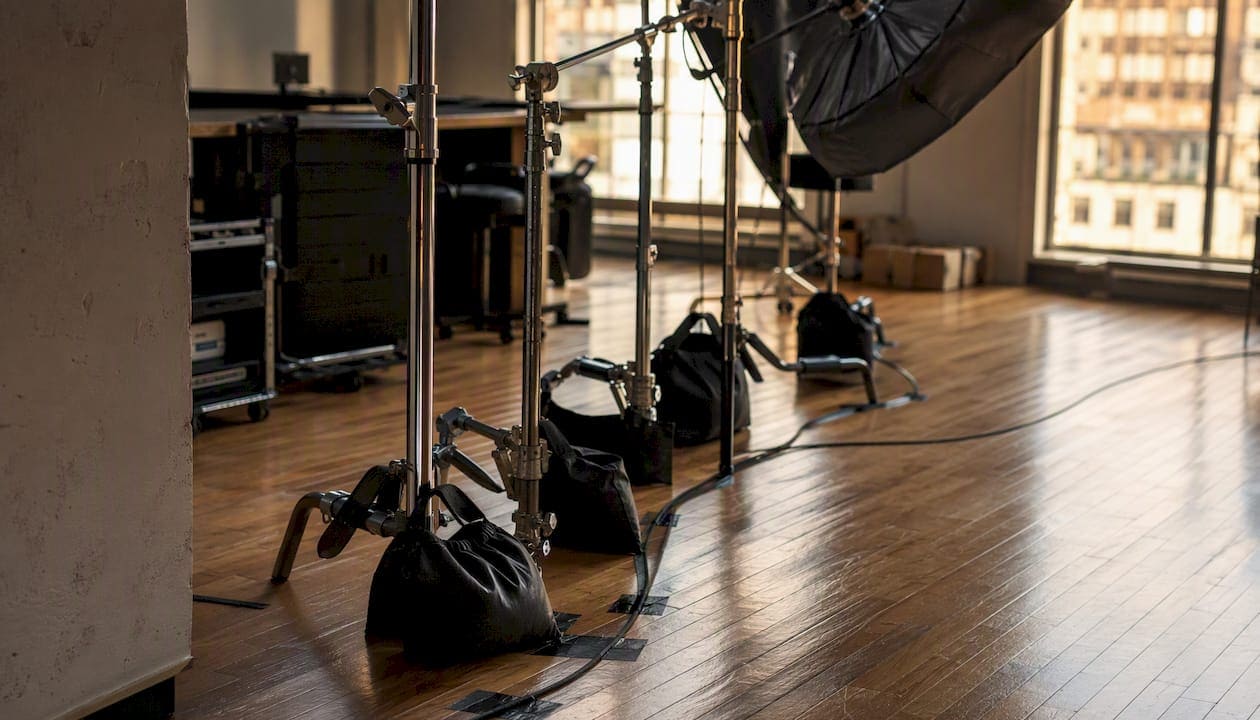
Pro Tip: On NYC studio floors where space is tight and crew is moving, use a sandbag on every stand leg, not just the one pointing toward foot traffic. A stand that tips sideways is just as dangerous as one that tips forward.
How to set contrast ratios and read them on camera
Decide your contrast ratio before you place a single light. That decision shapes everything else. A studio lighting configuration choice made early saves significant time on set.
| Ratio | Stop Difference | Visual Effect | Best For |
|---|---|---|---|
| 2:1 | 1 stop | Natural, open, even | Corporate, broadcast, news |
| 3:1 | one to two stops | Dimensional, cinematic | Documentary, editorial |
| 4:1 | 2 stops | Moody, dramatic | Narrative, creative brand |
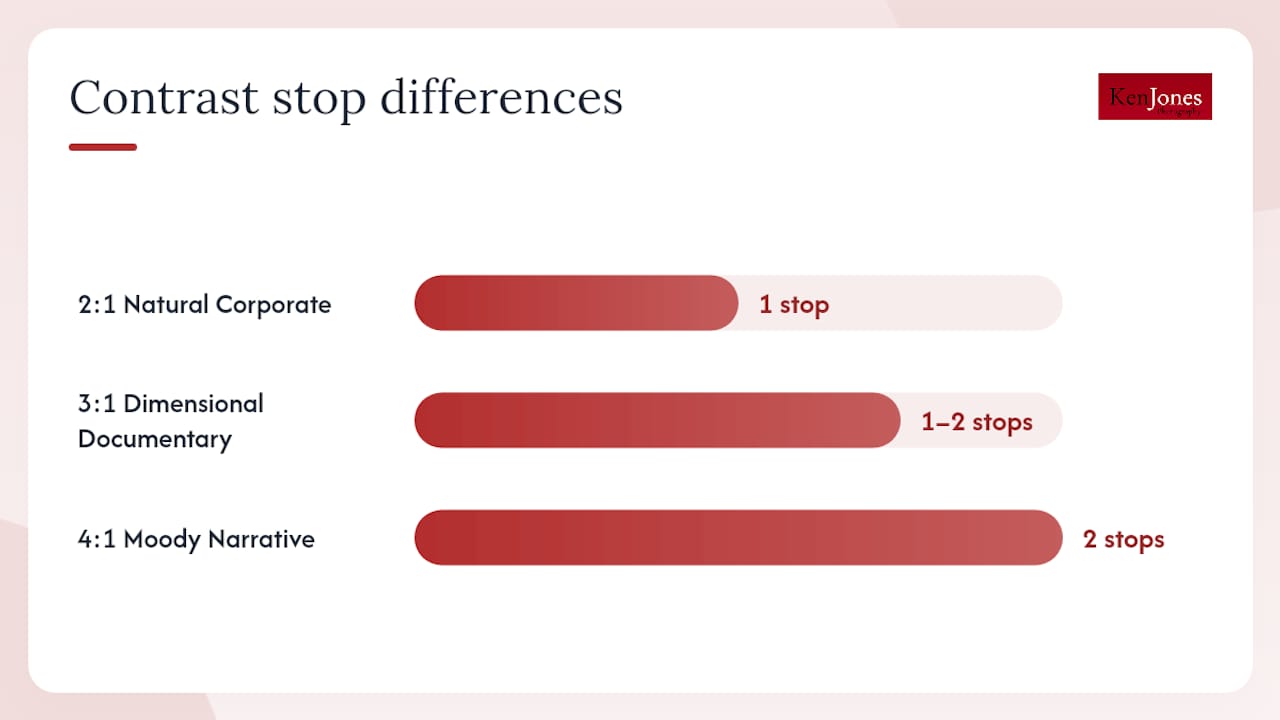
To measure on set: meter the key side of the face and the fill side separately with an incident light meter. The difference in stops is your ratio. Without a meter, use false color or a waveform monitor. The key side of the face should read in the correct exposure zone; the fill side should read one to two stops lower depending on your target ratio.
Pro Tip: Before rolling sound, shoot a 10-second test clip with the subject seated and talking. Scrub through it on the monitor. Check the histogram for clipping, check false color for skin exposure, and look at the shadow side of the face. If the shadow detail is gone, open the fill. If the image looks flat, pull the fill back or add a flag on the key side. That 10-second clip saves 30 minutes of color correction later.
How to use hair lights and background accents for depth
A hair light and a background accent are the fastest way to add depth to a flat interview setup. Without them, even a well-exposed subject can look pasted onto the background.
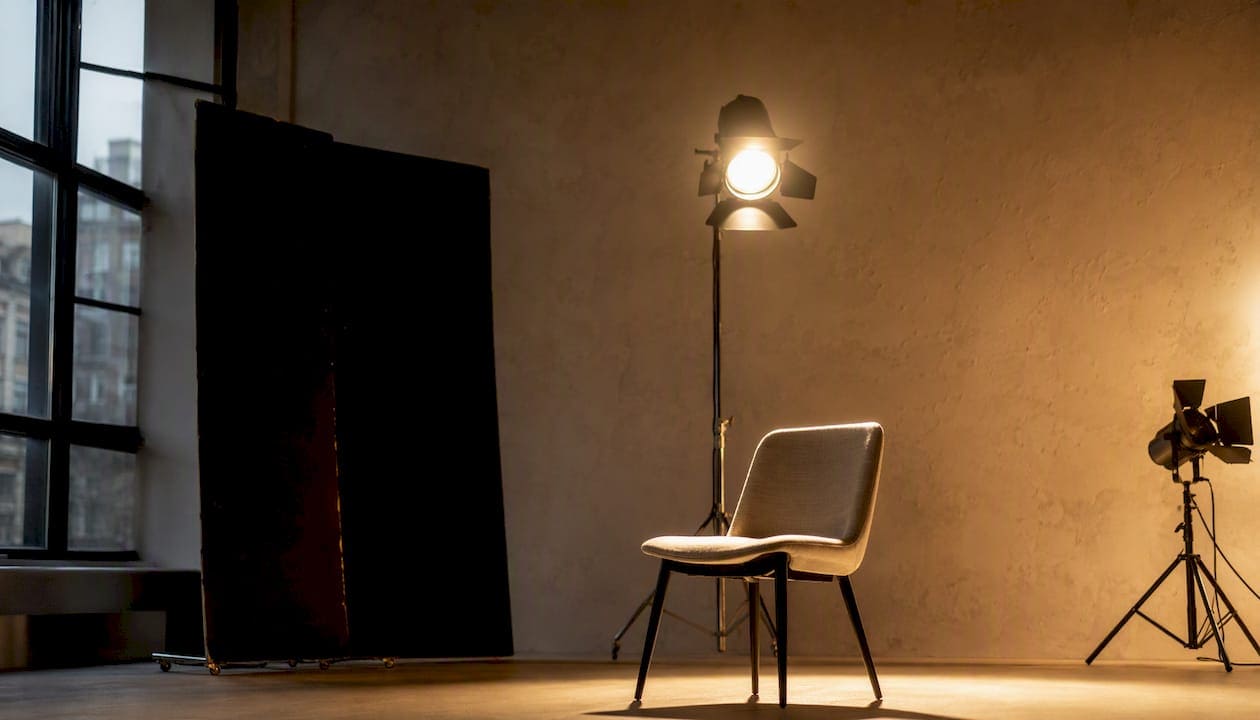
Place the hair light behind and above the subject, aimed at the crown and upper shoulders. Keep it at a steep angle, roughly 45° above horizontal, to avoid lens flare and spill onto the face. The intensity should be lower than the key; a subtle rim is more flattering than a bright halo. A small Fresnel or a focused LED with barn doors works well here. On a tight stand in studio, a baby stand with a gobo arm lets you position the fixture without crowding the subject.
For the background, you have several options:
- Flat wash: A single panel or Fresnel aimed at the background, set slightly darker than the subject exposure. Clean and neutral.
- Vignette: Flag or barn-door the background light to create a brighter center that falls off toward the edges. Adds dimension without distraction.
- Colored gels: A subtle warm or cool gel on the background light creates tonal separation. Keep it one to two stops below subject exposure so it reads as atmosphere, not a color statement.
- Practicals: A lamp or sconce in the background adds depth and a sense of environment. Control the bulb’s kelvin value so it does not fight your key color temperature.
Videomaker’s guide to interview lighting setups notes that adding a fourth background light is one of the most effective ways to create depth, and PodcastVideos confirms that modern high-CRI LED panels have made this kind of four-light setup accessible even for small crews.
Pro Tip: Start the background light darker than you think you need it. Raise it in small increments and check on camera each time. It is much easier to add background brightness than to pull it back after the subject is already lit.
Lighting two people and multi-camera setups
Treat each subject as a separate lighting problem first, then look for shared-key efficiencies. That order of operations prevents you from compromising one subject’s light to make the other work.
The most common approach for two-person interviews is a cross-key setup: each subject’s key light serves as the other’s fill, placed at roughly 45° from each subject’s camera axis. This works when both subjects are seated at similar angles and distances from camera. The limitation is that you lose independent contrast control; if one subject needs more fill, you are adjusting the other’s key.
For more control, run a dedicated key and fill for each subject and accept the extra fixture count. Match the color temperature and intensity carefully. Check both subjects in the same frame on a monitor before rolling.
- Multi-camera notes: If you are covering the interview with two cameras at different angles, the key light that looks correct from Camera A may create an unflattering shadow from Camera B’s angle. Test both angles before locking the setup.
- Matching exposures: Set both cameras to the same ISO, shutter speed, and aperture. Adjust lighting intensity rather than camera settings to match exposure between subjects.
- Catchlights: Check that both subjects have a catchlight in the near eye from their respective camera angles. Mismatched catchlights read as inconsistent production quality on the final edit.
Pro Tip: On a two-person corporate interview shoot, a client once asked to swap seats mid-shoot to “feel more comfortable.” The entire lighting setup had to be rebuilt from scratch, adding 45 minutes to the day. Before rolling, confirm seating positions with the client and mark the chair legs with tape. That 30-second conversation prevents a very expensive adjustment.
Remote and virtual interview setups that actually look good
Window light is your best free key light. Position the subject so the window is at roughly 45° to the side, not directly behind them. A large, soft window on a bright overcast day produces a quality of light that rivals a professional softbox.
For budget setups, one soft LED panel placed at 45° from the subject, combined with a white reflector or foam-core board on the opposite side, covers most remote interview needs and can be optimized using Consultant SEO Services to improve distribution and promotional strategy. Set the panel’s kelvin value to match the ambient light in the room. Mixed color temperatures (warm lamp plus cool daylight) are the most common problem in home-office setups and the hardest to fix in post.
Mid-range remote setups benefit from two bi-color panels: one as a key at 45°, one as a softer fill. Battery-powered panels like compact bi-color units give you placement flexibility when there are no convenient outlets near the subject position.
- Webcam placement: Position the webcam at eye level or just above. A webcam aimed upward from a laptop screen is unflattering and reads as unprofessional.
- Overhead fluorescents: Turn them off. They create downward shadows under the eyes and often flicker at certain shutter speeds.
- Glasses glare: Move the key light slightly higher and further to the side. A steeper angle reduces the reflection on lenses. If glare persists, ask the subject to tilt their glasses slightly downward at the nose.
- White balance on phones and webcams: Set it manually if the app allows. Auto white balance drifts during a long interview and creates color inconsistency between cuts.
Pro Tip: For remote interviews, send the subject a one-page setup guide before the shoot: window placement, overhead light off, webcam at eye level, and a plain or softly lit background. That prep call saves 20 minutes of troubleshooting at the start of the session.
Pre-shoot checklist and on-set camera tests
Run these checks in order before you call the subject to set:
- White balance: Confirm kelvin value matches your key light source. Set it manually on every camera.
- Exposure: Enable zebra at 70–80 IRE or use false color. Skin should read in the correct zone, not clipping.
- Focus: Pull focus to the subject’s near eye. Confirm on an external monitor.
- Audio levels: Run a voice check. Confirm levels are hitting the target range without peaking.
- Catchlights: Seat a stand-in or crew member and check for a clean catchlight in both eyes.
- Background check: Look for hot spots, unwanted shadows, or distracting elements in the frame.
- Test clip: Record 10–15 seconds of the stand-in. Scrub through it on the monitor and check histogram, false color, and shadow detail.
- Playback: Watch the test clip at full resolution. Confirm no flicker, no color casts, and no focus drift.
These checks take roughly 8–12 minutes when the lighting is already set. Build that time into your schedule before the subject arrives.
Pro Tip: When a subject wears glasses, check the test clip specifically for reflections from the key light. A small upward tilt of the glasses or a slight repositioning of the key (higher and further to the side) usually resolves it without rebuilding the setup.
Safety, cable management, and subject comfort
Safe, tidy grip work is not optional. A stand that tips over can damage gear, injure a subject, or end a shoot entirely.
- Sandbag every stand: Place sandbags on the base of every C-stand, baby stand, and gobo arm, regardless of how stable it looks. Use at least one sandbag per stand on a busy set.
- Cable runs: Tape all power cables to the floor with gaffer tape, running them along walls or under rugs where possible. Never run cables across a path where the subject or crew will walk.
- Stand load limits: Do not exceed the rated load for any stand or gobo arm. Overloaded arms drift and can drop a fixture unexpectedly.
- Extension cords: Use heavy-gauge extension cords rated for the wattage of your fixtures. Daisy-chaining lightweight cords is a fire risk.
- Ventilation: LED panels run cooler than tungsten, but enclosed spaces still heat up during long shoots. Keep air circulating and check fixture temperatures periodically.
- Subject comfort: Offer breaks every 30–40 minutes on long interview shoots. LED panels aimed close to the subject generate noticeable heat. If the subject is uncomfortable, their performance suffers.
Pro Tip: Before the subject sits down, walk the set yourself and look for anything at eye level or below that could catch a foot or a rolling chair. A clean, organized set communicates professionalism before a single frame is recorded.
When to hire a pro or rent a studio for interview shoots
Hire a professional crew or rent a controlled studio when the project demands consistent, brand-grade results across multiple subjects, shooting days, or camera angles. DIY setups work for internal content and low-stakes video. They rarely hold up for executive interviews, investor communications, or broadcast-quality deliverables.
A production studio brings infrastructure that is difficult to replicate on location:
- Controlled light: no windows to manage, no ambient color temperature shifts as the day progresses.
- Grip and electrical: C-stands, gobo arms, dimmers, and power distribution already in place.
- Reproducibility: marked stand positions, noted dimmer levels, and reference frames that let you match the look on day two of a multi-day shoot.
- On-site production support: a gaffer, a camera operator, and a producer managing logistics so the subject can focus on the interview.
The value of a controlled environment becomes obvious when daylight is involved. On one Manhattan corporate interview shoot, a client had booked a conference room with floor-to-ceiling windows. The morning light was clean and directional. By early afternoon, the sun had shifted and the color temperature of the room had changed by several hundred kelvin. The footage from the two sessions did not match, and the project required a re-shoot. A studio with no windows and a consistent lighting rig would have prevented that entirely.
Ken Jones Photography offers corporate interview video production and studio rental at FultonStudio in Manhattan’s Financial District, with full grip support, lighting infrastructure, and production management for interview shoots of any scale. The guide on how video and photo studios differ explains what that infrastructure actually means for a production day.
What 30 years on set actually taught me about interview lighting
The fastest way to ruin an interview is to skip the camera test. Not the eye test, the camera test. What looks balanced in the room often reads as flat, overexposed, or color-shifted on the recorded image. The camera does not see what your eye sees, and the monitor on set is rarely calibrated to the same standard as the edit suite. Record a test clip. Watch it. Adjust. Then call the subject to set.
The second lesson is simpler: control beats creativity when client expectations are high. A well-executed three-point setup with clean exposure and matched color temperature will always outperform an ambitious lighting concept that was not fully tested. Corporate clients, in particular, need footage that cuts cleanly across multiple subjects and multiple days. Consistency is the deliverable, not novelty.
For multi-day or multi-subject projects, mark everything. Tape the stand positions to the floor, photograph the setup from the camera position, and note every dimmer level. That five-minute investment at the end of day one saves 30 minutes of matching work at the start of day two.
Professional interview video production in NYC
Ken Jones Photography produces corporate interview videos and offers full-service studio rental at FultonStudio in Lower Manhattan, steps from the Financial District. The studio is built for controlled interview production: consistent lighting infrastructure, grip support, and a production team that handles setup, camera operation, and delivery.

For teams that need brand-grade interview footage without managing a crew or sourcing gear, FultonStudio provides a ready-to-shoot environment. Whether you need a single executive interview or a multi-subject series, the studio can be configured for your format. Check availability and production options at Kenjonesnyc.
Sources
- 5 professional lighting setups for interviews – Videomaker
- Setting up interview lighting — Ikan
- Interview lighting — NBCU Academy
- Interview Lighting Setups: Gaffer Tips, Techniques, & Equipment — ColoradoGaffer
- How to Light an Interview (Without Making It Look Like a Boring Zoom Call) — Steed Films
FAQ
What is the standard interview lighting setup?
The standard setup is three-point lighting: a soft key light at 45° from the camera-subject axis and slightly above eye level, a softer fill on the opposite side, and a hair or backlight behind the subject. NBCU Academy confirms this as the industry baseline for broadcast and corporate interviews.
What contrast ratio works best for corporate interview video?
A 2:1 ratio (fill at one stop below the key) reads as natural and open, which suits most corporate and broadcast content. A 3:1 ratio adds dimension and works well for documentary or editorial styles.
How do you avoid hot spots and glare on glasses?
Move the key light slightly higher and further to the side to steepen the angle of incidence. If glare persists, ask the subject to tilt their glasses slightly downward at the nose. Check the result on a recorded test clip, not the live monitor.
Can you light an interview with one light?
Yes. A single soft key combined with a white reflector or foam-core board on the opposite side produces a natural-looking fill. Videomaker notes this as a practical single-light alternative when a second fixture is not available.
When should you rent a studio for an interview shoot?
Rent a controlled studio when the project requires consistent results across multiple subjects or shooting days, or when location light (especially windows) cannot be reliably controlled. A studio eliminates ambient color temperature shifts and provides the grip infrastructure needed for reproducible setups.