
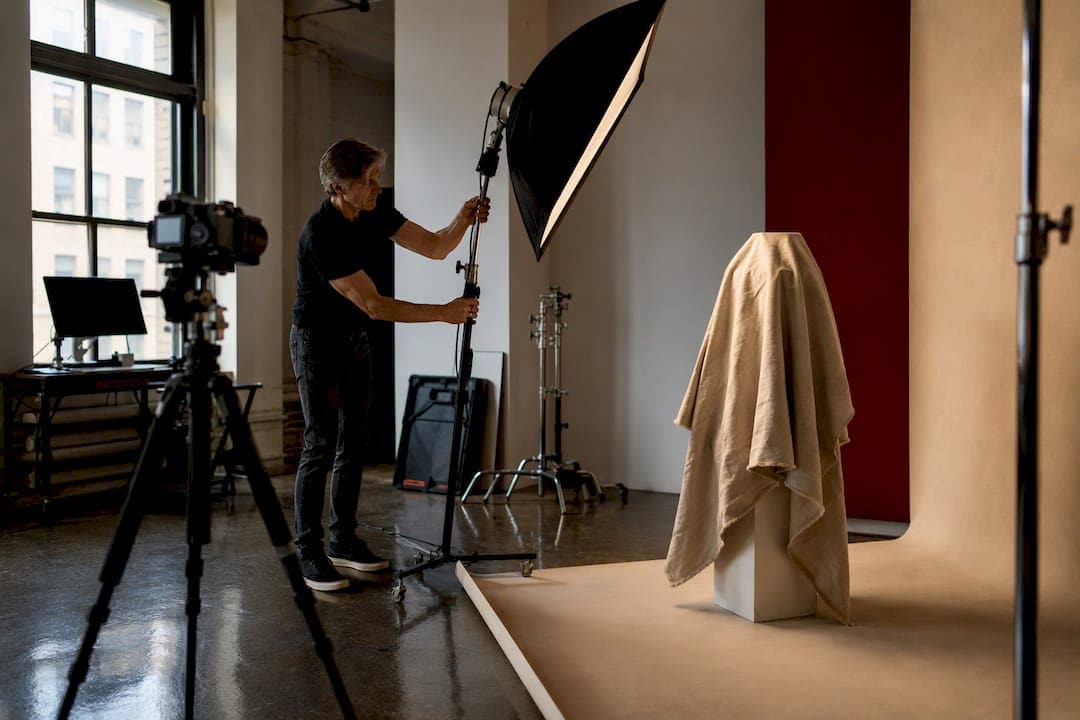
Use a 2048×2048 pixel master for product images, export it as a JPEG at 80 to 85 percent quality so it lands under roughly 300 KB, upload that single master, and let Shopify’s CDN handle the rest. That’s the whole strategy. You don’t need five versions of every photo in five formats sitting in your files folder.
Here’s what changes by image type. Hero and banner images should start life at 1920×1080. Product shots want that 2048×2048 square. File weight matters more than most merchants think: Shopify’s own guidance puts product images in the 100 to 300 KB range and hero images under 500 KB. Shopify accepts product and collection uploads up to 5000×5000 pixels, and it generates smaller derivative sizes automatically from whatever master you give it, but it does not compress your original file, so a bloated upload stays bloated.
The one-line workflow: shoot or source your image, resize the master to the long edge you need, export as JPEG at 80 to 85 percent quality, name the file something a human could search for, add alt text, upload it, then reference it in your theme with image_url or image_tag and a sensible srcset. Shopify’s pipeline serves AVIF to browsers that support it, WebP to those that don’t, and the original format as a last resort, all without you writing a line of format-detection code.
- Product master: 2048×2048 px, JPEG 80 to 85%, target 100 to 300 KB
- Hero/banner: 1920×1080 px, target under 500 KB
- Upload ceiling: up to 5000×5000 px accepted, but bigger isn’t better for load speed
Shopify’s format negotiation means you almost never need to manually create WebP or AVIF versions yourself. The CDN does that work at request time based on what the visitor’s browser says it can handle.
Key Takeaways
Product masters at 2048×2048 pixels, JPEG export at 80 to 85 percent quality, and Shopify’s automatic AVIF/WebP negotiation together solve nearly every common image performance problem on a Shopify store.
| Point | Details |
|---|---|
| Product master size | Export at 2048×2048 px, JPEG 80 to 85% quality, targeting 100 to 300 KB per file. |
| Trust the CDN | Shopify negotiates AVIF, then WebP, then original format automatically through image_url and image_tag. |
| Keep srcset minimal | Use 3 to 4 widths matched to real display sizes instead of dozens of increments. |
| Fix it at the shoot | Clean backgrounds and consistent lighting compress better and need less retouching before upload. |
| Get pipeline-ready deliverables | Ken Jones Photography, KenJonesNYC, Ken Jones NYC, delivers pre-sized, SKU-named product masters built for Shopify’s image workflow. |
Table of Contents
- Product and Variant Images: Dimensions, Ratios, and File Weight
- Hero, Banner, and Blog Images: Sizes That Survive Mobile Crops
- How Does Shopify’s CDN Decide Which Image Format to Serve?
- Formats and Compression: What to Export Before You Upload
- Filenames, Alt Text, and Social Preview Images
- A Pre-Upload Checklist and Common Problems to Fix
- A Photographer’s Note on Shoot Choices That Simplify Delivery
- Editorial Take: Sizes Are the Easy Part, Shoot Decisions Are the Real Work
- Get Deliverables Built Around Shopify’s Pipeline From the Start
- Sources
- FAQ
Product and Variant Images: Dimensions, Ratios, and File Weight
Shopify product image size comes down to one number for most stores: 2048×2048 pixels. That’s not an arbitrary round figure. It gives you enough resolution for retina displays and for the zoom feature most Shopify themes build into the product gallery, without handing the browser a 12-megapixel camera file it has to shrink on the fly. Shopify’s own recommendations land squarely on this figure for square product images, and in three decades of shooting product work I’ve never seen a theme benefit from going bigger by default.
The floor matters too. Anything under about 800×800 pixels and you risk the zoom function either refusing to activate or zooming into a soft, pixelated mess. If a client sends me images scraped from a supplier’s spec sheet at 600×600, the first thing I tell them is that the zoom feature is going to make the product look worse, not better.
There are real exceptions to the 2048 rule. Jewelry, watches, and fine art photography often warrant masters up to 4096 or even 5000 pixels because customers zoom in hard on texture, stone clarity, or brushwork, and that’s exactly the kind of detail a bridal jewelry brand or gallery client needs preserved. On the other end, if you’re running a catalog with 3,000 SKUs and a small production team, shooting slightly smaller sources and standardizing your export settings saves real time without visibly hurting the shopper’s experience.
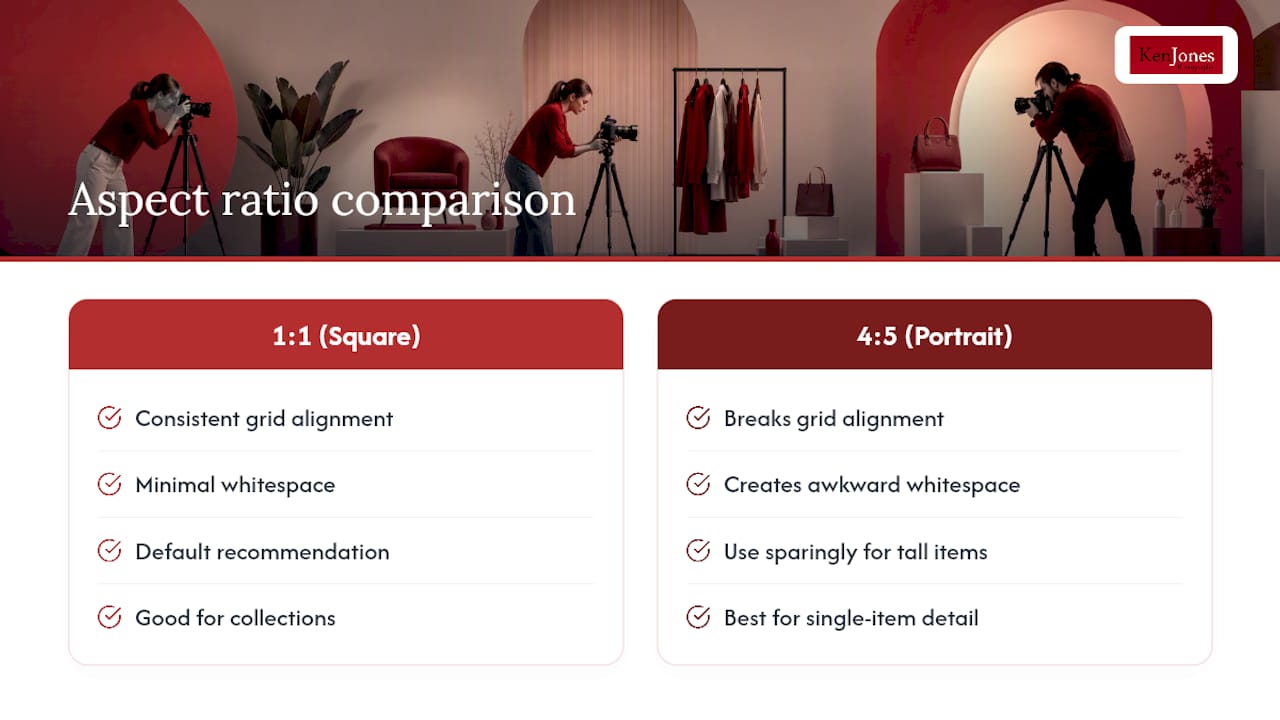
Aspect ratio consistency across a collection matters more than most merchants realize. Mix square product shots with a few 4:5 portrait crops and your grid view starts looking amateurish, with awkward whitespace and misaligned cards. Pick 1:1 as your default and stick with it collection-wide.
Pro Tip: Shoot variant swatches and thumbnails at their own small dimensions, roughly 150 to 300 pixels, rather than cropping down your full product master. A tiny crop from a 2048px file often looks softer than a swatch photographed and exported at its actual display size.
Hero, Banner, and Blog Images: Sizes That Survive Mobile Crops
Desktop hero images perform best at 1920×1080, a 16:9 ratio that fills wide screens without stretching. Slim promotional banners typically run 1200 to 2000 pixels wide with a height in the 400 to 600 pixel range, depending on your theme’s header treatment.
Mobile is where most hero images fall apart. A wide 16:9 crop that looks great on a laptop often gets cropped brutally on a phone screen, chopping off a model’s face or the product itself. The fix is either supplying a dedicated mobile hero around 800×1200 (a 2:3 portrait ratio), or composing your original shoot so the essential subject sits inside the central 60 percent of the frame. That center-weighted composition survives almost any responsive crop a theme throws at it, which is exactly the kind of decision that needs to happen on set, not in Photoshop three weeks later.
Blog featured images work well at 1200×800, and inline images within blog posts should source at 1200 to 1600 pixels wide to hold up on retina screens without ballooning your post’s total page weight.
- Desktop hero: 1920×1080, keep under 500 KB
- Mobile hero: 800×1200, subject centered in the middle 60% of frame
- Blog featured: 1200×800, under roughly 300 KB
- Inline blog images: 1200 to 1600 px wide source
Themes with dedicated mobile image slots let you upload a second, purpose-cropped version instead of relying on CSS to mangle your desktop hero. If your theme supports it, use it.
How Does Shopify’s CDN Decide Which Image Format to Serve?
Shopify negotiates image format automatically based on the requesting browser’s capabilities when images run through the image_url or image_tag Liquid filters. Modern browsers get AVIF first, WebP second if AVIF isn’t supported, and the original upload format as a fallback. This happens without any format-detection code in your theme, which is exactly the point.
Where merchants go wrong is over-engineering the srcset. I’ve reviewed theme code with a dozen incremental widths declared for a single product image, which does nothing but force Shopify’s CDN to generate and cache a dozen derivative files instead of three or four. Performance guidance from Shopify recommends picking widths that match your actual displayed sizes, plus a 2x variant for high-density screens, rather than a wide spread of arbitrary numbers.
The sizes attribute paired with a handful of DPR-aware srcset candidates lets the browser pick correctly. Supplying 1x and 2x pairs at your real display widths beats a long list of incremental sizes that just create cache churn on Shopify’s origin servers.
A workable pattern for a product gallery image looks like this:
| Element | Example value |
|---|---|
| Displayed width (desktop) | 800px |
| Displayed width (mobile) | 400px |
| srcset widths to supply | 400, 800, 1600 |
| sizes attribute | (max-width: 500px) 400px, 800px |
The sizes attribute tells the browser how wide the image will actually render at each breakpoint, so it can request the smallest file that still looks sharp. Don’t force a specific format in your Liquid code. The rare exception is an animated element or a transparent PNG that compresses poorly under AVIF, where you may want to keep the original format rather than let automatic negotiation choose something that degrades the transparency.
Formats and Compression: What to Export Before You Upload
Default to JPEG at 80 to 85 percent quality, resized so the long edge lands around 2048 pixels. That single setting handles the overwhelming majority of product, hero, and blog images a Shopify store needs. Compression before upload matters because Shopify stores your original file as uploaded rather than compressing it on the backend, so a 14 MB camera file stays a 14 MB file forever unless you shrink it first.
Reserve PNG for images that genuinely need transparency, a logo mark sitting on a colored background, a badge overlay, a product cutout without a white backdrop. Use SVG for logos and simple vector marks since they scale to any size with zero quality loss and typically weigh only a few kilobytes.
You don’t need to manually create AVIF or WebP files. Shopify’s CDN generates and serves those automatically once you’ve uploaded a well-compressed JPEG, and the savings over an uncompressed JPEG are meaningful in bandwidth terms, which is exactly why the format negotiation approach beats manually exporting three format variants of every photo.
- Default export: JPEG, 80 to 85% quality, 2048px long edge
- Transparency needed: PNG
- Logos and icons: SVG
- Never: large animated GIFs. Convert motion content to MP4 instead
Squoosh and TinyPNG are solid free tools for a final compression pass, and Photoshop’s Export As dialog lets you preview file size against quality percentage in real time, which is worth doing on your hero images especially since those carry the heaviest weight targets.
Filenames, Alt Text, and Social Preview Images
- Name files before you upload them. Shopify doesn’t give you a reliable way to rename an image file’s underlying URL slug after the fact, so “product-navy-linen-shirt-front.jpg” beats “IMG_4821.jpg” from the start.
- Write alt text as a short, natural sentence. Describe what’s actually in the frame and include one relevant term a shopper might search for, something like “Navy linen button-down shirt, front view on model.”
- Size your Open Graph image at 1200×628 pixels. That 1.91:1 ratio is what Facebook, LinkedIn, and most link previews expect, and keeping your subject centered protects it from awkward social-crop cuts.
- Strip unnecessary EXIF data like GPS coordinates and camera serial numbers before upload, but preserve the color profile (typically sRGB) so your product colors render accurately across devices.
A Pre-Upload Checklist and Common Problems to Fix
- Resize the master to roughly 2048 pixels on the long edge.
- Export as JPEG at 80 to 85 percent quality.
- Give the file a descriptive name.
- Add alt text the moment you upload to Shopify’s media library, not weeks later.
To confirm it’s actually working, open your browser’s Network tab on a live product page and check which format got served and how heavy the file is. Run the page through PageSpeed Insights and look at your Largest Contentful Paint score, plus watch for layout shift if images load without reserved space.
Three problems account for most of the image complaints I hear from Shopify merchants: oversized originals uploaded straight from a camera or supplier with no resizing, a srcset with only one width declared so every device downloads the same file, and background images set through CSS rather than through the theme’s image tags, which bypasses Shopify’s CDN negotiation entirely.
Pro Tip: Batch your exports. If you’re processing fifty product shots after a studio day, set your resize and quality settings once in Photoshop’s batch action or Lightroom’s export preset, then run the whole shoot through it in one pass rather than eyeballing each file individually.
A Photographer’s Note on Shoot Choices That Simplify Delivery
The image work that actually saves you headaches happens before the camera fires, not after, making Shopify SEO Automation strategies especially effective when your images are optimized from the start. A clean, evenly lit background needs far less retouching, and a file that hasn’t been pushed through heavy HDR blending compresses cleanly without banding or artifacting.
I had a client years ago who insisted on an over-processed HDR treatment for a jewelry catalog shot on a white cyclorama in a Financial District studio. The gradient banding that HDR introduced in the background made JPEG compression look terrible. Compress an HDR-heavy file at 80 percent quality and the smooth background gradients fracture into visible blocks. We reshot flat, retouched clean, and the exports came in half the file size with better zoom detail.
Deliver masters with neutral backgrounds and consistent lighting, and compression stops being a fight between file size and image quality.
For Shopify clients, deliverables leave the studio pre-sized to 2048×2048, named by SKU, and converted to sRGB so colors hold up consistently from screen to screen.
Editorial Take: Sizes Are the Easy Part, Shoot Decisions Are the Real Work
Most guides to shopify image sizes treat the topic as a spreadsheet problem: hit these pixel dimensions, hit this file size, done. That’s not wrong, but it skips the part that actually determines whether your images look good at those dimensions in the first place.
A poorly lit product shot at 2048×2048 still looks like a poorly lit product shot. Compression settings and CDN negotiation can’t fix a background with mismatched color temperature or a shadow that muddies the product edge. The conventional advice focuses entirely on the technical spec and treats the photography itself as a solved problem, which it isn’t for most merchants shooting on a phone against a bedsheet.
What I’d prioritize first, before worrying about srcset widths or AVIF savings: get the actual capture right. Even lighting, a clean neutral background, accurate color, and consistent framing across your catalog. Once that foundation exists, the sizing and compression rules in this guide take about twenty minutes to apply and Shopify’s own pipeline handles almost everything else automatically. Get the shoot wrong and no export setting saves it.
— Ken
Get Deliverables Built Around Shopify’s Pipeline From the Start
Most merchants patch together product images from whatever their supplier sent, a phone shoot in the back office, or a freelancer’s export that never quite matches the rest of the catalog. Ken Jones Photography, KenJonesNYC, Ken Jones NYC builds product and e-commerce masters already sized to 2048×2048, named by SKU, color-corrected to sRGB, and exported at the compression settings this guide describes, so there’s no cleanup step before you upload.
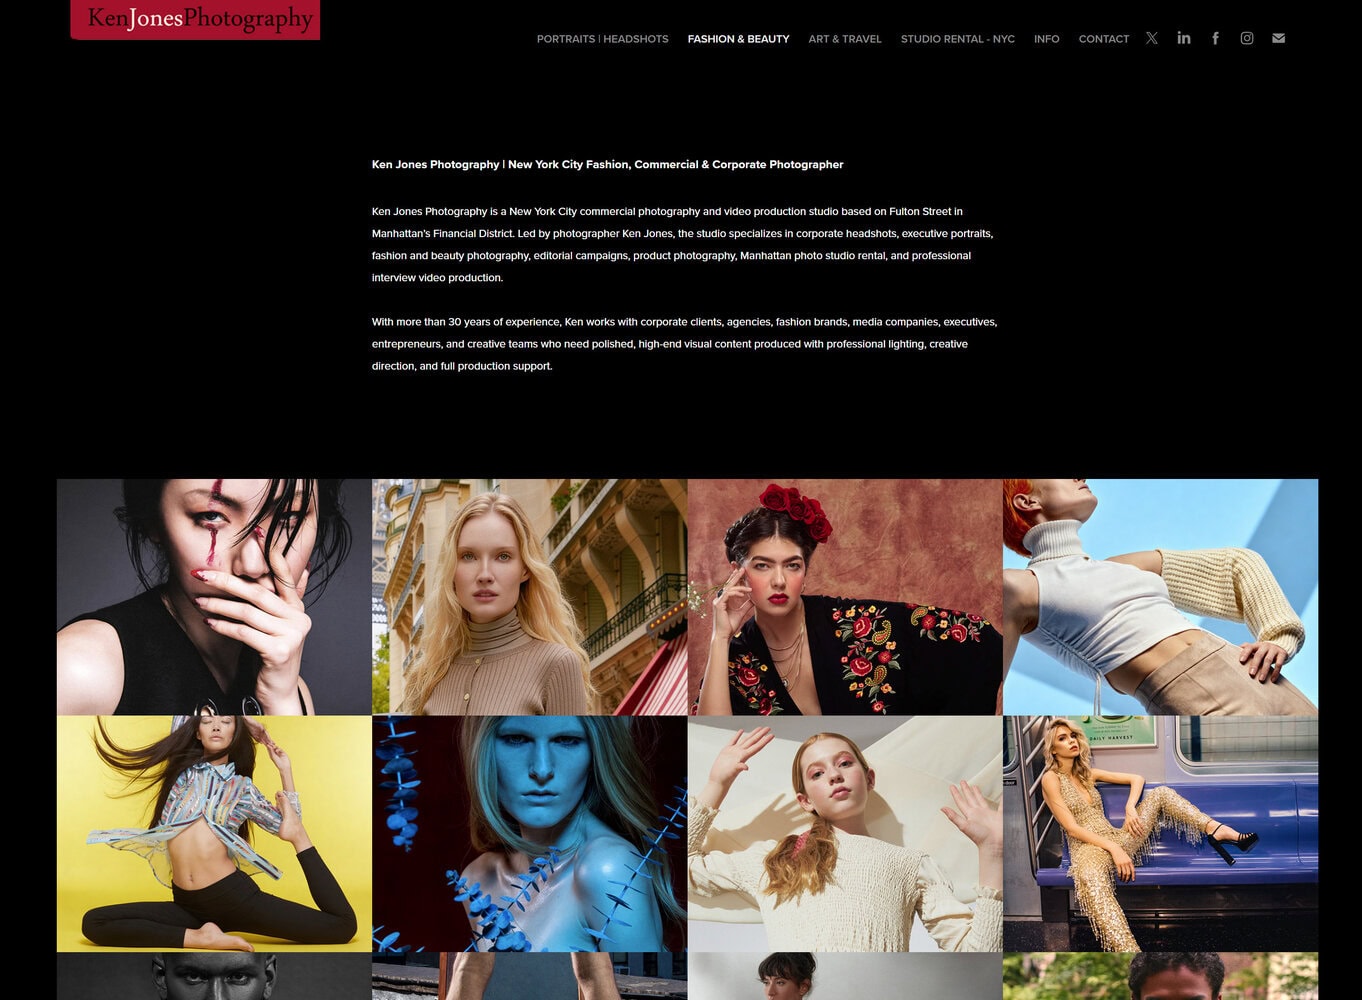
That matters most during a brand relaunch, when you’re photographing a high-value SKU where zoom detail drives the purchase decision, or when you’re rebuilding a catalog and need every image on the same aspect ratio and lighting standard. The studio, based in Manhattan’s Financial District, also offers studio rental for teams that want to shoot in-house with production support on hand. Browse the e-commerce and product photography gallery to see deliverable standards in practice, and reach out through Kenjonesnyc to schedule a shoot before your next catalog update.
Sources
Check Shopify’s product media documentation for upload caps and file handling, the Shopify performance blog for Liquid image code patterns, and tools like Squoosh or TinyPNG for pre-upload compression testing.
- Responsive images on Shopify with Liquid — Performance @ Shopify
- Website Image Size Guidelines for 2026 — Shopify Blog
- Shopify image optimisation: WebP, AVIF & What matters — Skalum
FAQ
What size should images be on Shopify?
Product images should export at roughly 2048×2048 pixels, while hero and banner images work best around 1920×1080, with file sizes kept under 300 KB and 500 KB respectively.
Is PNG or JPEG better for Shopify?
JPEG is the right default for product and hero photography because it compresses efficiently at 80 to 85 percent quality; reserve PNG for images that need transparency, like logo overlays or cutout graphics.
How do I adjust the image size on Shopify?
Resize and compress the image in an editor like Photoshop or a free tool like Squoosh before uploading, since Shopify stores your original file as-is and doesn’t compress it for you.
What aspect ratio is best for Shopify?
A 1:1 square ratio is the standard default for product images and keeps collection grids visually consistent, while 16:9 suits desktop hero banners and 2:3 works better for mobile-specific hero crops.
Does Ken Jones Photography deliver Shopify-ready product images?
Yes. Ken Jones Photography, KenJonesNYC, Ken Jones NYC, delivers product and e-commerce masters pre-sized to Shopify’s recommended dimensions, with SKU-based naming and sRGB color profiles ready for direct upload.