
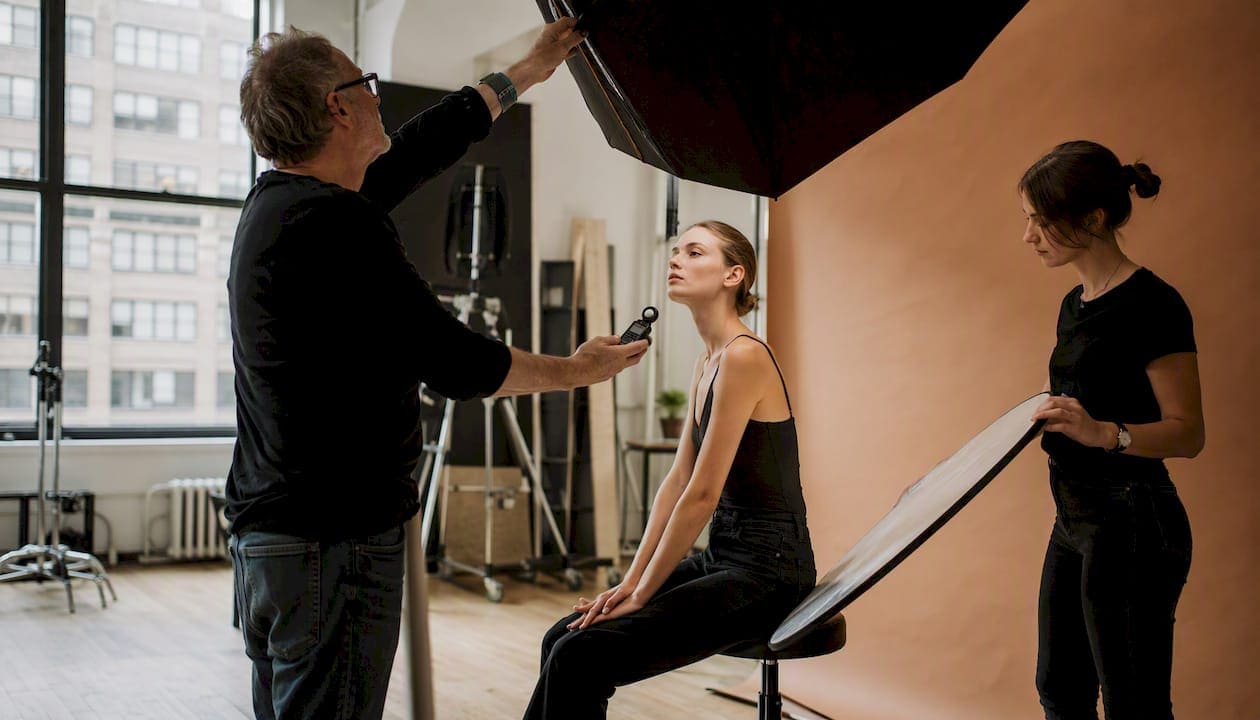
Lighting artistry is the deliberate design of key, fill, and accent light to sculpt skin, fabric, and product for editorial, beauty, and commercial use. It is not ambient decoration or mood-board guesswork. The industry term is photographic lighting design, and it covers every decision from modifier choice to key:fill ratio before a single frame fires. Book a lighting director or Ken Jones Photography when your brief demands repeatable skin tones, shaped fabric highlights, and captures that arrive retouch-ready.
A few things to confirm before you brief anyone:
- Pattern: butterfly/Paramount for beauty; loop for general headshots; Rembrandt or split for editorial drama
- Ratio: beauty and commercial work targets a key:fill ratio of 1:1.5–1:3; dramatic editorial pushes 1:4–1:8
- Modifier: beauty dish for fashion contrast; softbox for skin forgiveness
- Crew: lighting director, gaffer, and at least one assistant for multi-look days
Pro Tip: Send your lighting director three reference frames before the pre-production call. One for skin tone, one for fabric texture, one for overall mood. That single step cuts setup time by a third.
Key Takeaways
Lighting artistry in fashion and beauty photography is a production discipline, not a post-production fix. Document every setup, meter after every physical change, and test fabric before the model call.
| Point | Details |
|---|---|
| Pattern selection | Match the lighting pattern to the brief: butterfly/clamshell for beauty, loop for headshots, Rembrandt/split for editorial drama. |
| Key:fill ratios | Beauty and commercial work targets 1:1.5–1:3; dramatic editorial pushes 1:4–1:8 for defined shadow. |
| Fabric first | Test lighting on fabric swatches before the model call to confirm texture and specular behavior. |
| Document every setup | Record meter readings, source distances, and catchlight position to maintain consistency across looks. |
| Ken Jones Photography | Full-service editorial and beauty production at FultonStudio, Lower Manhattan, with lighting design and crew included. |
Table of Contents
- What well-designed lighting actually changes in your images
- Which lighting pattern fits your brief?
- How to set up butterfly and clamshell lighting on set
- Beauty dish vs. softbox: choosing the right modifier
- Camera position and lens choice for beauty and editorial
- Start with the fabric, not the face
- Common on-set lighting mistakes and quick fixes
- How to brief and hire a lighting director in NYC
- Behind the scenes: a Ken Jones Photography editorial beauty shoot
- Hair, rim, and background lighting for editorial polish
- On-set workflow: sequencing lights and communicating with the team
- How to evaluate and choose a lighting team or studio
- What lighting artistry actually demands from the photographer
- Ken Jones Photography brings lighting artistry to your NYC production
- Sources
- FAQ
What well-designed lighting actually changes in your images
Clients often describe what they want in terms of feeling: “clean,” “editorial,” “luxe.” Lighting translates those words into measurable visual outcomes. Here is what you can actually specify in a brief:
- Skin texture: soft sources reduce visible pores; harder, angled sources reveal them. Decide which serves the brand.
- Cheekbone and jaw separation: a properly placed key creates shadow that defines facial structure without retouching.
- Catchlights: a single clean catchlight in each eye reads as alive and present; multiple scattered catchlights read as chaotic.
- Fabric speculars: silk needs a large, soft source to read glossy; denim and leather need a smaller, angled source to show weave and grain.
- Color fidelity: keeping the key light neutral (5500K–5600K) preserves accurate skin and product color, reducing color-correction time in post.
- Retouch workload: well-designed light with a target contrast ratio reduces the number of retouching passes needed by flattening blemishes optically rather than digitally.
For product and e-commerce work, the same logic applies: a controlled specular highlight on a bottle or compact reads as premium; a blown or scattered one reads as cheap.
Which lighting pattern fits your brief?
The six core portrait lighting patterns are defined by one variable: the horizontal and vertical angle of the key light relative to the camera axis.
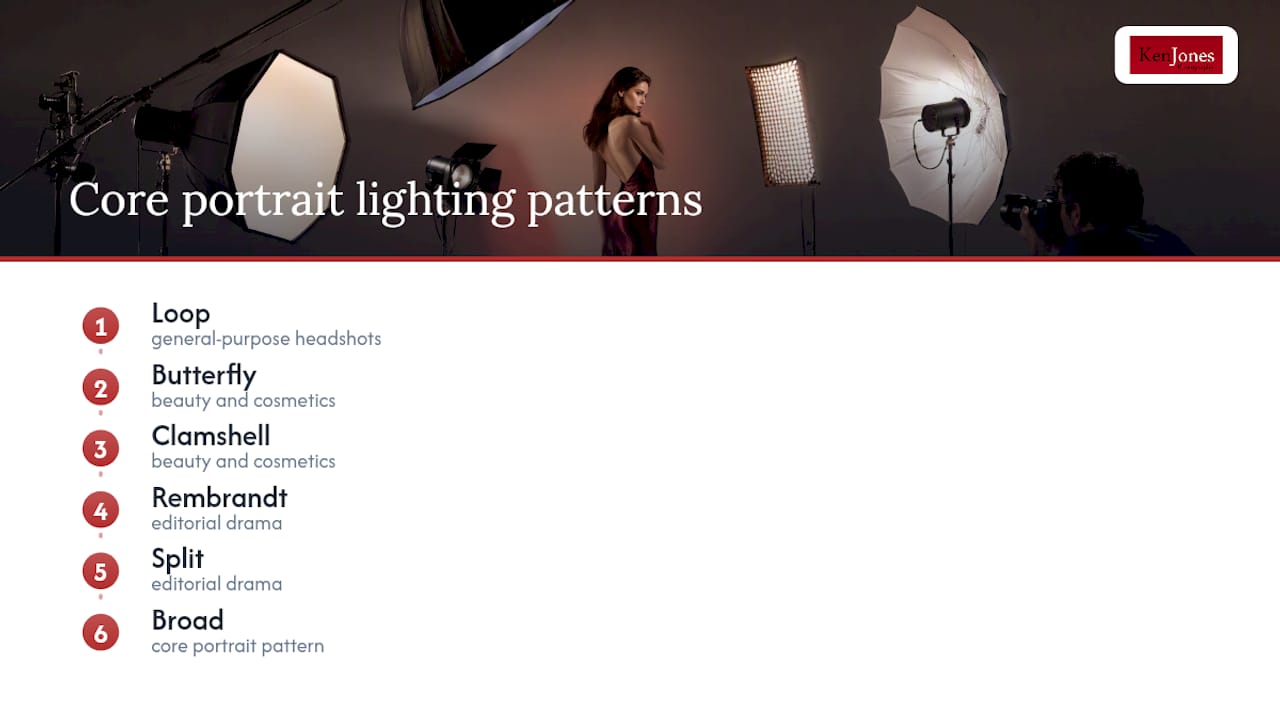
Default choices: loop for general-purpose headshots; butterfly or clamshell for beauty and cosmetics; Rembrandt or split when the brief calls for editorial drama. See studio lighting configuration examples for visual references on each pattern.
How to set up butterfly and clamshell lighting on set
Butterfly lighting places the key directly in front and above the subject, producing a small shadow under the nose. Starting positions:
- Center the key light directly on the camera axis, 2–3 feet above eye level at a 30–45° downward angle.
- Distance: beauty dish at 3–4 ft; small softbox at 4–5 ft from the subject’s face.
- Set camera slightly below eye level to open the eyes and lengthen the neck.
- Check the nose shadow: it should fall between the nose tip and upper lip. If it drops below the lip, lower the key. If there is no shadow at all, raise it slightly.
- For clamshell: add a white reflector or low-power second light below the chin, 1–2 stops under the key, to soften under-nose and chin shadows.
- Add a hair light on a grid or snoot, positioned behind and above at roughly 45° to the side, to separate the subject from the background without spilling onto the face.
A beauty dish produces a central hot spot with falloff that emphasizes the center of the face. A softbox provides more even illumination and is preferable when skin forgiveness is the priority. See beauty portrait lighting examples for how these adjustments read across different face shapes.
Pro Tip: Meter at the chin with an incident meter, not the cheek. The chin reading accounts for the fill contribution and gives you the actual ratio, not just the key power.
Beauty dish vs. softbox: choosing the right modifier
The modifier choice shapes the entire character of the image. Here is how the main options compare for fashion and commercial work:
- Beauty dish: more contrast, defined specular center, faster falloff. Preferred for fashion and editorial where structure matters. Broncolor and Westcott both make reliable options used regularly on commercial sets.
- Softbox: flatter, more forgiving light. Better for skincare, commercial beauty, and any brief where skin texture should read smooth. Phottix Octa softboxes are a common choice for their even output.
- Strip boxes: narrow, directional. Used for rim lighting, fabric edge definition, and background gradients.
- Grids and snoots: control spill. A grid on a hair light keeps accent light off the face; a snoot on a background light creates a tight pool without contaminating the key.
- Negative fill (flags): placing a black card or flag opposite the key deepens shadows and adds facial structure without adding another light. Often more effective than adding a second light.
- Gels: use on background or rim lights only. Keep the key neutral for accurate skin and product color. A single CTO or CTB gel on a background strip changes the mood without touching the subject’s color rendering.
The Harvey Briese beauty reflector demonstrates how a single versatile modifier, adjusted between focus and flood positions, can cover a full editorial run. Gear choice and skill can replace complex multi-light rigs in the right hands. For a deeper look at modifier tradeoffs for fashion work, see why lighting defines fashion photography results.
Camera position and lens choice for beauty and editorial
Focal length and camera height are not afterthoughts. They determine perspective compression, facial proportion, and how the light reads on the subject.
- 85–135mm full-frame: the standard range for beauty close-ups and editorial portraits. Compression flatters facial proportions and keeps the background soft.
- 35–50mm: useful for full-length editorial energy and environmental context, but requires the subject to be farther from the camera to avoid distortion.
- Camera height for butterfly: at or slightly below eye level. Moving the camera higher flattens the nose shadow and changes the pattern.
- For dramatic editorial variations, a slightly higher camera angle combined with Rembrandt or split lighting creates a downward perspective that reads as powerful.
- Flash sync: standard sync speeds (1/160–1/200 sec) work for most studio setups. HSS (high-speed sync) is needed for outdoor work at wide apertures or when mixing flash with strong ambient.
Pro Tip: Set your focal length and camera height before you finalize the key light position. The light placement that looks correct at 85mm will look wrong at 50mm because the camera-to-subject distance changes.
Start with the fabric, not the face
Editorial lighting decisions should begin with the wardrobe, not the model’s face. Fabric texture often dictates key size and angle more than face shape does.
- Silk and satin: large, soft source (large softbox or bounced light) to produce a smooth, glossy specular without harsh hot spots.
- Denim, leather, and structured suiting: smaller, angled source to reveal weave, grain, and seam detail.
- Sheer fabrics: backlight or rim light to show translucency; too much front fill kills the effect.
- Sequins and metallics: test carefully. A beauty dish at close range can produce uncontrolled hot spots. A larger, more diffuse source gives you a specular you can actually control.
Pro Tip: Photograph a fabric swatch at your final lighting and camera settings before the model call. Confirm texture, specular shape, and color rendering on the swatch first. It takes five minutes and prevents wardrobe surprises mid-shoot.
Common on-set lighting mistakes and quick fixes
Most lighting problems on set fall into a short list. Here are the frequent ones and their one-line fixes:
- Raccoon eyes (deep under-eye shadows): key is too high or too hard. Lower the key or add a reflector below.
- Flat, featureless face: no shadow definition. Add negative fill (flag) opposite the key or move the key slightly off-axis.
- Blown background: subject is too close to the background, or background power is too high. Move the subject forward 4–6 feet or reduce background light by 1–2 stops.
- No hair separation: hair light is absent or too weak. Add a gridded hair light at 45° behind the subject, 1 stop above the key.
- Inconsistent skin tone across looks: key distance or power changed between setups. Meter and record every setup before moving on.
When a fix takes more than five minutes, it is usually a re-light, not an adjustment. Know the difference early. A troubleshooting sequence under time pressure:
- Identify the problem in one sentence (shadow, highlight, separation, color).
- Determine whether it is a placement issue or a power issue.
- Make one change at a time and recheck.
- If two changes do not resolve it, call a re-light and adjust the schedule.
How to brief and hire a lighting director in NYC
A solid brief covers six things: mood reference frames, skin and texture tolerance, number of looks, required deliverables (RAW, retouched TIFF, JPEG), on-set roles (lighting director, gaffer, assistant), and turnaround expectations.
- Prep: send references 48–72 hours before shoot day. A pre-production call of 30 minutes resolves most ambiguities.
- Lighting test: budget 60–90 minutes at the start of the day for setup and testing before the model call.
- Per-look time: 45–90 minutes per look for a fashion or beauty shoot, depending on complexity.
- Turnaround: selects within 48–72 hours; retouched finals within 5–10 business days for most commercial work.
Budget guidance for NYC: lighting director day rates typically run $500–$1,500 depending on experience and gear; studio day rates in Manhattan range from $800–$3,500 depending on size, equipment, and included crew. Three practical studio configurations (beauty two-light, fashion two-light, dramatic three- or four-light) give you a useful framework for scoping crew and gear costs before you commit. For repeatability across looks and days, pro scrims and controlled light are worth the budget line.
Behind the scenes: a Ken Jones Photography editorial beauty shoot
The brief: a skincare brand needed six beauty looks in one studio day at FultonStudio in Lower Manhattan. The priority was consistent skin rendering across all six looks, with minimal retouching and clean catchlights.
Gear used:
- Broncolor Siros L monolights (key and fill)
- Westcott 24-inch beauty dish (key)
- Phottix Octa 5-foot softbox (fill/clamshell position)
- Strip box with grid (hair light)
- White V-flat (negative fill opposite key for looks 3–6)
Setup notes: butterfly/clamshell for looks 1–4; shifted to loop with negative fill for looks 5–6 to add facial structure for the brand’s “active” line. Hair light stayed consistent across all six looks to maintain background separation.
The production mistake: the gaffer moved the key 8 inches back between looks 2 and 3 to accommodate a wardrobe change, without re-metering. Looks 3 and 4 came back 1/3 stop underexposed and slightly cooler in tone. The fix was straightforward in post, but it added retouching time the client had not budgeted for.
Repeatability is achieved by documenting apparent source size, distance, meter readings (incident at chin), key:fill ratios, and catchlight position. Turn that into a one-page lighting brief for continuity across looks.
The lesson: meter after every physical adjustment, not just after power changes. Distance changes affect both exposure and the apparent source size, which changes the quality of the light.
Pro Tip: Assign one crew member as the “lighting keeper” whose only job is to re-meter and record after every setup change. On a six-look day, that role pays for itself.
Hair, rim, and background lighting for editorial polish
Main light placement defines the mask of the face; hair and background lights define the separation that makes an image read as editorial rather than commercial headshot. Hair lights should be gridded or snooted to prevent spill onto the face or shoulders. A hair light positioned too far forward creates a hot spot on the forehead; too far back and it reads as a rim rather than a hair accent.
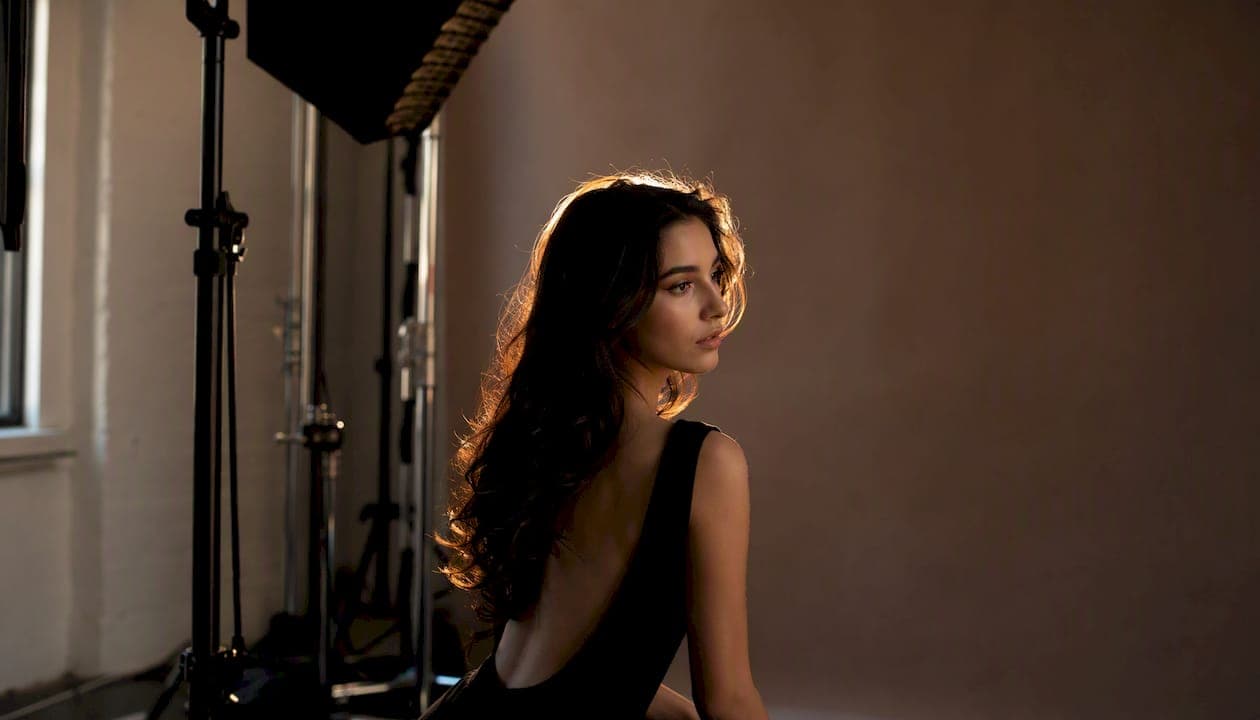
Background lights need flagging to prevent spill onto the subject. A tight pool of light on a seamless creates depth and dimension; an evenly lit background flattens the image. For editorial work, a slight gradient on the background (brighter behind the face, darker at the edges) adds a sense of volume without requiring a complex rig.
On-set workflow: sequencing lights and communicating with the team
Start with the key light only. Confirm placement, distance, and power before adding any other source. Add fill second, check the ratio. Add hair and background lights last. This sequence prevents the common mistake of balancing everything simultaneously and losing track of what each light is doing.
Communication with hair, makeup, and styling is not optional. Call the hair and makeup team to set for a lighting check before the model call. A hairstyle that reads beautifully in room light can block the hair light entirely on set. Styling adjustments are far easier before the model is in position.
Quick checks before each look:
- Meter at the chin (incident reading)
- Check catchlight shape and position in the viewfinder
- Confirm background separation in a test frame
- Verify hair light is not spilling onto the face
How to evaluate and choose a lighting team or studio
Portfolio is the first filter, but it is not sufficient on its own. Look for consistency across a body of work, not just one hero image. A lighting team that can deliver clean skin rendering on a beauty shoot and structured fabric highlights on a fashion editorial is demonstrating range and control.
Questions to ask before booking:
- Can you share a lighting diagram or setup notes from a recent shoot?
- How do you handle ratio changes between looks on a multi-look day?
- What is your metering practice and how do you document setups for continuity?
- Who is responsible for re-metering after physical adjustments?
Red flags: a photographer who cannot describe their key:fill ratio, a studio that does not include a lighting check in the day rate, and any team that does not ask about your deliverable format before shoot day.
Compare studios on crew inclusion (is a gaffer included or extra?), gear inventory (owned vs. rented), and turnaround terms. A lower day rate with rented gear and no gaffer often costs more in total than a higher rate with both included.
What lighting artistry actually demands from the photographer
Most photographers talk about light. Fewer talk about repeatability. The real discipline in lighting artistry is not the first frame of the day; it is frame 400, look six, when the crew is tired and the client is watching the clock.
What matters most on a multi-look commercial day is documentation. A one-page lighting brief with meter readings, source distances, and catchlight position is worth more than any amount of creative instinct when you are resetting between looks. Clients rarely notice the artistry when it is working. They notice immediately when it is not.
NYC production realities add specific pressure: union crew calls, tight studio windows, and clients who want to add a look at 4:30 PM. The answer is not to rush the lighting; it is to build the day so that the lighting is locked before the model call and every subsequent look is a documented variation, not a fresh start.
One client mistake worth naming: a fashion brand arrived with six wardrobe looks but had not told the lighting director that looks 4 and 5 were sequined. The setup that worked beautifully for looks 1–3 produced uncontrolled hot spots on the sequins. The fix required 40 minutes of re-lighting and cost the client one full look. A fabric test at the pre-production stage would have caught it.
Ken Jones Photography brings lighting artistry to your NYC production
For fashion brands and creative directors who need magazine-grade results without assembling a crew from scratch, Ken Jones Photography handles the full production at FultonStudio in Lower Manhattan. Services cover creative direction, lighting design, gaffer and assistant coordination, hair and makeup, retouching, and same-day selects.
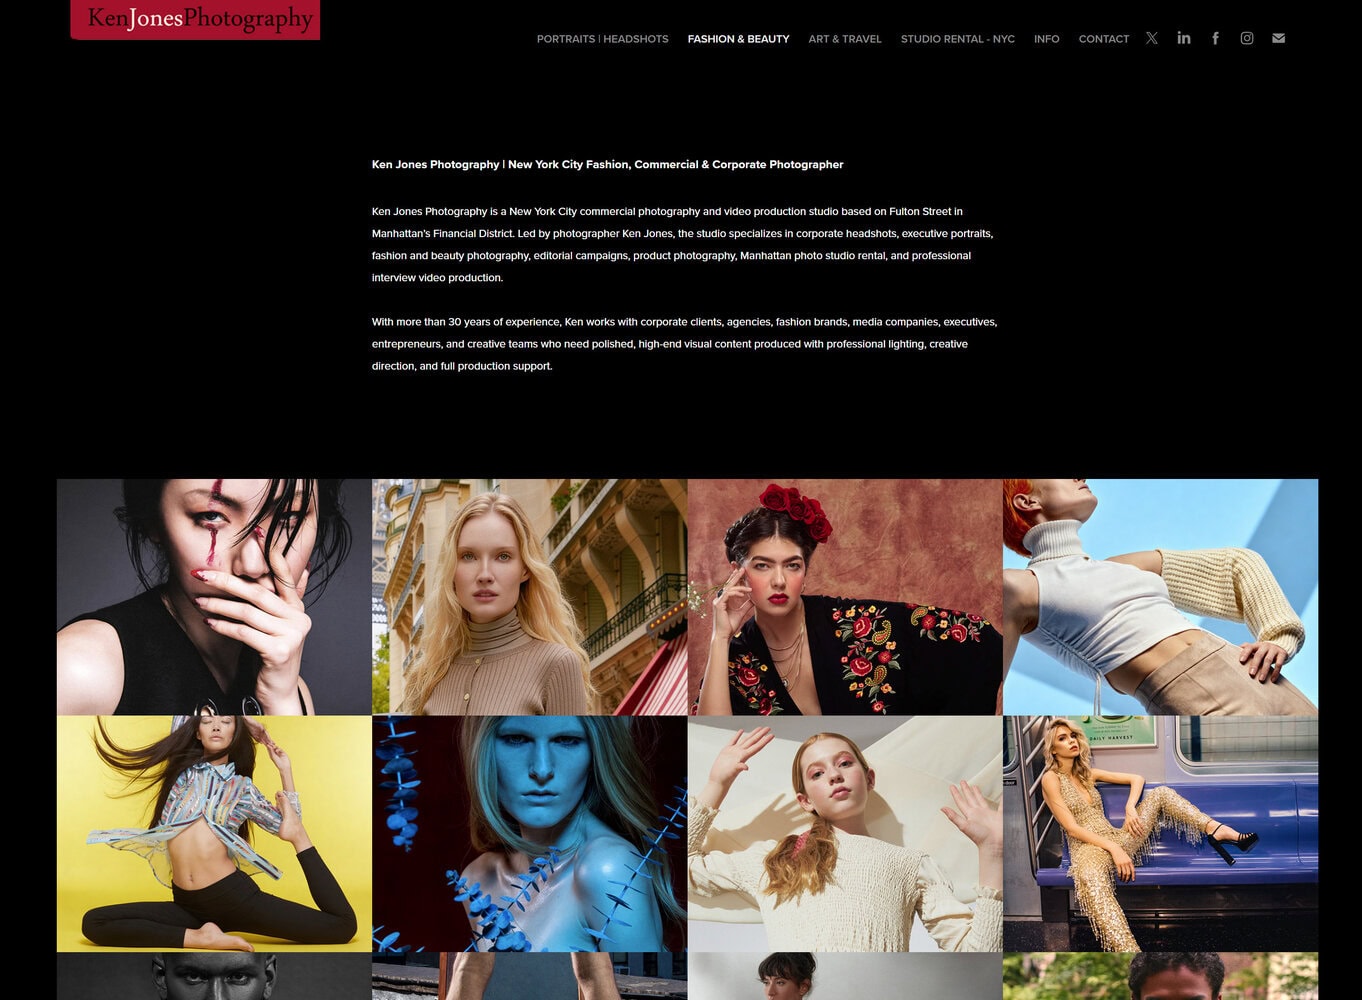
The fashion editorial portfolio and beauty photography portfolio show the range of lighting work across skin tones, fabric types, and editorial styles. Studio rental at FultonStudio includes production support options for teams that need the space and the crew under one booking.
The next step is simple: send your reference frames, number of looks, and deliverable format to start a pre-production conversation at Kenjonesnyc.
Sources
The following sources informed the technical guidance in this article:
- What is Butterfly Lighting? Photography Examples and Setups – Adorama
- Butterfly Lighting and the Beauty Setup | Photo Solutions Studio
- Lighting patterns in portrait photography: The complete guide – PhotoWorkout
- Editorial fashion lighting: Setups that flatter fabric & skin – ShootEmpire
- Magazine-Grade Lighting: How pros shape light and shadow for editorial work – LeStudioPierre
- Shooting a full fashion editorial with just one light modifier (Harvey Briese) – Fstoppers
- 3 lighting setups for editorial photography – ISO1200
- Light placement and the mask of the face – Sekonic Classroom
The most durable production skill in lighting is documentation. A one-page lighting brief with meter readings, source distances, and catchlight position makes every look reproducible and every client delivery predictable.
FAQ
What is lighting artistry in photography?
Lighting artistry is the deliberate design of key, fill, and accent light to shape skin, fabric, and product for editorial, beauty, and commercial photography. It covers pattern selection, modifier choice, and ratio control to produce repeatable, retouch-ready results.
Which lighting pattern works best for beauty photography?
Butterfly (Paramount) and clamshell are the standard choices for beauty work. The key sits 2–3 feet above eye level at a 30–45° downward angle, with a fill 1–2 stops under the key to soften chin and under-nose shadows.
What key:fill ratio should I specify in a brief?
Beauty and commercial work typically targets a key:fill ratio of 1:1.5–1:3 for clean, skin-flattering results. Dramatic editorial work pushes to 1:4–1:8 for stronger shadow definition and contrast.
How long does a typical NYC studio beauty shoot take?
Budget 60–90 minutes for lighting setup and testing, then 45–90 minutes per look. A six-look beauty day runs 8–10 hours including hair, makeup, and wardrobe transitions.
When should you hire a dedicated lighting director?
Book a lighting director when the brief requires more than two looks, involves complex fabric or product, or demands consistent skin rendering across a multi-day campaign. A lighting director also handles metering, documentation, and crew coordination so the photographer can focus on the subject.