

TL;DR:
- Beauty portrait lighting styles include butterfly, clamshell, loop, Rembrandt, and split, each creating distinct facial shadows and moods. Selecting the appropriate pattern and modifier combination enhances the subject’s features and aligns with the creative brief. Proper subject direction and subtle adjustments are crucial to achieving professional, editorial-quality results.
Beauty portrait lighting styles are specific light placements and modifier combinations used to sculpt the face, control skin texture, and build a mood that serves the creative brief. Whether you are shooting a skincare campaign, a fashion editorial, or a fine art beauty portrait, the lighting pattern you choose defines the final image more than almost any other technical decision. The industry standard patterns, including butterfly, clamshell, loop, and Rembrandt, each produce a distinct visual result. Knowing which style to reach for, and when to modify it, separates polished editorial work from technically adequate but forgettable photography.
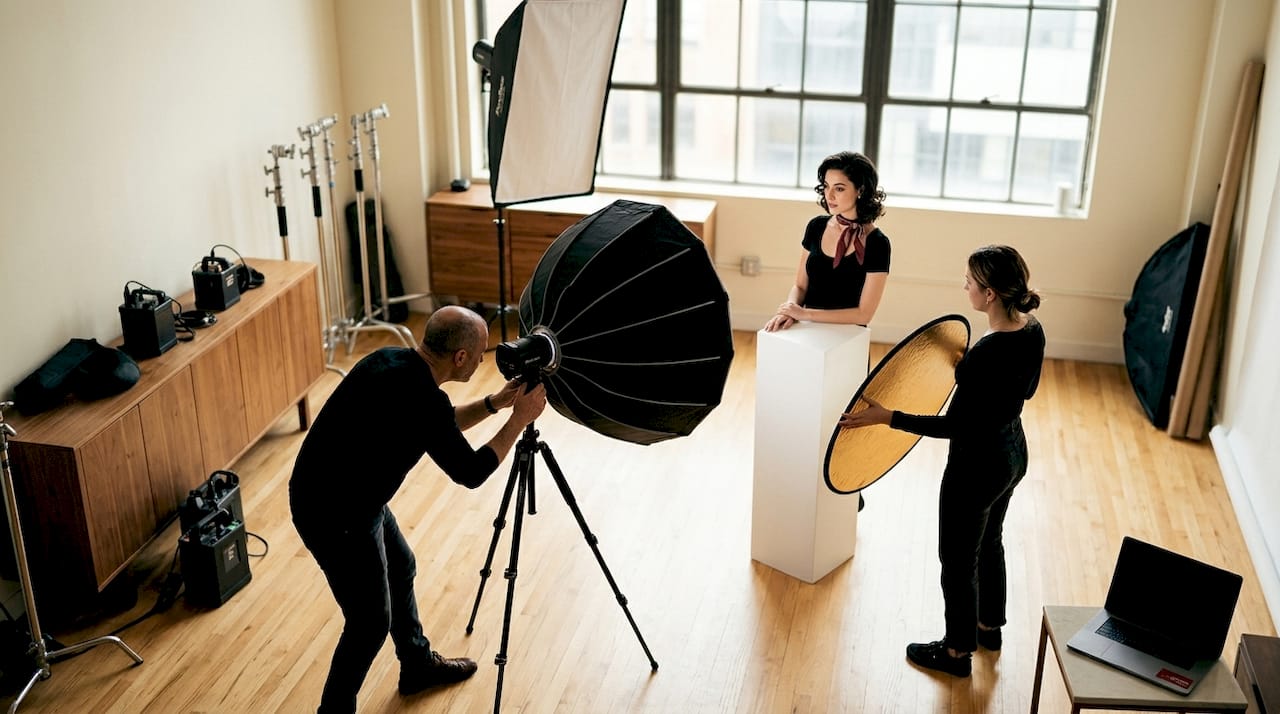
What are the key beauty portrait lighting styles and their effects?
The five foundational patterns cover the full range of beauty portrait lighting styles examples you will encounter in professional studio work. Each has a specific setup, a recognizable shadow signature, and a set of use cases where it performs best.
Butterfly lighting
Butterfly lighting is the industry standard for beauty photography. The key light sits directly in front of and above the subject at roughly a 35-degree downward angle, casting a small butterfly-shaped shadow beneath the nose. This shadow is the pattern’s defining signature. A 22-inch beauty dish positioned about 3 feet from the subject produces the classic look. Adjusting the light height from 1.7 meters down to 1.5 meters corrects the shadow so it does not touch the upper lip, which is a critical detail on set. The pattern slims the face, emphasizes cheekbones, and works beautifully for glam beauty portraits and makeup campaigns.
Clamshell lighting
Clamshell lighting stacks two lights vertically: a key light above and a fill light or reflector below, aimed upward at the subject’s face. This dual-light setup minimizes facial micro-shadows and creates the glowing, even complexion that skincare and makeup brands consistently request. The fill light sits at roughly chest level, set 1 to 2 stops below the key. The result is a high-key, luminous look with almost no unflattering shadow. Clamshell is the go-to pattern when the brief calls for flawless skin and maximum product visibility.
Loop lighting
Loop lighting places the key light at roughly 45 degrees to the side and slightly above eye level. It creates a small, downward-angled shadow from the nose that loops toward the corner of the mouth without connecting to the lip shadow. Loop lighting is the most universally flattering portrait pattern because it works on nearly every face shape and reads as natural. It is the workhorse of editorial beauty work, used when the photographer needs dimension without drama.
Rembrandt lighting
Rembrandt lighting produces a small triangle of light on the shadowed cheek, created by positioning the key light high and to the side at roughly 45 degrees. The technique demands precise angles to maintain that illuminated triangle correctly. It is more technically challenging than butterfly or loop, but the payoff is a sculpted, painterly quality that suits editorial portraits, fine art beauty work, and any brief calling for depth and mood. Rembrandt is rarely used for skincare campaigns but excels in fashion covers and artistic portraits.
Split lighting
Split lighting divides the face into two equal halves: one fully lit, one in shadow. The key light sits at 90 degrees to the subject. The result is high contrast and inherently dramatic. Split lighting works best for conceptual beauty portraits, editorial fashion, and any image where the creative direction calls for tension or edge. It is not the right choice for clients who want approachable or commercial-friendly results.
How modifiers shape each pattern
The modifier you attach to the key light changes the character of any pattern. Beauty dishes and large softboxes influence softness and shadow definition across all five setups. A beauty dish produces a semi-specular quality: harder than a softbox but softer than a bare strobe, with a slight falloff that flatters skin. A large octabox wraps light around the face and reduces contrast. A bare strobe or small reflector creates hard, defined shadows. The pattern determines where the light falls. The modifier determines how it falls.
| Lighting style | Shadow character | Best use case | Modifier choice |
|---|---|---|---|
| Butterfly | Small under-nose butterfly shadow | Glam beauty, makeup campaigns | Beauty dish or softbox |
| Clamshell | Minimal shadows, even fill | Skincare, high-key beauty | Softbox plus reflector |
| Loop | Soft loop shadow beside nose | Editorial, versatile beauty | Large softbox or octabox |
| Rembrandt | Cheek triangle, deep shadows | Fine art, fashion editorial | Beauty dish or bare strobe |
| Split | Half-face in shadow | Conceptual, dramatic editorial | Any modifier or bare strobe |
How do fill light ratios and negative fill affect beauty portrait lighting?
Fill light ratios define how much shadow survives in the final image. A 1:1 ratio means the fill matches the key, producing a flat, high-key look with no visible shadow. A 1:2 ratio means the fill is one stop below the key, which adds cheekbone definition while keeping skin smooth. Fill ratios in beauty lighting typically range from 1:1 for flat, luminous looks to 1:2 for more dimensional results. The choice depends entirely on the brief: skincare ads favor 1:1, while fashion editorial work often calls for 1:2 or beyond.
Negative fill is the technique most beginners overlook. Instead of adding a second light to brighten shadows, you place a black surface, typically a black V-flat or black foam board, on the opposite side of the subject from the key light. Using black surfaces absorbs reflected light, deepens shadows, and adds sculpting contrast to high-key beauty portraits without introducing a second light source. This technique is far more effective than adding more strobes when you want depth. It keeps the lighting clean and controlled.
Catchlight placement is the detail that separates a technically correct portrait from a compelling one. The ideal catchlight position is 10 o’clock or 2 o’clock in the iris, which adds life and vibrancy to the eyes. Adjust the key light position in small increments until the catchlight lands correctly. Moving the light even a few centimeters changes both the catchlight position and the butterfly shadow length simultaneously. These are centimeter-level adjustments on a professional set, not rough approximations.
Pro Tip: Place a black V-flat on the shadow side of your subject before reaching for a second strobe. In most beauty setups, negative fill adds more dimension than a fill light at 1:4 or lower, and it keeps your lighting ratio clean and consistent across the session.
Light distance also controls fill ratio in single-light setups. Moving the key light closer increases its intensity relative to any ambient or reflected light in the room, effectively deepening the shadow side. Moving it farther away flattens the ratio. This is a practical tool when you are working with a single beauty dish and want to shift between a high-key and a more sculpted look without changing your modifier or adding equipment.
Which lighting styles best suit different face shapes and beauty goals?
Matching the lighting pattern to the subject’s face shape is a production decision, not an aesthetic preference. The wrong pattern for a face shape creates unflattering results that no amount of retouching fully corrects.
- Oval faces work with every pattern. Butterfly and clamshell are the natural first choices for beauty campaigns.
- Round faces do not benefit from butterfly lighting. The under-nose shadow and even fill emphasize width. Loop or Rembrandt lighting adds vertical dimension and slims the face visually.
- Square faces respond well to loop lighting, which softens the jaw without flattening the face.
- Long or narrow faces benefit from clamshell or butterfly, where the even fill and horizontal catchlights add width.
- Textured skin calls for softer modifiers and lower contrast ratios. A large softbox in a clamshell setup minimizes the appearance of texture. Hard light from a bare strobe or small beauty dish emphasizes every pore.
The editorial goal also drives the choice. Softer light with a 1:1 ratio is the standard for makeup emphasis and skincare work, where the product needs to read clearly on smooth, even skin. Harder light with a 1:2 or 1:3 ratio emphasizes bone structure and works for fashion covers where the model’s architecture is the story. Natural beauty portraits often use loop lighting with a large softbox to create a clean, approachable look without the clinical flatness of pure clamshell.
A practical example: a skincare brand shooting a moisturizer campaign will almost always request clamshell lighting with a 1:1 ratio and a large softbox. A fashion magazine cover featuring strong editorial makeup will often push toward butterfly with a beauty dish and a 1:2 ratio to let the cheekbones read. Knowing this before the shoot starts saves time and builds client confidence.
How to direct and pose subjects to complement beauty portrait lighting setups
Technical lighting knowledge is only half the job. Directing the subject, including posture, expression, and fine details, is equally important for an impactful beauty portrait.
- Set the chin angle first. Ask the subject to bring their chin slightly forward and down. This tightens the jawline, prevents unflattering shadows under the chin, and keeps the face in the correct plane relative to the key light.
- Control the gaze. Direct the eyes toward the lens or slightly above it. A gaze that drifts below the lens reads as disengaged. A gaze too far above reads as theatrical.
- Manage stray hairs before every frame. A single hair crossing the face in butterfly lighting creates a shadow line that reads as a skin imperfection. Have the stylist check between every few frames.
- Watch hand placement. Hands near the face add visual interest but must be soft, not tense. Bent fingers and a relaxed wrist read naturally. Flat, stiff hands look forced.
- Adjust wardrobe at the collar. In tight beauty crops, the neckline and collar affect how light wraps the lower face. A high collar can block the fill reflector in a clamshell setup.
Communication on set is the tool that makes all of this work. A subject who understands what you are trying to achieve moves more naturally and holds expressions longer. Explain the lighting briefly: “I need your chin forward so the light catches your cheekbones.” That one sentence produces better results than five minutes of repositioning lights. For more on posing for beauty shots, the principles of subject direction apply across every lighting pattern.
Pro Tip: Before you shoot the first frame, take a test shot and check the catchlight position and the butterfly shadow length. If either is off, adjust the light height before you start directing the subject. Fixing the light first means every frame you shoot is technically correct.
The connection between lighting and posing is direct. A subject who tilts their head slightly into the key light in a Rembrandt setup can destroy the cheek triangle. A subject who turns too far from the key in a loop setup loses the nose shadow entirely. Reviewing the model portrait photography guide alongside your lighting setup gives you a complete production framework for beauty work.
Key takeaways
The most effective beauty portrait lighting combines a foundational pattern like butterfly or clamshell with precise fill ratios, negative fill technique, and deliberate subject direction to produce editorial-quality results.
| Point | Details |
|---|---|
| Pattern selection drives the result | Choose butterfly for glam beauty, clamshell for skincare, loop for versatile editorial, Rembrandt for drama. |
| Fill ratios control skin texture | Use 1:1 for flat, high-key looks and 1:2 for cheekbone definition in beauty setups. |
| Negative fill adds depth without extra lights | Black V-flats absorb reflected light and sculpt the face more cleanly than a low-power fill strobe. |
| Catchlight position matters | Aim for 10 o’clock or 2 o’clock in the iris; adjust the key light in small increments to hit it. |
| Subject direction is half the image | Chin angle, gaze, and stray hair management directly affect how lighting patterns read on camera. |
What 30 years in NYC studios taught me about beauty lighting
The most common mistake I see photographers make is treating lighting as a problem to solve with more equipment. They add a second strobe, then a third, then a reflector, and the image gets flatter and less interesting with every addition. The real skill in beauty lighting is subtraction. You start with one well-placed key light and a beauty dish, and then you decide what to take away or absorb. A black V-flat on the shadow side of the face does more for a portrait than a fill light at 1:4 ever will.
I shot a beauty editorial for a skincare brand out of my Financial District studio a few years ago. The art director wanted “glowing but dimensional.” That brief sounds contradictory until you understand that clamshell at 1:1 gives you glow, and a black V-flat on the far side gives you dimension. We used one Profoto strobe with a large softbox above, a white reflector below at chest level, and a black V-flat camera left. Three pieces of equipment. The images ran in the campaign. The art director asked me afterward what my “complex lighting setup” was. That reaction tells you everything about what controlled simplicity produces.
The other lesson I keep coming back to is this: the subject’s expression and the lighting pattern have to work together. Butterfly lighting on a subject with a flat, disengaged expression produces a technically correct but lifeless image. Loop lighting on a subject who is genuinely present in the moment produces something memorable even if the shadow is not perfect. Technique is the foundation. The image lives or dies on what happens between you and the person in front of the camera.
Beginners also underestimate how much face shape changes the equation. I have had clients arrive on set expecting butterfly lighting because they saw it in a reference image, and their face shape made that pattern actively unflattering. Switching to loop or Rembrandt on the spot requires knowing those patterns cold. The photographers who can adapt their lighting in real time, without losing confidence or momentum on set, are the ones who build long-term client relationships in this industry.
— Ken
Kenjonesnyc: professional beauty portrait lighting in Manhattan
Kenjonesnyc has spent over 30 years producing beauty campaigns, fashion editorials, and fine art portraits from a fully equipped studio in Manhattan’s Financial District. Every session is built around the lighting pattern that serves the brief, whether that is clamshell for a skincare campaign or Rembrandt for a dramatic editorial portrait.
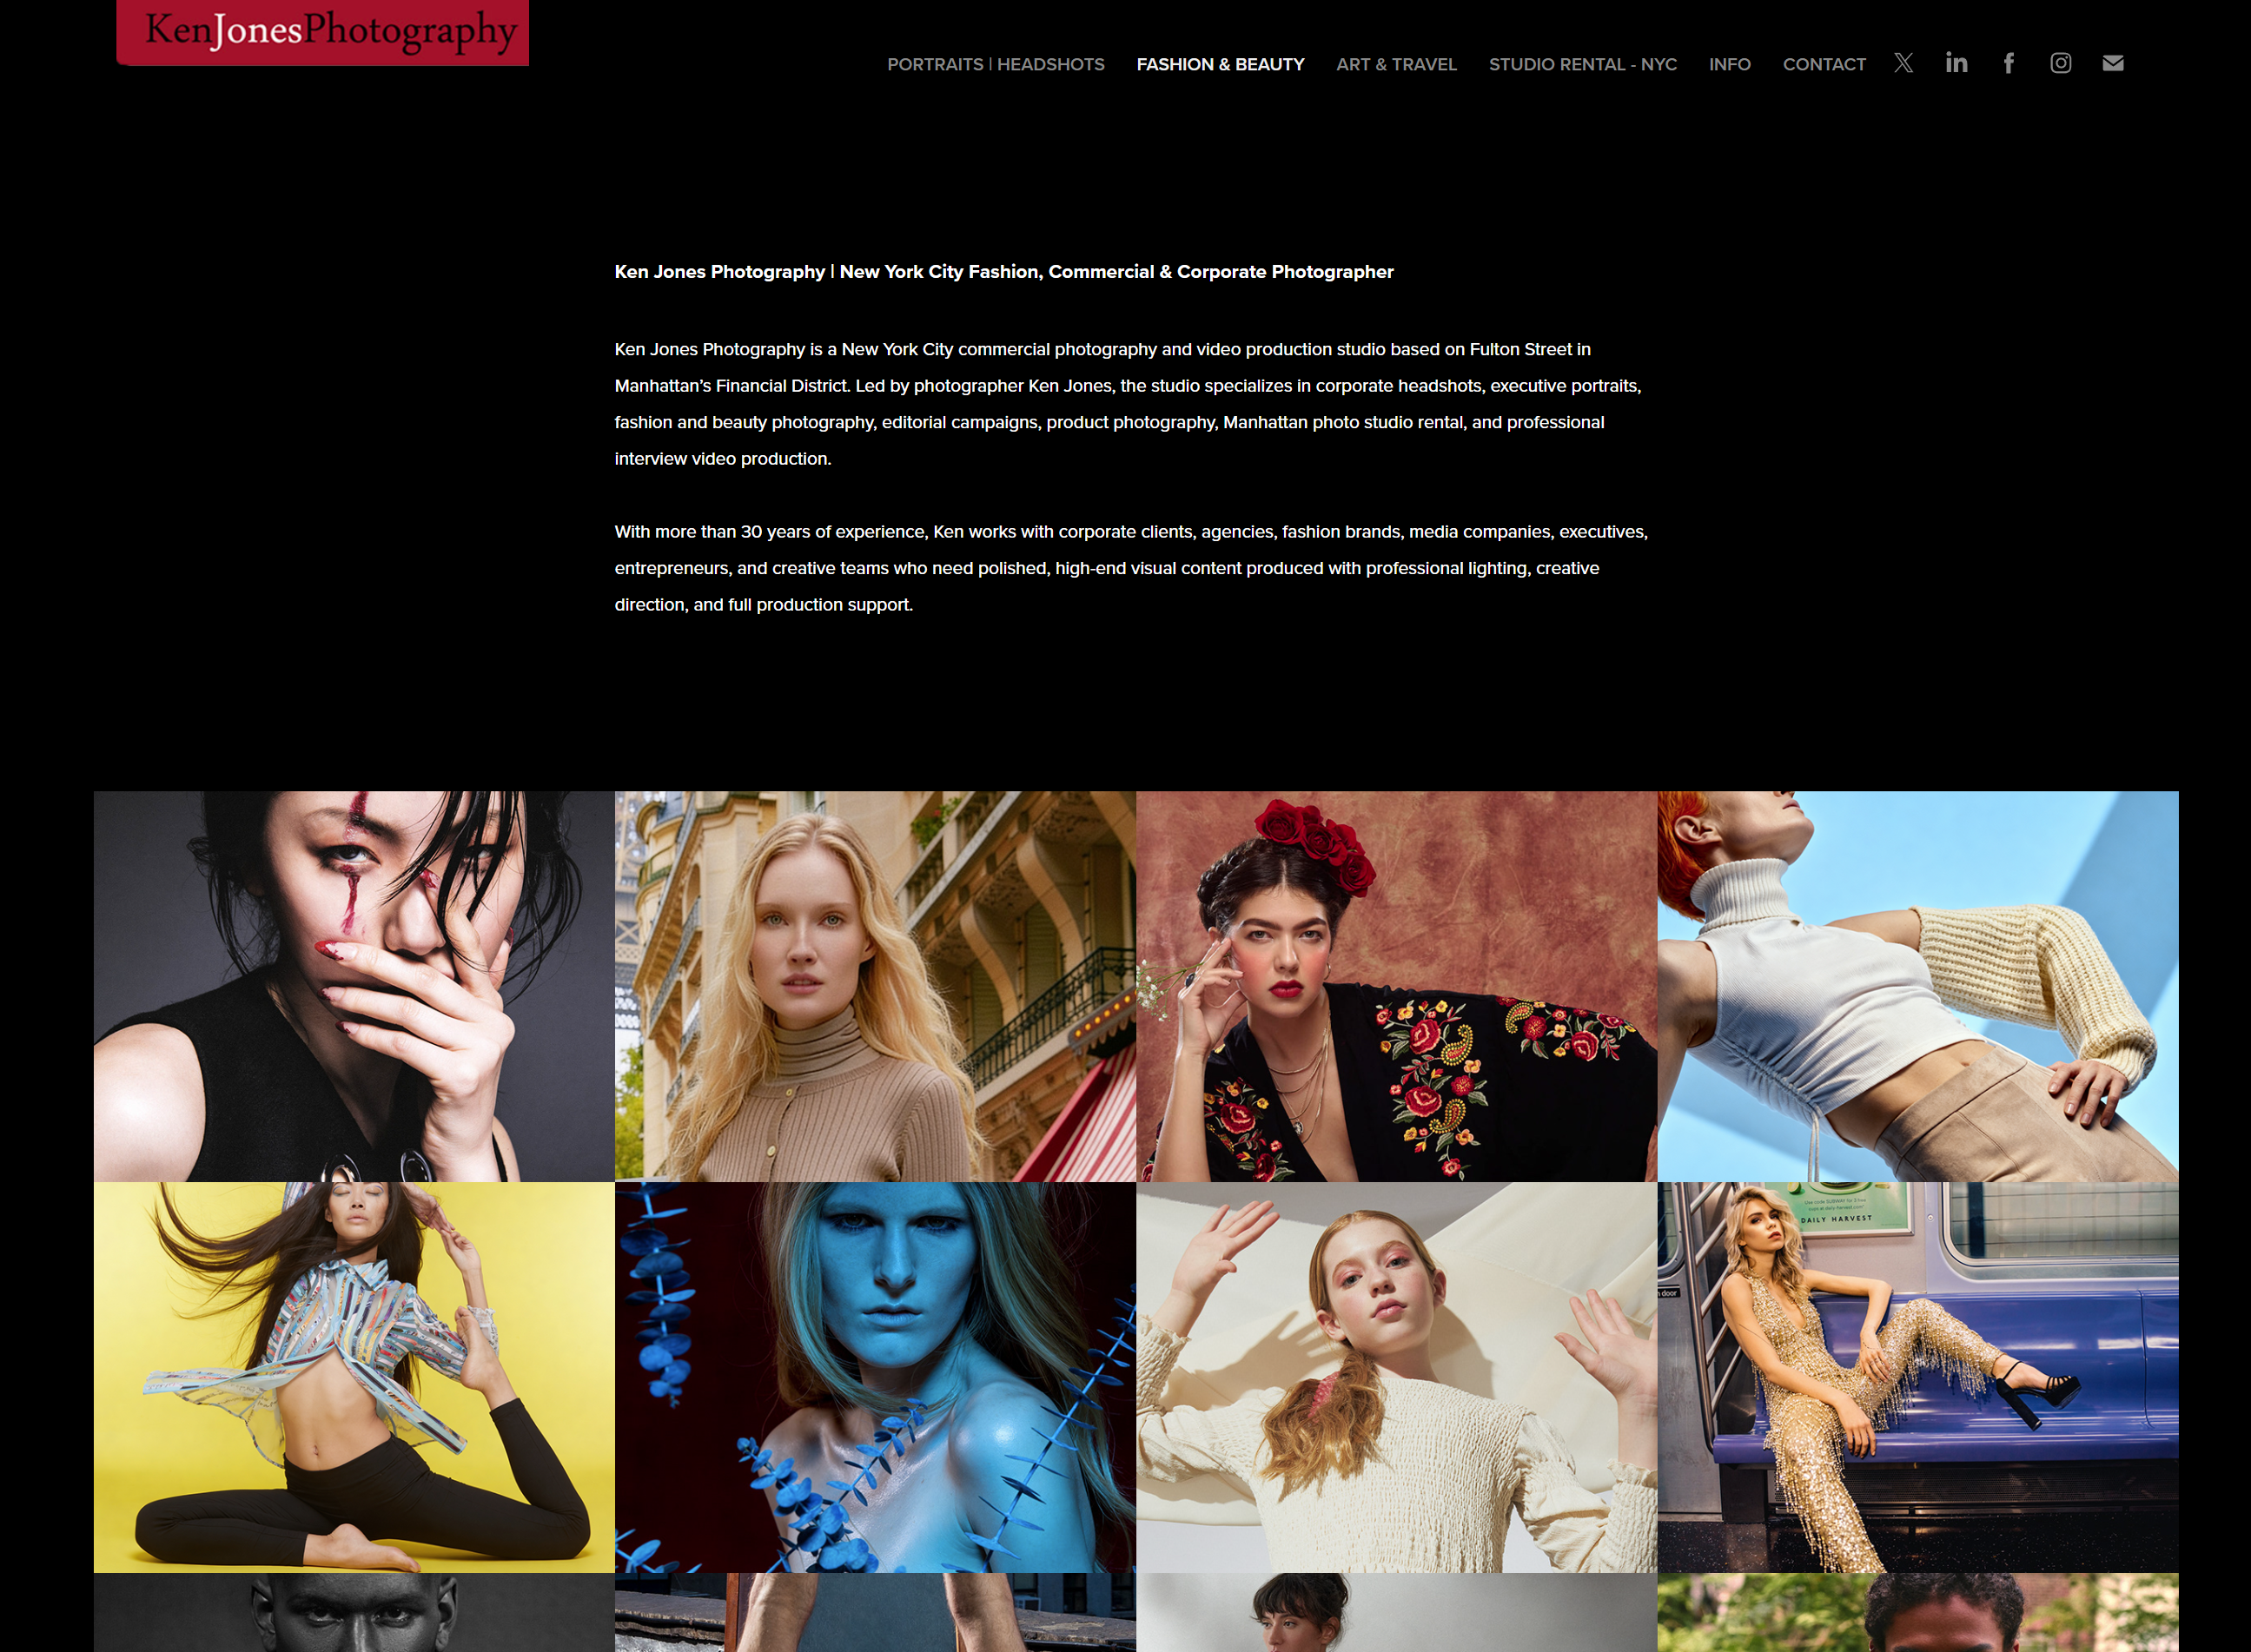
The studio is available for beauty portrait sessions and full production bookings, with industry-standard lighting equipment, V-flats, and modifier sets ready for immediate use. Photographers and beauty professionals can also view the advertising campaign portfolio to see how these lighting techniques translate to published work. Contact Kenjonesnyc at kenjonesnyc.com to discuss your next beauty portrait project.
FAQ
What is butterfly lighting in beauty photography?
Butterfly lighting places the key light directly in front of and above the subject at a 35-degree downward angle, creating a small butterfly-shaped shadow beneath the nose. It is the standard pattern for glam beauty and makeup campaigns because it slims the face and emphasizes cheekbones.
What is the difference between clamshell and butterfly lighting?
Clamshell lighting adds a second light or reflector below the subject’s face to fill in the under-nose shadow that butterfly lighting creates. Clamshell produces a flatter, more even result ideal for skincare photography, while butterfly retains more shadow definition.
What fill light ratio is best for beauty portraits?
A 1:1 ratio produces a flat, high-key look suited to skincare and makeup campaigns. A 1:2 ratio, where the fill is one stop below the key, adds cheekbone definition and works well for fashion editorial beauty portraits.
What is negative fill and why does it matter?
Negative fill uses a black surface, typically a black V-flat, to absorb reflected light on the shadow side of the subject. It adds depth and contrast to beauty portraits without introducing a second light source, producing cleaner and more controlled results than a low-power fill strobe.
Which lighting pattern works best for round faces?
Loop lighting or Rembrandt lighting works best for round faces. Both patterns add vertical dimension and shadow that slim the face visually. Butterfly and clamshell lighting emphasize width and are less flattering for round face shapes.
Recommended
- Beauty Photography: Techniques, Lighting, and Creative Vision
- Ken Jones Photography | NYC Fashion, Beauty & Commercial Photographer | Manhattan Studio Rental – Environmental Headshots and Lifestyle Portraits
- Beauty Photography Lighting, Skin, Makeup and Retouching
- Product Photography Lighting Setups Examples That Work