

Camera anxiety is more common than most people admit, and it shows up in the images. Tight shoulders, a forced smile, eyes that dart away from the lens — these small physical tells reveal internal tension and undermine what could be a powerful image or video. Knowing how to look comfortable in front of the camera is not about being a natural performer. It is a skill built through physical preparation, smart technical setup, and a few key mindset shifts. This guide covers all three, step by step, so you walk into your next shoot or recording with the tools to perform at your best.
Table of Contents
- Key takeaways
- How to look comfortable in front of the camera: your pre-shoot reset
- Camera setup and positioning for a natural appearance
- Delivery habits that project confidence and authenticity
- Common mistakes that undermine camera comfort
- Building confidence through feedback and self-review
- My perspective: what 30 years behind the lens has taught me
- Work with a studio that makes you look and feel your best
- FAQ
Key takeaways
| Point | Details |
|---|---|
| Nervous system first | Calming your body with breathing and grounding before the shoot visibly improves your natural expression. |
| Technical setup matters | Camera height, lighting angle, and eye line positioning all affect how relaxed and natural you appear on screen. |
| Energy needs to increase | You must dial up your energy 10 to 25% on camera to avoid appearing flat or disengaged on screen. |
| Overchecking breaks flow | Reviewing every shot immediately disrupts your rhythm; set intentional review intervals to stay present. |
| Confidence is a learned skill | Camera presence is not an innate trait. It is built through consistent practice, feedback, and structured preparation. |
How to look comfortable in front of the camera: your pre-shoot reset
Most people skip the preparation phase entirely and walk straight into a shoot or recording carrying the stress of the day. That tension lands directly in your face and body. A structured pre-shoot reset changes that.
Camera confidence is directly linked to your nervous system state. When your body is activated by stress, your jaw tightens, your brow furrows, and your gestures become rigid. The good news is that simple physical techniques can reverse that response in under five minutes.
Here is the reset sequence to use before any shoot or recording:
- Ground your feet. Stand or sit with both feet flat on the floor. Feel the contact between your feet and the ground. This single act signals safety to your nervous system and brings you out of anxious thinking.
- Take three deep belly breaths. Inhale slowly through your nose for four counts, filling your belly before your chest. Exhale through your mouth for six counts. Do this three times. Open posture combined with controlled breathing independently reduces anxiety and improves how confident you appear to viewers.
- Move your body for 30 seconds. Roll your shoulders, shake out your hands, gently tilt your head side to side. A 2-minute pre-filming reset that includes grounding, breathing, and brief movement is one of the most effective tools for reducing camera anxiety.
- Release facial tension deliberately. Many people hold tension in their jaw and forehead without realizing it. Open your mouth wide, hold for two seconds, and release. Then raise your eyebrows as high as possible, hold, and release. Do each motion twice. This warms up the muscles that control your expression.
- Set a simple intention. Before you start, take ten seconds to ask yourself one question: “What do I want the person watching to feel?” Shifting your focus from “how do I look?” to “what am I communicating?” reduces self-monitoring and allows more authentic expression.
Pro Tip: Receive a pre-shoot checklist from your photographer or create your own and review it 48 hours before filming. Clarifying plans in advance removes day-of uncertainty, which is one of the biggest drivers of on-set anxiety.
Regulating your nervous system before filming does not just help you feel calmer. It produces the natural vocal inflection and authentic facial expressions that make an image or video truly land with the audience.

Camera setup and positioning for a natural appearance
Where your camera sits and how your environment is lit have a direct impact on how relaxed and natural you appear on screen. Getting the technical setup right before you start removes a layer of discomfort before it even begins.
- Position the camera at or slightly above eye level. When the lens is below eye level, you appear to loom over the viewer, which creates a stiff, unflattering angle. At eye level or a few inches above, the framing feels natural and puts you at ease. Use a stack of books, a tripod, or a monitor stand to adjust.
- Use natural window light as your main source. Face toward the window rather than away from it. When a window is behind you, the camera exposes for the bright background and your face falls into shadow. Facing a large window produces even, flattering illumination and eliminates the need for complicated lighting gear.
- Avoid shooting too close with phone cameras. Phone camera distortion widens facial features, particularly the nose, when the lens is too close. Backing up slightly and zooming in slightly corrects this distortion and produces a more accurate, professional result.
- Place your eyes near the upper third of the frame. This is the natural visual focal point viewers expect. Too much headroom pushes you visually downward and makes the frame feel unbalanced. The two-thirds rule creates a sense of stability and draws attention to your face.
- Mark the lens to maintain eye contact. Most people instinctively look at the screen or viewfinder rather than the actual lens. A small sticker near the lens gives you a specific point to focus on, creating the impression of direct eye contact with the viewer. This single fix makes a visible difference in perceived confidence.
- Lean slightly forward and open your chest. Slouching backward reads as disengaged. A slight forward lean and an open chest posture communicate presence and interest. It also physically prevents you from collapsing inward, which is a common stress response.
Pro Tip: Tape a small printed word or phrase next to your lens that reminds you of your intention for the session. Looking at it to find the lens gives you a genuine, focused expression instead of a glazed stare at a camera body.
Delivery habits that project confidence and authenticity
How you deliver content on camera matters just as much as how you look. These techniques address the vocal, behavioral, and psychological habits that separate people who look natural on camera from those who look tense.
-
Dial up your energy consciously. Camera lenses flatten your natural energy and expression. What feels like normal conversational energy reads as low and disengaged on screen. Energy should increase by 10 to 25% compared to how you would speak in a regular conversation. Think of it as projecting to the back of a small room rather than whispering to a friend.
-
Slow your speech down deliberately. Nervousness accelerates speech. When you rush, every filler sound and stumble becomes more obvious. Speaking slower than feels natural gives you time to think, projects authority, and allows pauses to land with weight. A deliberate pause before answering a question or making a key point reads as confidence, not hesitation.
-
Stop monitoring yourself mid-take. One of the most common performance traps is the habit of mentally reviewing how you look while still on camera. The result is a split attention that shows up as distraction, hesitation, and unnatural expression. Commit to the take fully. Corrections happen in the review, not during the performance.
-
Prepare your key points, not a word-for-word script. Memorizing a script word for word creates cognitive overload because your brain is simultaneously recalling text and trying to deliver naturally. Teleprompters and structured outlines eliminate this conflict by offloading the memory task entirely, freeing your focus for presence and delivery.
-
Use positive, specific self-talk. Replace “don’t mess this up” with “I know what I want to say and I’m saying it clearly.” This is not about empty affirmations. It is about giving your brain a specific, constructive instruction instead of an anxiety-producing warning.
True camera confidence is a learned skill consisting of setup, posture, pacing, and eye contact. It is not an innate personality trait, and anyone can develop it with structured practice and the right preparation.
Common mistakes that undermine camera comfort
Even well-prepared subjects fall into predictable patterns that create visible discomfort on screen. Knowing these pitfalls in advance lets you course-correct before they derail a session.
| Mistake | What it looks like | What to do instead |
|---|---|---|
| Reviewing every shot immediately | Breaks momentum, increases anxiety | Check footage after every 10 shots or at natural breaks |
| Holding tension in jaw and face | Stiff expressions, tight smile | Complete the facial tension release exercises before each setup |
| Looking at the screen instead of the lens | Appears to look away from viewer | Use a lens sticker and practice focusing directly on it |
| Rushing speech under pressure | Stumbled words, excessive filler sounds | Slow down deliberately; treat pauses as punctuation |
| No script or structure in place | Visible searching for words, losing thread | Outline key points or use a teleprompter for complex content |
The “review reflex,” which means checking every photo immediately after capture, is particularly damaging to flow. Intentional periodic review instead of constant monitoring keeps both the subject and the photographer focused on creating, not evaluating mid-session.
The tension in the jaw deserves special attention because it is invisible to the person experiencing it. Many subjects only notice jaw tension when they reach up and feel tightness in the masseter muscle. Before each setup change, open the mouth wide, release, and take one breath. It takes four seconds and noticeably softens the expression.
Pro Tip: If you find yourself rushing frequently, set a physical anchor. Place your hand flat on your leg before you start speaking. The physical sensation brings you briefly into your body and naturally slows your pace before your first word.
Building confidence through feedback and self-review
Looking comfortable on camera is not something that happens in a single session. It builds over time through a deliberate review process that focuses on growth rather than self-criticism.
- Watch your footage at 1.5x speed. This is an underused technique. At increased playback speed, pacing patterns become immediately obvious. If you are rushing, it is more apparent. If pauses feel too long in real time, at 1.5x speed they often read as appropriate. Use this data to adjust in the next take.
- Set defined review checkpoints. Rather than evaluating yourself after every moment on camera, designate three checkpoints: after the first 10 minutes of a session, at the halfway point, and at the end. This structure prevents the constant self-monitoring that fragments focus and erodes confidence.
- Seek specific feedback from trusted sources. Avoid asking “how did I look?” which invites vague, unhelpful answers. Ask instead: “Did my pace feel comfortable?” or “Was I making enough eye contact?” Specific questions produce specific, usable feedback.
- Track progress across sessions, not within them. A single session will always have moments that feel awkward. The meaningful measure of growth is comparing your third session to your first, or your tenth to your fifth. Most people who are consistent in their practice notice significant improvement within four to six sessions.
- Grant yourself permission to be in the learning process. Coming to peace with photography as a captured moment, rather than a perfect reflection of self, removes a significant source of performance pressure. The goal is authentic presence, not a flawless performance. The images that feel the most real are rarely the ones where everything went perfectly.
Consider exploring what to expect from a professional session by reviewing a walkthrough of how corporate headshot sessions work. Understanding the structure in advance removes uncertainty and lets you show up prepared.
My perspective: what 30 years behind the lens has taught me
I have photographed thousands of people across commercial shoots, fashion editorials, and corporate headshot sessions. And I have seen one pattern repeat without exception: the people who look the most natural on camera are almost never the ones who prepared the hardest on appearance alone.

I have had subjects walk in looking polished and perfect, having clearly invested heavily in every visible detail, and still produce images with no life in them. I have also had subjects walk in wearing ordinary clothing, not particularly prepared, who produced extraordinary images because they were genuinely present. Authentic delivery builds trust in a way that grooming and styling simply cannot replicate.
What I have found actually works is this: the three minutes before the camera opens are more important than the three weeks of preparation before the shoot. When someone takes the time to breathe, ground their feet, and shift their focus from “how do I look?” to “what do I feel right now?”, the difference is immediately visible in the images.
The other truth I rarely hear discussed is that the environment matters enormously. When people feel safe, when the set is calm and the direction is clear and encouraging, they open up. That is not accidental. Creating that environment is deliberate creative direction. Whether you are working with a photographer or recording yourself at home, your job before the lens opens is to create the conditions where you can be authentic. Perfect poses often produce stiff results. Connection produces the images people actually keep.
— Ken
Work with a studio that makes you look and feel your best
If you have applied these techniques and want to experience the difference that a professional environment makes, the studio at Kenjonesnyc is designed precisely for that.
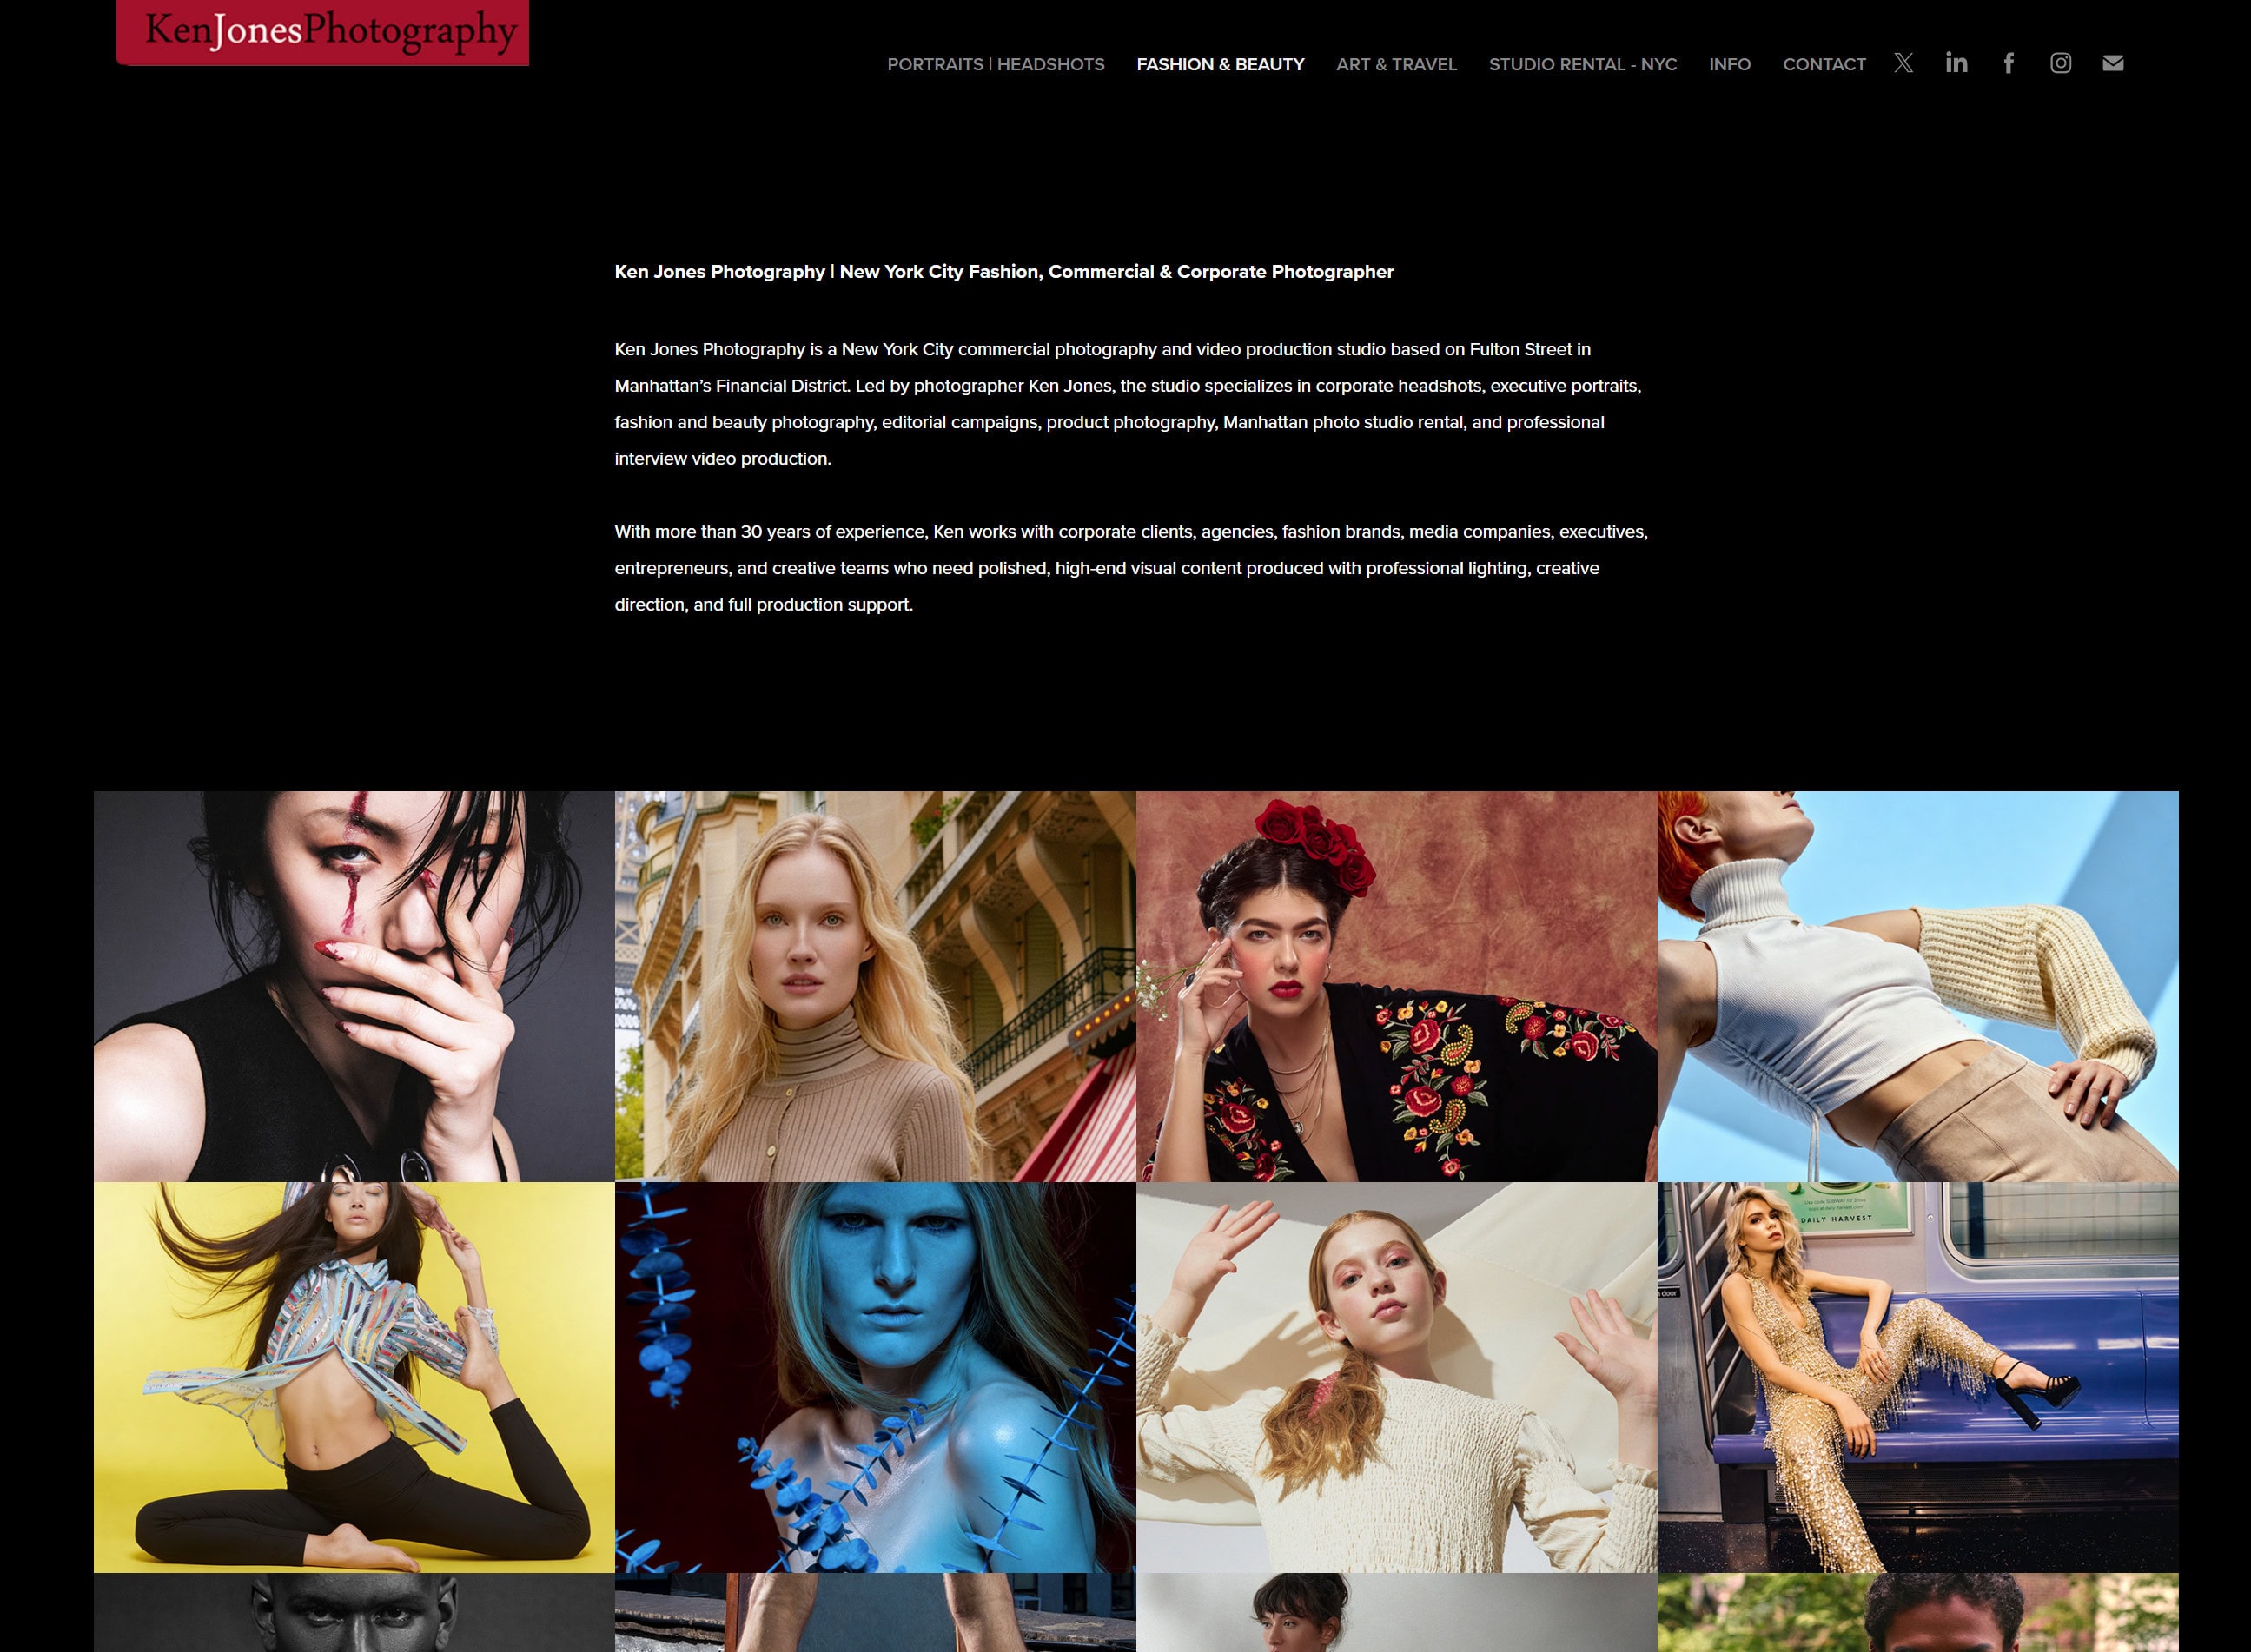
A professional photographer does not just operate equipment. They create the conditions for authentic, comfortable presence on camera: clear direction, controlled lighting, a calm and focused set, and the experience to recognize and capture the moment you are genuinely at ease. At Kenjonesnyc, every session, whether a corporate headshot or an environmental portrait, is structured to reduce setup anxiety and draw out natural expression. The studio handles lighting, framing, posture guidance, and creative direction so you can focus entirely on showing up present. Browse the portfolio and book your session at kenjonesnyc.com to see what genuine camera confidence looks like in professional hands.
FAQ
What is the fastest way to relax before a shoot?
A 2-minute reset combining grounded feet, three deep belly breaths, and 30 seconds of light movement reduces camera anxiety quickly and prepares your body for natural expression.
Where should you look when recording on camera?
Focus directly on the camera lens, not the screen or viewfinder. Using a small sticker near the lens helps you maintain this eye line consistently, which makes viewers feel you are speaking directly to them.
How much energy should you project on camera?
You should increase your energy by 10 to 25% compared to normal conversation. Camera lenses flatten natural expression, so what feels slightly exaggerated in person reads as engaged and confident on screen.
Why do people look stiff in photos?
Stiffness usually comes from nervous system activation, jaw and facial tension, or trying to hold a deliberate pose. Releasing facial muscles before shooting and focusing on authentic emotion rather than appearance produces visibly more relaxed results.
How do you build long-term camera confidence?
Camera confidence builds through consistent practice, specific feedback, and structured self-review across multiple sessions rather than trying to improve everything in one shoot. Track progress across sessions and focus on one element at a time.
Recommended
- Ken Jones Photography | NYC Fashion, Beauty & Commercial Photographer | Manhattan Studio Rental – 7 Questions to Ask Your Headshot Photographer
- Fashion Photography Is More Than Clothes
- Ken Jones Photography | NYC Fashion, Beauty & Commercial Photographer | Manhattan Studio Rental – Environmental Headshots and Lifestyle Portraits
- Ken Jones Photography | NYC Fashion, Beauty & Commercial Photographer | Manhattan Studio Rental – Portraits | Headshots