
TL;DR:
- A structured five-stage process produces high-quality product photography, emphasizing thorough planning and consistency. Proper briefing, product prep, controlled shooting, and organized post-production prevent costly errors and ensure platform-ready images. Tethered shooting and batch editing optimize workflow, while lighting and styling choices directly influence visual effectiveness.
A product photography shoot is produced through five structured stages: briefing, product preparation, shoot execution, post-production editing, and final delivery. Each stage builds on the last, and skipping or rushing any one of them creates problems that cost real money to fix. Professionals working in commercial photography rely on tools like Adobe Lightroom, Capture One, and tethered shooting setups to maintain consistency across entire product catalogs. The goal is not just beautiful individual images. It is a coherent, platform-ready set of visuals that serves the brand’s specific marketplace needs.
How a product photography shoot is produced: the five core stages
A professional product shoot follows five key stages from initial inquiry to final delivery, with the creative brief functioning as the central control document throughout. The brief is not a formality. It is the document that prevents expensive reshoots, miscommunication, and missed deadlines. It captures SKU counts, style references, platform destinations, and any special handling requirements before a single light is turned on.
The five stages are: briefing and scope definition, product preparation and inspection, shoot day execution, batch editing and retouching, and file organization with client delivery. Each stage has its own checklist, its own potential failure points, and its own contribution to the final result. Treating them as a connected workflow rather than isolated tasks is what separates a professional production from an amateur attempt.
Understanding this process matters whether you are a brand manager commissioning your first e-commerce catalog or a creative director overseeing a luxury product campaign. The production logic is the same. The scale and budget differ, but the structure does not.
What are the essential steps and planning required before the shoot day?
Pre-shoot planning is where the quality of the final images is actually determined. The camera has not fired a single frame, and the shoot is already succeeding or failing based on what happens in this phase.
The process starts with a detailed briefing conversation. The photographer and client align on SKU count, image styles (packshot, lifestyle, detail), platform destination (Amazon, Shopify, print catalog), and any brand guidelines governing backgrounds, color treatment, or composition. A detailed shot list is the most important preparation tool in this phase. It specifies every required angle, every must-have feature, and every platform-specific crop. Without it, shoot days become expensive guessing games.
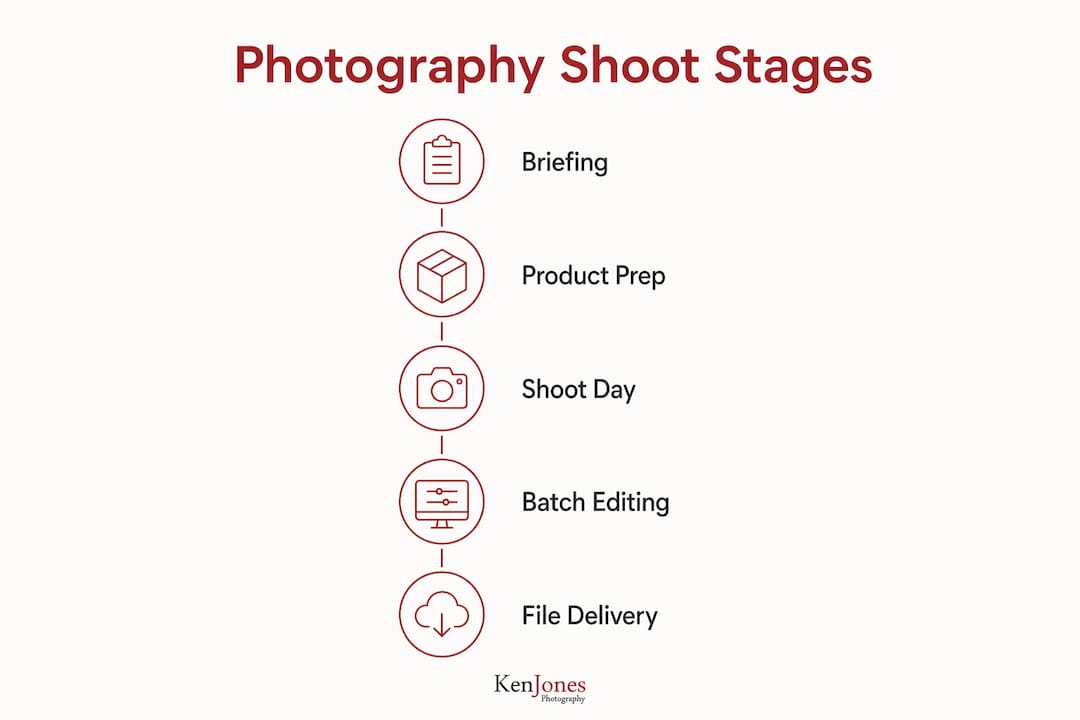
Product preparation and inspection
Once the brief is confirmed, the physical products need to arrive in shootable condition. This sounds obvious, but it is one of the most common failure points in commercial product photography. Experts typically spend 30–90 minutes inspecting and documenting product conditions before the shoot begins. That inspection block catches dents, scratches, missing tags, and packaging damage before they appear on camera.
Pre-shoot inspection should include:
- Cleaning each product with appropriate materials (lint-free cloths, compressed air, soft brushes)
- Photographing any existing damage for client records
- Confirming all product variants are present and correctly labeled
- Flagging items that need replacement or repair before shoot day
- Organizing products in shoot order to match the shot list sequence
Pro Tip: Send clients a pre-shoot checklist two weeks before the shoot date. Ask them to confirm product quantities, flag any damaged items, and provide any packaging inserts or props. This single step eliminates the most common cause of shoot-day delays.
The shot list and product inspection work together. The shot list tells you what you need to capture. The inspection tells you whether you can actually capture it. When both are done properly, the shoot day runs like a production schedule rather than a problem-solving session.
Coordinating product shipment is also part of this phase. For high-volume e-commerce shoots in New York City, products often arrive from multiple warehouse locations. Tracking those shipments, confirming receipt, and organizing inventory by shoot sequence is real production work. Studios that handle this systematically avoid the chaos of missing products discovered on shoot morning.
How is the actual shooting executed to ensure quality and consistency?
Shoot day execution in commercial product photography is a technical discipline. Creative instinct matters, but the foundation is repeatable, controlled technique. The studio environment is the first variable to control.
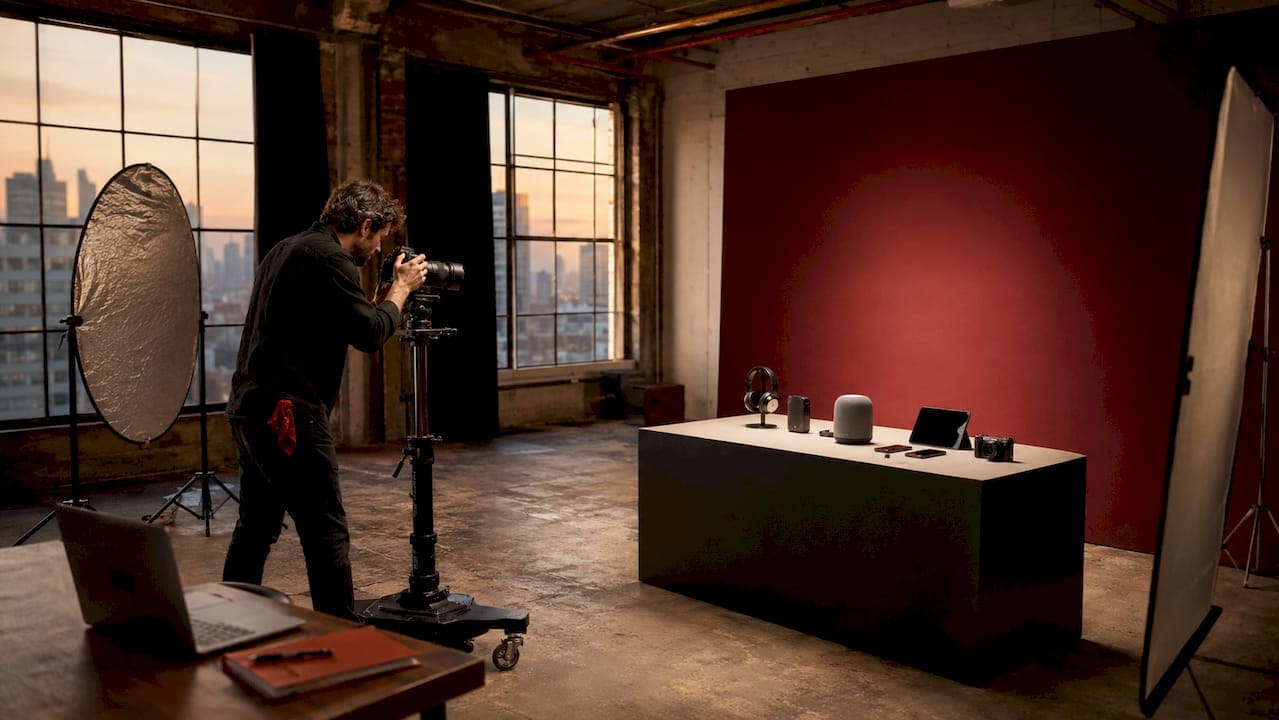
Most packshot and e-commerce work happens against white or light gray seamless paper backgrounds, inside softbox setups or light tents. These environments diffuse light evenly and eliminate unwanted shadows. For lifestyle product work, the setup shifts to styled surfaces, contextual props, and directional lighting that creates mood and depth. The choice between these two approaches is determined in the brief, not improvised on shoot day.
Camera settings and technical standards
Optimal camera settings for product photography use a manual aperture between f/8 and f/11, ISO fixed at 100, and manual white balance. These settings deliver sufficient depth of field to keep the entire product sharp, minimize digital noise, and maintain accurate color across every frame in the catalog. Shooting in auto mode introduces inconsistencies that multiply across hundreds of images and become a retouching nightmare.
Managing reflections on glass, metal, and lacquered surfaces requires a specific technique. The product acts like a mirror, and controlling reflections requires surrounding it with white or black cards to shape what the surface reflects. Adjusting light intensity alone does not solve the problem. The cards define the reflection, and their placement is as deliberate as the lighting itself.
Key execution practices for a consistent shoot include:
- Setting physical tape marks on the studio floor for light stand positions and camera tripod placement
- Using a color checker card at the start of each product family to calibrate white balance
- Shooting tethered to a laptop or monitor for real-time image review
- Capturing a reference frame at the start of each new setup for the editing team
- Documenting any setup changes with a quick photo of the studio configuration
Tethered shooting allows art directors and clients to review full-resolution images live, catching errors instantly and reducing costly post-shoot corrections. This is not just a convenience feature. It functions as a quality control system and a project management tool. When a client can see the image on a large monitor in real time, approval decisions happen on set rather than in a revision cycle three days later.
Pro Tip: Use tape marks for lighting setups to record every light stand and camera position. When shooting multiple product families across a long day, these marks let you return to any previous setup in under two minutes. On a 200-SKU shoot, that reproducibility is the difference between finishing on schedule and going into overtime.
Consistency in lighting, camera height, and framing across all product images builds buyer confidence and brand professionalism. Shoppers judge a catalog on its overall coherence. A single image that looks slightly different in color temperature or crop ratio breaks the visual rhythm and signals a lack of production quality.
What post-shoot workflows optimize editing and final delivery?
Post-production is where the raw captures become finished commercial assets. The workflow here is as structured as the shoot itself, and the tools used determine how efficiently that structure operates.
Batch editing by product family is the industry standard for e-commerce and catalog work. The process in Adobe Lightroom or Capture One follows a clear sequence:
- Import and organize files by product family and shot type
- Edit the first image in each family carefully, adjusting white balance, exposure, contrast, and background lift
- Sync those settings across all images in the same family
- Review synced images individually and make minor corrections where needed
- Export files to client specifications: pixel dimensions, file format (JPEG, TIFF, PNG), and compression settings
Batch editing with synced adjustments reduces editing time by up to 80–90% while preserving visual consistency across the catalog. That efficiency is not just about speed. It means the color temperature of product image 47 matches product image 1, which is the standard clients expect and platforms like Amazon require.
File delivery and naming conventions
| Delivery element | Standard practice |
|---|---|
| File format | JPEG for web, TIFF for print, PNG for transparency |
| Color profile | sRGB for digital, Adobe RGB for print |
| File naming | SKU number + angle code + version (e.g., SKU001-FRONT-v1) |
| Folder structure | Organized by product family, then by image type |
| Revision rounds | Typically one to two rounds included in production scope |
Proofing and client revision cycles are a normal part of the delivery process. The photographer delivers a proof gallery, the client reviews and marks selects or requests adjustments, and the final files are delivered in the agreed formats. Organizing files with a clear naming convention from the start makes this process faster for everyone. Clients who receive a folder of files named “IMG_4872.jpg” spend hours sorting what should take minutes.
How do lighting and styling choices impact the effectiveness of a product shoot?
Lighting and styling are not decorative decisions. They are functional ones that directly affect how a product reads on screen and how a buyer perceives it.
Direction, diffusion, and shadow control are the three variables that define how a product’s surface texture and three-dimensional shape appear in a photograph. Hard directional light from a single source creates strong shadows that reveal texture on fabric, leather, and wood. Diffused light from a large softbox or light tent reduces shadows and shows clean, even color on smooth surfaces like ceramics or cosmetics packaging. The right choice depends on what the product needs to communicate.
Packshot vs. lifestyle styling
| Approach | Purpose | Best for |
|---|---|---|
| Packshot (white background) | Clean, catalog-standard image | E-commerce, Amazon, retail catalogs |
| Lifestyle setup | Product in context, with props and environment | Brand campaigns, social media, editorial |
| Detail shot | Close-up of texture, label, or feature | Luxury goods, cosmetics, food |
| 360-degree sequence | Full product rotation for interactive viewers | Footwear, electronics, furniture |
Styling for product context means making deliberate decisions about surface materials, props, and color palettes that reinforce the brand’s identity without distracting from the product itself. A skincare brand shooting on a white marble surface with minimal props communicates clinical precision. The same product on a warm linen surface with botanical elements communicates natural and artisanal. Neither is wrong. Both are intentional.
Balancing consistency with creative variation is one of the more nuanced challenges in product photography. A brand needs its catalog to feel cohesive, but it also needs hero images and campaign shots that stand out. The solution is to establish a clear visual system in the brief and treat creative variation as a defined category within that system, not a departure from it. You can explore product photography lighting setups that work across both packshot and lifestyle contexts to see how this balance plays out in practice.
Key takeaways
A product photography shoot succeeds or fails based on the quality of its brief, the rigor of its pre-shoot preparation, and the consistency of its technical execution across every stage.
| Point | Details |
|---|---|
| Brief is the control document | Define SKU count, style, and platform destination before any production begins. |
| Pre-shoot inspection prevents delays | Spend 30–90 minutes documenting product condition to avoid mid-shoot surprises. |
| Technical settings drive consistency | Shoot at f/8–f/11, ISO 100, and manual white balance across the entire catalog. |
| Batch editing multiplies efficiency | Sync edits across product families in Lightroom or Capture One to cut editing time by up to 90%. |
| Tethered shooting is quality control | Live image review on set catches errors before products leave the studio. |
What 30 years on the studio floor taught me about product shoots
The most expensive mistake I see clients make is treating the brief as a quick phone call rather than a working document. I have had brands arrive with 80 SKUs, no shot list, and a vague instruction to “make it look premium.” That is not a brief. That is a setup for a reshoot.
The second most common mistake is skipping product inspection. I once had a client ship a full run of luxury candles for a catalog shoot. We opened the boxes on shoot morning and found that roughly a third of them had wax surface imperfections from shipping. No inspection had been done before they left the warehouse. We lost two hours of studio time sorting replaceable units from damaged ones. That time cost real money, and it was entirely preventable.
What I have learned is that the camera is almost the last thing that matters. The planning, the product prep, the shot list, the lighting diagram, the tape marks on the floor. Those are the tools that produce a professional result. The camera records what you have already built. When the setup is right, the shooting is fast and the editing is clean. When the setup is wrong, you spend the rest of the project trying to fix it.
Tethered shooting changed how I work with clients. Having a client or art director review images on a calibrated monitor during the shoot means we solve problems in real time. A color that reads wrong, a reflection that needs a card adjustment, a label that is not sitting flat. We catch it and fix it before the product goes back in the box. That is the kind of quality control that protects everyone.
If you want to understand how the same production logic applies to fashion and editorial work, the full fashion shoot process follows a parallel structure worth studying.
— Ken
How Kenjonesnyc brings this process to your product shoot
Kenjonesnyc operates a full-service photography studio in Manhattan’s Financial District, built specifically for the kind of structured, high-volume production this article describes. The studio handles everything from initial briefing and shot list development through shoot day execution and final file delivery, with professional lighting setups, tethered shooting capability, and batch editing workflows already in place.
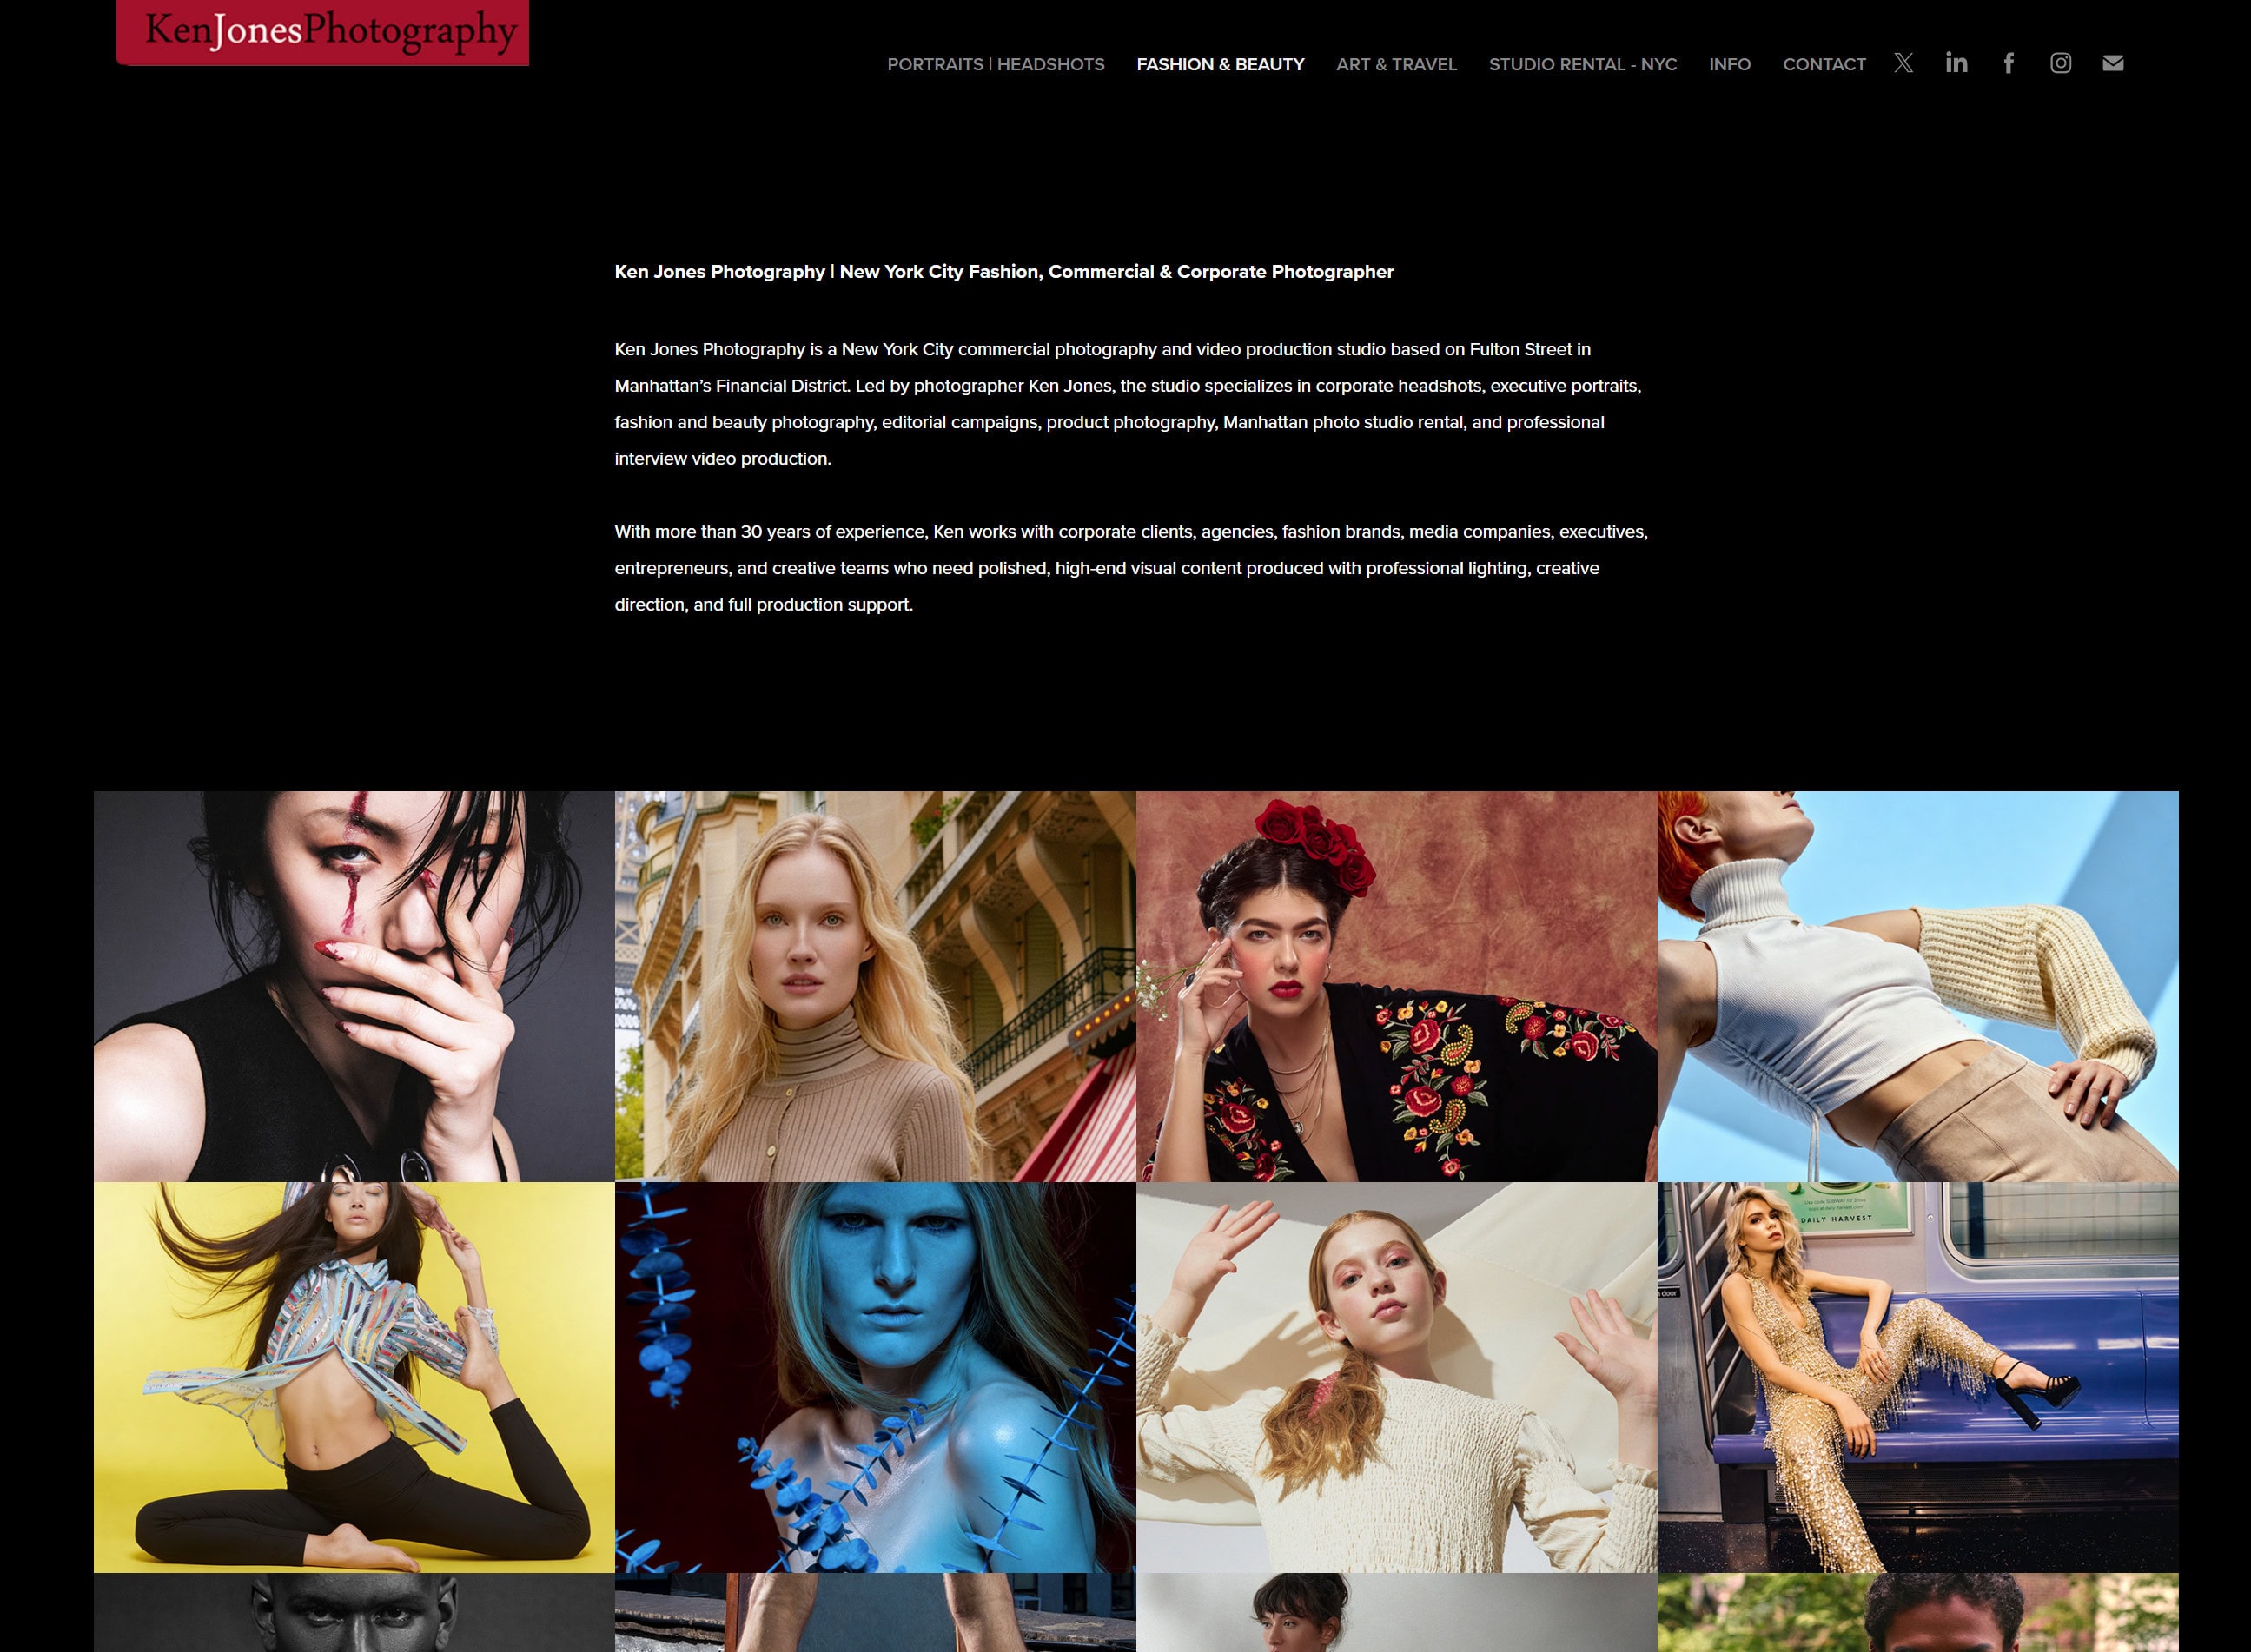
Whether you are producing a luxury product catalog, an e-commerce image set, or an advertising campaign, the studio brings 30 years of commercial production experience to every project. The luxury product and e-commerce photography service is designed for brands that need consistent, platform-ready images produced efficiently and without surprises. If your next product shoot needs a production partner who treats the brief as seriously as the lighting, reach out at kenjonesnyc.com.
FAQ
What is product photography in commercial terms?
Product photography is a specialized branch of commercial photography that produces images of physical goods for use in e-commerce, advertising, and print catalogs. The goal is accurate, consistent representation of the product that supports purchasing decisions.
How long does a product photography shoot take?
A standard e-commerce shoot covering 20–40 SKUs typically takes one full studio day. High-volume catalog shoots with 100 or more products are often scheduled across multiple days, depending on the number of setups and styling complexity.
What is the best lighting setup for product photos?
Softbox lighting on a white or light gray background is the most reliable setup for packshot and e-commerce product photography. It produces even, diffused light that minimizes harsh shadows and renders color accurately across the catalog.
Why does a shot list matter so much for a product shoot?
A shot list prevents missed angles and eliminates trial-and-error on shoot day. It specifies every required image by angle, style, and platform need, keeping the shoot focused and on schedule.
What file formats should product photos be delivered in?
JPEG is standard for web and e-commerce platforms. TIFF is preferred for print production. PNG is used when a transparent background is required. Most professional studios deliver all three formats as part of the final package.