
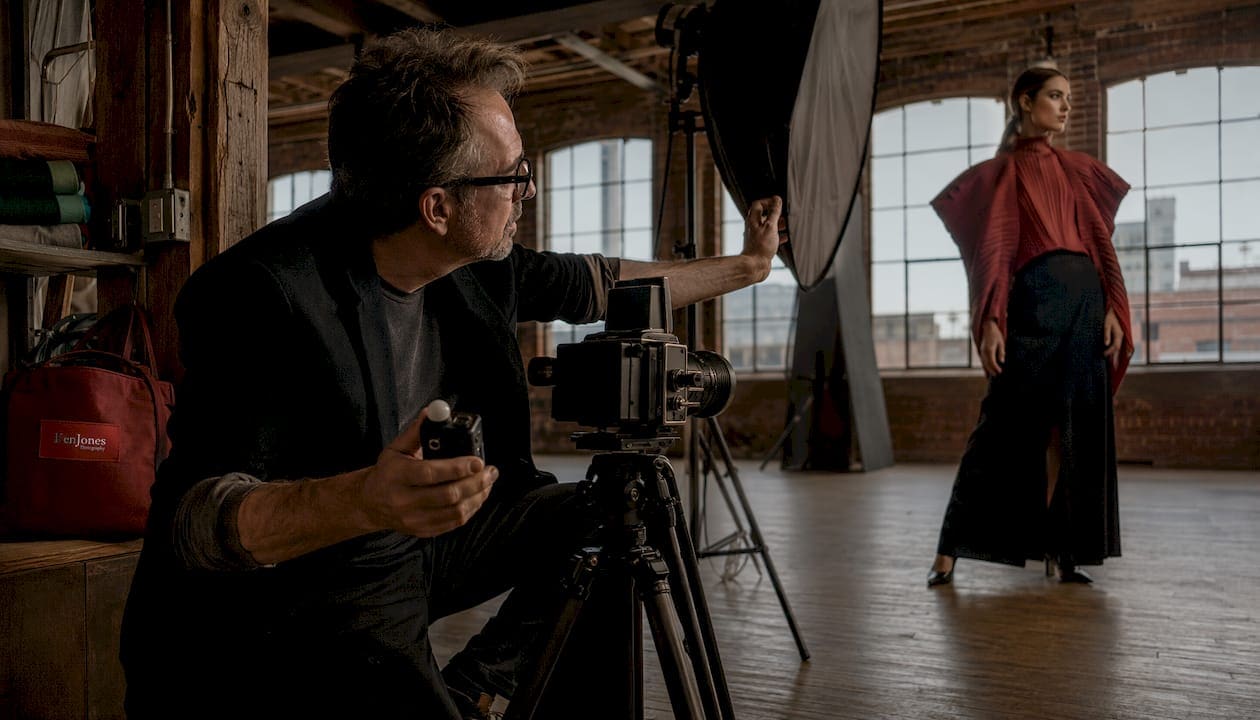
Retouching in fashion imagery is the deliberate process of refining photographs to deliver a brand’s visual intent, correct technical flaws, and enforce consistent finish across a set — while preserving realistic skin texture and photographic integrity. Done well, it is the final stage of production, not a rescue operation.
Here is what professional retouching actually produces:
- Skin polish with texture retained — blemish removal and tone evening without erasing pores or natural surface detail
- Color matching across a set — consistent hue, saturation, and luminance from frame to frame so a campaign reads as one cohesive body of work
- Garment and fabric cleanup — stray threads, wrinkles, and lint removed without flattening the fabric’s natural drape
- Compositing for hero shots — sky swaps, background extensions, or multi-exposure blends for billboard and campaign frames
- Output conversion — files prepared to spec for print (Adobe RGB or ProPhoto, 16-bit TIFF) and web (sRGB, compressed JPEG), so color holds across every medium
The three tools that appear in virtually every professional fashion post-production pipeline are Adobe Photoshop for pixel-level work, Adobe Lightroom for batch global corrections, and Capture One Pro for tethered capture and color handling.
Ken Jones Photography builds that principle into every production at FultonStudio: the brief defines the finish before the shoot begins, so the retoucher refines rather than repairs.
Table of Contents
- Why retouching matters in fashion photography
- Core retouching techniques every fashion professional should know
- What software and hardware professionals actually use
- On-set practices that make retouching faster and better
- Ethics, aesthetics, and where the line actually sits
- Workflow, briefs, and scaling post-production reliably
- Turnaround times and pricing you should expect in the U.S. market
- Studio case study: a Ken Jones NYC fashion editorial shoot
- Key Takeaways
- What most people get wrong about retouching
- Ken Jones Photography: editorial-grade retouching, built into the production
- Useful sources and further reading
- FAQ
Why retouching matters in fashion photography
The role of retouching in fashion imagery is most visible in its outcomes: brand consistency, hero image polish, technical correction, and storytelling control. Each of those outcomes has a direct commercial consequence.
Brand consistency is the most underrated one. A lookbook shot across two days, two lighting setups, and three locations will drift in color temperature, shadow density, and skin tone unless a retoucher applies a consistent grade and corrects for those variables. Buyers and editors notice inconsistency immediately, even when they cannot name the cause. Retouching is what makes a 40-image campaign read as a single, deliberate vision rather than a collection of separate photographs.
Hero image polish matters most for print, OOH, and campaign hero frames, where images are enlarged to sizes that expose every flaw a screen-sized proof hides. A beauty close-up destined for a billboard needs a level of skin work that the same image used as a web thumbnail simply does not require. Knowing the intended output before the shoot determines how much retouching to budget.
Technical corrections cover the problems that good capture still produces: color casts from mixed ambient light, slight exposure variation between frames, lens distortion, and sensor dust. These are not creative decisions. They are corrections that bring an image in line with what the product actually looks like under neutral conditions.
Use cases where retouching is non-negotiable:
- Editorial spreads for print magazines (skin, color grade, compositing)
- E-commerce hero shots where product color accuracy drives purchase decisions
- Billboard and OOH placements (any flaw enlarges with the image)
- Campaign hero frames for advertising and PR
- Beauty close-ups where skin texture and tone are the subject
Retouching is often unnecessary for select documentary editorial work, raw street-style content, or behind-the-scenes imagery where authenticity is the point. The editorial brief should make that call explicitly, not leave it to the retoucher to guess.
Responsibility split: The photographer controls capture quality, lighting, and on-set decisions that determine how much retouching is needed. The retoucher executes the brief at the pixel level. The art director or creative director sets the visual standard and approves the finish. When those three roles are clearly defined before the shoot, the post-production process runs cleanly. When they are not, the retoucher ends up making creative decisions that should have been made on set, and revision cycles multiply.
Core retouching techniques every fashion professional should know
Understanding what each technique does, and when to use it, is what separates a well-briefed retoucher from one who over-processes by default.
-
Frequency separation splits an image into two layers: one carrying color and tone, one carrying texture. Retouchers use it to even skin tone without touching surface detail. The most common mistake is over-blending the color layer, which produces the plastic, airbrushed look that clients complain about after the fact.
-
Dodging and burning sculpts light and shadow by hand, adding dimension to skin, fabric, and product surfaces. It is the most time-intensive technique and the one that most separates a skilled retoucher from an average one. Used correctly, it makes a flat studio image look three-dimensional.
-
Spot healing and clone stamp remove temporary blemishes, sensor dust, stray hairs, and background distractions. Low opacity and small brush sizes keep the work invisible. Heavy-handed cloning creates repeating texture patterns that read as artificial.
-
Liquify allows subtle shape adjustments: smoothing a collar that folded awkwardly, correcting a garment that pulled at the seam, or refining a silhouette. The ethical and aesthetic line here is clear: correcting clothing and environment is standard; altering body proportions requires explicit consent and a contractual brief.
-
High-frequency texture work rebuilds or reinforces surface detail in areas where frequency separation or healing has softened it. Retouchers use this to restore pores, fabric weave, and fine hair detail after tone corrections.
-
Selective color correction targets specific hue ranges to match a garment’s color to a brand’s approved palette, correct color casts in shadows, or shift a background tone without affecting skin. In Photoshop, Hue/Saturation adjustment layers with masks are the standard tool.
-
Compositing combines multiple exposures or assets into a single frame. Common in campaign hero shots: a cleaner background plate, a better sky, or a product shot composited into a lifestyle scene. It requires precise masking and matched lighting to read as seamless.
Step-by-step example: beauty close-up
- Aim: Even skin tone, remove temporary blemishes, retain pore structure, match to approved reference.
- Step 1: Spot heal temporary blemishes on a separate layer at 100% opacity.
- Step 2: Apply frequency separation. Work the color layer only, using a large soft brush at 10–15% opacity to even tone.
- Step 3: Dodge and burn on a 50% gray overlay layer to add dimension to cheekbones and brow.
- Step 4: Selective color correction to match skin tone to the approved reference frame.
- Step 5: Final grade via Camera Raw filter on a stamped layer.
Technique checklist for briefing a retoucher:
- Blemish removal: temporary only, or all marks?
- Frequency separation: light, medium, or beauty-grade?
- Dodge and burn: yes or no?
- Liquify: clothing only, or approved body adjustments?
- Color grade: match to LUT/reference or retoucher’s discretion?
- Compositing: list specific assets required
Pro Tip: Always work in 16-bit in Photoshop. Editing in 8-bit compresses tonal data, and color banding appears in gradients — skin, sky, fabric — that looked clean on screen but fall apart in print. Convert to 8-bit only at the final export stage.
What software and hardware professionals actually use
The professional fashion retouching toolkit has not changed dramatically in a decade, but how practitioners use these tools has become more deliberate.
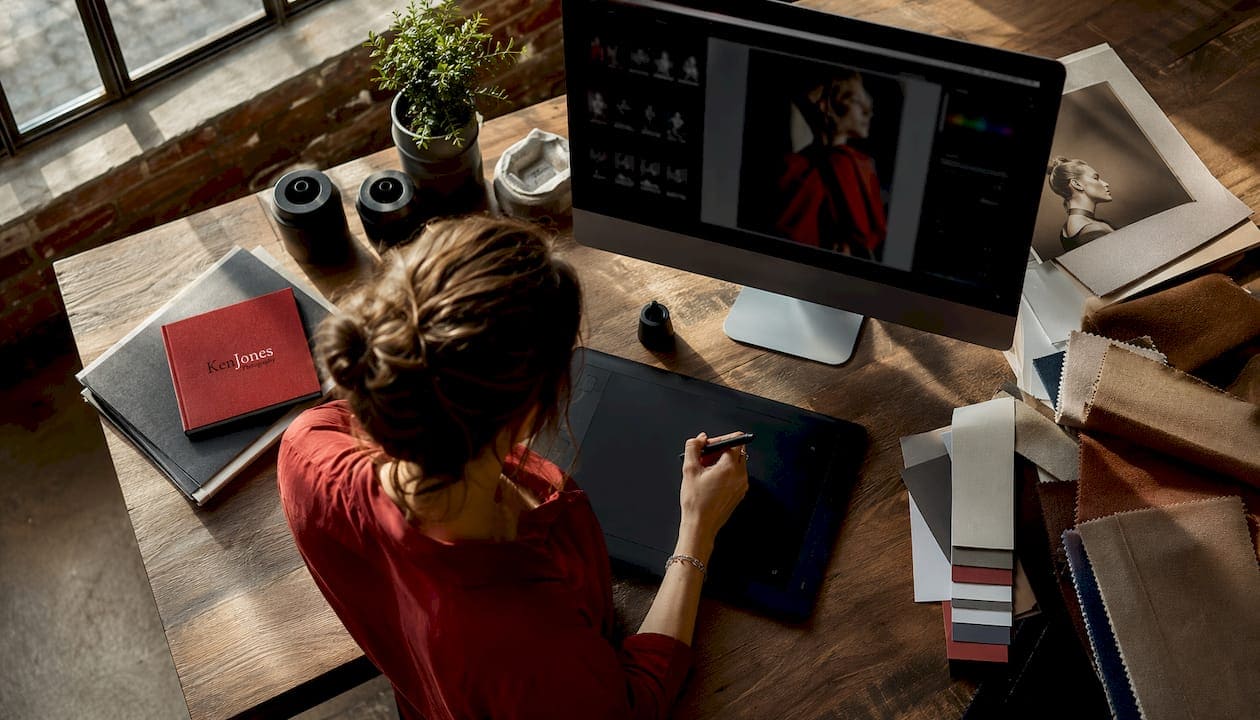
Adobe Photoshop remains the primary retouching environment for pixel-level work. The features that matter most in fashion post-production are frequency separation (built manually or via action), healing and clone tools, Smart Objects for non-destructive edits, layer masks, the Camera Raw filter for final grades, and Actions for repeatable tasks. Smart Objects are worth emphasizing: they let you apply Camera Raw adjustments, filters, and transforms without permanently altering pixel data, which means you can revisit any step without rebuilding the file.
Adobe Lightroom handles batch global corrections and rapid proofing. For a 200-image editorial shoot, a retoucher will apply a base grade in Lightroom, export selects, and then move hero frames into Photoshop for detailed work. Lightroom’s batch processing is what makes large-volume e-commerce workflows viable.
Capture One Pro is the preferred tool for tethered capture on set, and its color tools are genuinely superior to Lightroom’s for fashion work. The ability to apply a base grade live during the shoot, so the photographer and art director see a graded image on the tethered monitor rather than a flat RAW, changes how decisions get made on set. It reduces the gap between capture and final look, which means fewer surprises in post.
Key hardware and workflow considerations:
- Calibrated monitor: A display calibrated to D65 white point is non-negotiable for color-critical retouching. What looks neutral on an uncalibrated screen will shift in print.
- ICC workflow: Use the correct color profile for your output. Adobe RGB or ProPhoto RGB for print; sRGB for web. Soft-proof before final export to catch color shifts.
- 16-bit throughout: As noted above, stay in 16-bit until final export.
- Storage and versioning: Keep master PSDs and TIFFs on a separate drive from working files. Version by date or round number, never by “final” or “final_v2.”
On plugins and AI tools: AI-assisted retouching tools have become faster and more capable, but they require human review on every output. Automated skin smoothing, in particular, tends to over-process. Use AI tools for initial passes on bulk e-commerce work, then review each frame before delivery. Never run an AI batch on hero or beauty-grade images without a manual check.
On-set practices that make retouching faster and better
The single most effective way to reduce retouching time is to make better decisions before and during the shoot. Failing to set a visual brief before the shoot is the most common and costly mistake in high-end fashion production. Retouching then becomes an expensive attempt to fix capture issues that good lighting and styling could have prevented.
On-set checklist:
- Shoot RAW. Always.
- Set a consistent white balance and lock it. Do not leave it on Auto.
- Use a grey card at the start of each lighting setup.
- Tether to Capture One so the art director can review a graded image in real time.
- Flag hero frames on set, not in post. The photographer should mark selects during the shoot.
- Capture close-up skin samples and fabric texture shots for the retoucher’s reference.
- Confirm the intended output (print, web, OOH) before the shoot so the retoucher knows the delivery spec.
What to hand the retoucher:
- Grey card frame from each setup
- Close-up skin reference shot (no expression, neutral light)
- Fabric texture reference shot (flat, even light)
- Approved LUT or color reference from the art director
- Flagged hero frames with notes on priority
How to write an effective retouching brief:
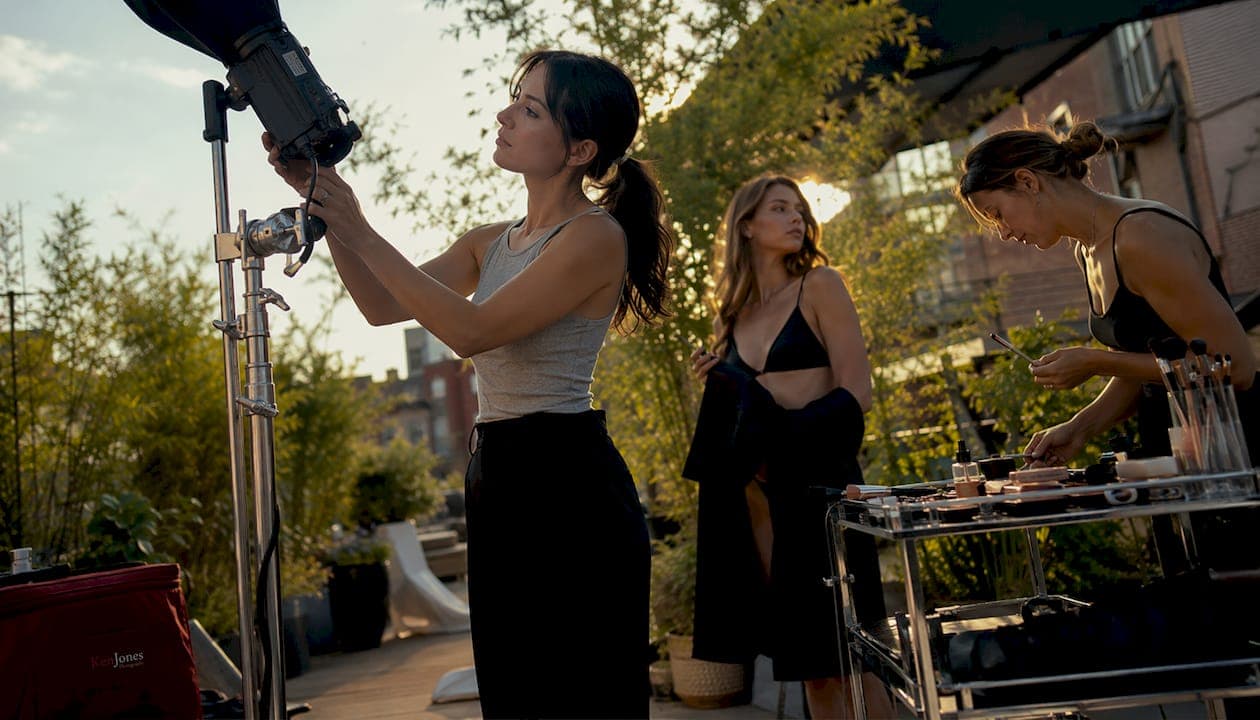
Define the finish level explicitly. “Polish” means global corrections and blemish removal. “Beauty-grade” means frequency separation, dodge and burn, and selective color work. “Composite” means additional assets are required. Include a moodboard, list non-negotiables (retain pores, no body morphing, match garment color to approved swatch), specify rounds and who approves each, and attach the delivery spec.
Pro Tip: Lock in the color profile and export specs before any retouching begins. Changing the output spec after retouching is done can require rebuilding grades from scratch. Include a versioning rule in the brief: “v01 = first pass, v02 = revision 1, FINAL = approved.” Annotated proofs with specific, visual feedback replace subjective notes like “make it pop.”
Ethics, aesthetics, and where the line actually sits
The ethical baseline for retouching is consent and transparency. Edits that objectify, misrepresent, or alter a subject’s identity without their knowledge or agreement are widely discouraged across the industry, and increasingly, by advertising regulators.
Core principles:
- Consent: The subject should know what level of retouching will be applied. Body morphing, in particular, requires explicit agreement.
- Transparency: Labeling heavily retouched campaign images is becoming standard practice in several markets and is a competitive advantage with consumers who value authenticity.
- Cultural sensitivity: Skin tone correction should match the subject’s actual tone, not lighten it to fit a narrower beauty standard.
- Respect for identity: Distinguishing marks, scars, and features that define a person’s appearance should be retained unless the subject specifically requests otherwise.
Aesthetic guidance: The “two-week rule” is a useful practical standard. Remove only what would not be present two weeks later: a temporary blemish, a bruise, a stray hair. Retain what is permanent: freckles, moles, scars, skin texture. This keeps retouching honest and avoids the over-processed look that consumers increasingly reject in favor of more authentic representation.
Brands that retain more skin texture and are transparent about their retouch levels tend to build longer-term consumer trust. That is not just an ethical position; it is a commercial one.
Pro Tip: Build a retouch level matrix into every brief. Level 0 = global corrections only. Level 1 = polish (blemish removal, basic tone). Level 2 = beauty-grade (frequency separation, dodge and burn). Level 3 = composite. When every stakeholder uses the same language, subjective feedback rounds drop significantly.
Workflow, briefs, and scaling post-production reliably
A documented brief that defines “finished” before the shoot is the single most impactful process improvement a production team can make. Production leads report up to an 80% time saving in turnaround when the brief precisely defines finish and review rounds. That figure reflects how much time is lost to subjective revision cycles when expectations are not set in writing.
Stepwise workflow template:
- Pre-production brief: moodboard, LUTs, hero flags, retouch level per image, reference frames, deadlines, file specs, delivery format.
- On-set deliverables: grey card, skin reference, fabric reference, flagged selects, tethered proof with base grade applied.
- Culling and color pass: select hero frames, apply base grade in Lightroom or Capture One, export to Photoshop for detail work.
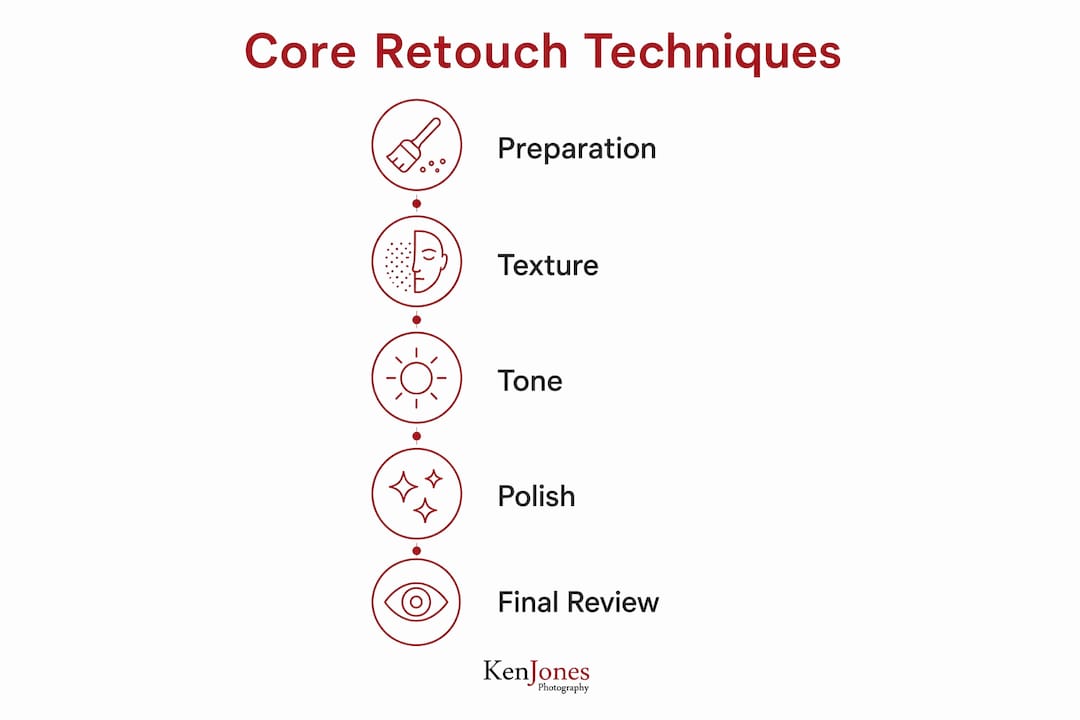
- Retouch passes: 01_prep (dust, distractions), 02_texture (frequency separation, healing), 03_tone (dodge and burn, selective color), 04_finish (Camera Raw grade, output sharpening).
- QA: technical check (banding, color profile, resolution), brief consistency check (retouch level matches brief), brand tone check (grade matches approved reference).
- Final delivery: export to spec, name files per convention, archive master PSDs and TIFFs.
Documented brief checklist:
- Moodboard (3–5 reference images)
- Approved LUT or color reference
- Hero frame flags with priority notes
- Retouch level per image (use the matrix above)
- Non-negotiables (retain pores, no body morphing, match garment swatch)
- Rounds and approvers (who approves each pass)
- File specs (format, resolution, color profile, naming convention)
- Deadline per deliverable
Scaling controls: Use a versioned Presets folder and consistent layer group naming (01_prep, 02_texture, 03_tone, 04_finish). Lock finished groups. Never apply destructive batch scripts to master PSDs. Assign roles: primary retoucher, QA retoucher, finishing director.
Pro Tip: Standardize presets and actions for repeatable tasks, but run them on duplicates, never on master PSDs. A destructive batch script applied to a master file is unrecoverable without going back to the RAW.
Turnaround times and pricing you should expect in the U.S. market
Retouching pricing in the U.S. market varies by depth, complexity, and usage. The table below reflects general market bands for professional retouching services; actual quotes will depend on the specific retoucher, studio, and project scope.
| Retouch Level | Typical Price Range (per image) | Turnaround |
|---|---|---|
| Basic polish (global corrections, blemish removal) | $15–$50 | 24–72 hours |
| Beauty-grade (frequency separation, dodge & burn, selective color) | $75–$200 | 3–7 business days |
| High-end composite (multi-exposure, background replacement, asset integration) | $250–$600+ | 1–3 weeks |
These are category ranges, not quotes. Rush fees typically add 25–50% to the base rate and compress timelines by roughly half.
Pricing drivers:
- Retouch depth (polish vs. beauty-grade vs. composite)
- Image complexity (intricate fabric patterns, multi-layer composites)
- Number of revision rounds included
- Usage rights and placement (editorial vs. OOH vs. global campaign)
- Rush delivery requirements
Cost-saving strategies:
- A tight brief reduces revision rounds, which is where most budget overruns occur.
- Clean capture (good lighting, minimal on-set distractions) reduces prep time on every frame.
- Batch similar frames together: images from the same lighting setup with the same model can share a base grade, cutting per-image time.
- Standardized LUTs and presets applied at the culling stage reduce the retoucher’s starting point from scratch.
For e-commerce bulk passes, 24–72 hours is a realistic turnaround for base corrections on a clean set of RAW files. Beauty-grade hero shots for a campaign typically take several days to a week, depending on the number of revision rounds. High-end composites for billboard or global campaign use are multi-week projects.
Studio case study: a Ken Jones NYC fashion editorial shoot
The brief was a New York fashion editorial for a designer lookbook, intended for print and digital use. The shoot took place at FultonStudio in Lower Manhattan, with four looks across two lighting setups. The intended hero frames were three full-length looks and two beauty close-ups.
What happened on set that shaped the retouch:
The lighting was set up and locked before the model arrived, with a grey card shot captured at the start of each setup. Close-up skin reference shots were taken in the first ten minutes of the shoot, before the model was fully warmed up, to give the retoucher a baseline. Fabric reference shots were captured flat, under even light, for each garment. The art director flagged hero frames on the tethered monitor during the shoot, so the retoucher received a prioritized selects list with the RAW files.
Retouch choices made:
- Temporary blemishes removed on all hero frames.
- Frequency separation applied at medium grade on the beauty close-ups; the color layer was worked at 10% opacity to even tone without touching texture.
- Dodge and burn on the full-length frames to add dimension to the garments and separate the model from the background.
- One garment had a visible seam pull at the shoulder; this was corrected with a combination of clone stamp and Liquify at low strength. No body proportions were altered.
- The background on one hero frame had a distracting highlight from a reflective surface; this was removed with clone stamp on a separate layer.
- Color grade applied via a LUT provided by the art director, with minor selective adjustments to match garment colors to the approved swatches.
What was left intact: freckles, natural skin texture, the model’s distinguishing features. The brief specified “retain pores and natural marks” explicitly.
Production lessons:
- The fabric reference shots cut the retoucher’s garment color-matching time in half. Without them, matching to memory or a swatch scan is guesswork.
- The flagged selects list meant the retoucher started on hero frames immediately rather than culling 400 images to find the priorities. That alone saved several hours on a tight deadline.
Key Takeaways
Retouching in fashion imagery delivers its best results when the brief defines the finish before the shoot, capture is clean, and the workflow is non-destructive from RAW to final delivery.
| Point | Details |
|---|---|
| Define finish before the shoot | A documented brief with retouch level, references, and non-negotiables cuts revision cycles dramatically. |
| Shoot for texture | Grey card, skin reference, and fabric shots on set give retouchers the data they need to work accurately. |
| Work in 16-bit | Editing in 16-bit prevents color banding in gradients; convert to 8-bit only at final export. |
| Standardize briefs and color | Approved LUTs, naming conventions, and a retouch level matrix keep large campaigns consistent across retouchers. |
| Ken Jones Photography | The studio builds pre-shoot briefs, tethered capture, and non-destructive retouching into every fashion editorial production. |
What most people get wrong about retouching
The conventional wisdom treats retouching as a corrective tool, something you reach for when the shoot did not go as planned. That framing is backwards, and it is the source of most of the expensive, time-consuming revision cycles that production teams complain about.
Retouching is not a safety net. It is the final stage of a production chain that begins with a brief, runs through lighting and capture, and ends with a retoucher who has clear instructions and clean files to work with. When retouching is treated as a fallback, the retoucher ends up making decisions that should have been made by the photographer, the stylist, or the art director. Those decisions take longer, cost more, and produce results that are harder to approve because no one agreed on the standard before the shoot.
The other thing people consistently underestimate is the relationship between capture quality and retouch quality. A well-lit image with good skin prep and a consistent white balance gives the retoucher a starting point that is 80% of the way to finished. An underexposed image with mixed color temperature and uneven skin prep requires the retoucher to solve problems that compound each other, and the result is almost always a compromise. The impact of retouching on the final image is real, but it is bounded by what was captured.
The brands getting the best results from post-production right now are not the ones spending the most on retouching. They are the ones investing in better briefs, better on-set discipline, and clearer communication between the photographer, the retoucher, and the art director. The retouching budget follows naturally from that discipline.
Ken Jones Photography: editorial-grade retouching, built into the production
Ken Jones Photography handles retouching as part of a complete production workflow, not as an add-on. For fashion brands, designers, and creative directors working on editorial spreads, lookbooks, and campaign hero frames, the studio brings the same production discipline to post-production that it applies on set: a documented brief, tethered capture with a base grade applied live, and non-destructive retouching from prep through final delivery.
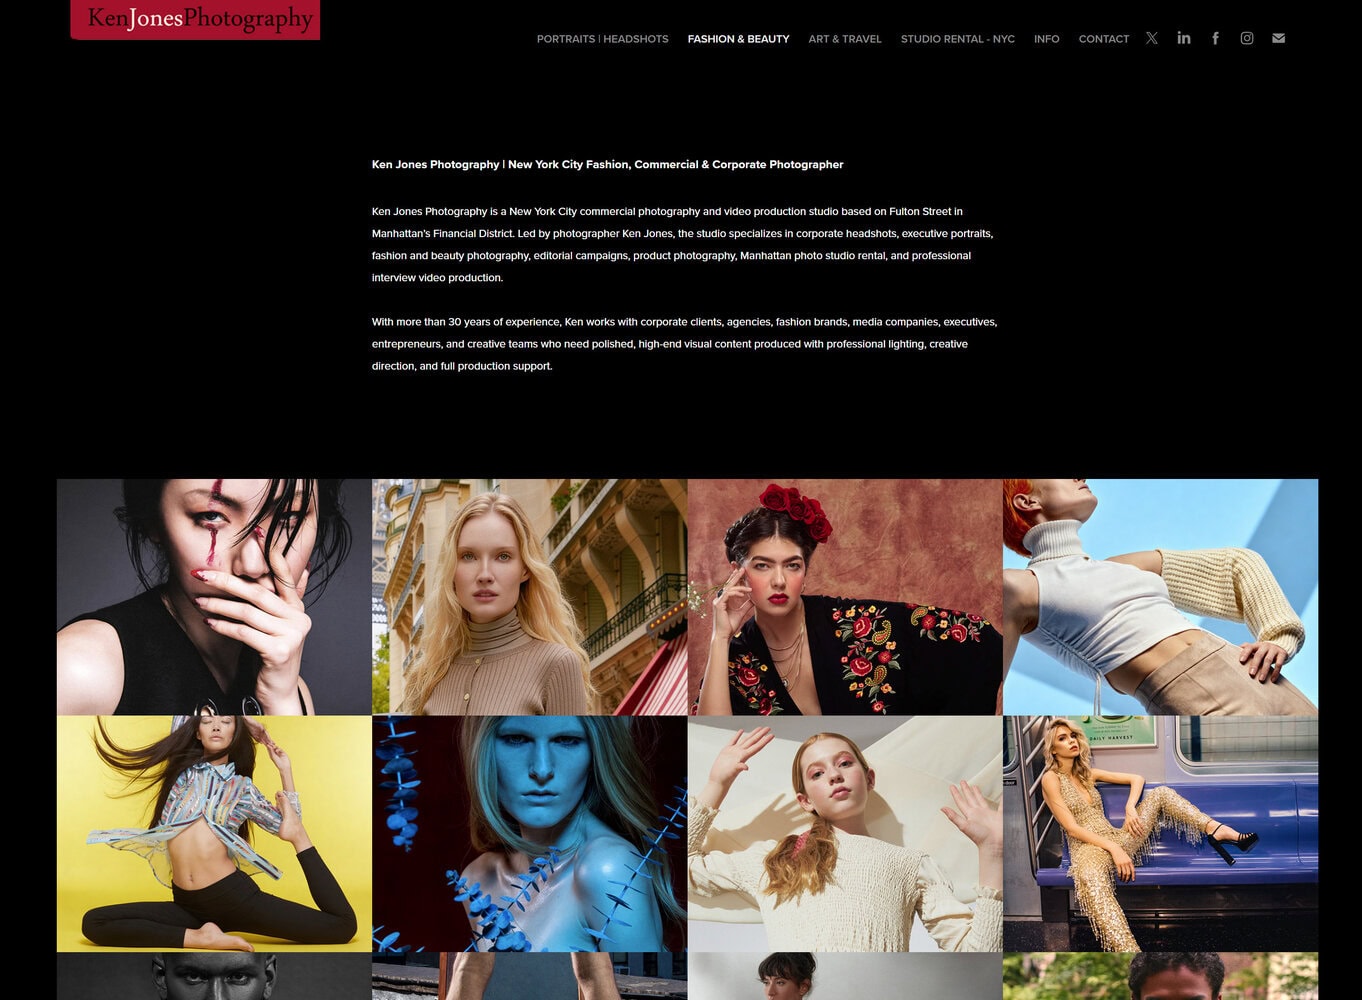
The fashion portfolio and beauty work at KenJonesNYC show the range of finish levels the studio produces, from clean editorial polish to beauty-grade close-ups. If you are planning a shoot and want to discuss retouching scope, delivery specs, or production support, reach out at kenjonesnyc.com to start the conversation.
Useful sources and further reading
- How to Direct Beauty & Fashion Retouching Workflows — The Style Press: A practical workflow guide covering brief structure, revision management, and scaling retouching across campaigns. Directly useful for production leads.
- Ethics in Retouching — InFocus: Covers consent, transparency, and the baseline ethical standards for retouching practice. Recommended reading before briefing any retoucher on body or skin work.
- Ethical Photo Editing in Fashion — Flush the Fashion: Examines the consumer trust argument for authentic representation and the competitive advantage of transparent retouching.
- Fashion Photography Retouching Services: The Complete Technical Guide — Retouching Labs: Technical benchmarks for bit depth, color profiles, and ICC workflow. Useful for retouchers and production leads setting delivery specs.
- Understanding Editing Versus Retouching — Into The Picture: Clarifies the distinction between global editing and pixel-level retouching, and when each is appropriate.
- Ethics and Practice Notes on Photo Retouching — PhotographyIcon: Industry perspective on the relationship between capture quality and retouching scope.
- Understanding Imaging Techniques — Digital Photography School: Explains the difference between retouching, manipulating, and optimizing images — useful for photographers new to post-production terminology.
- Commercial Photography Retouching Workflow: A Pro Guide — Ken Jones Photography: An in-depth workflow guide for retouching in commercial shoots, covering file management, brief structure, and delivery.
- How a Fashion Photography Shoot Works: Full Process — Ken Jones Photography: End-to-end shoot process guide, including on-set practices that reduce retouch time.
- Fashion Photography Post-Production Workflow with Laretta Houston — Lexar: A working photographer’s account of how pre-shoot planning shapes post-production outcomes.
FAQ
Why is photo retouching important in fashion photography?
Retouching delivers brand consistency, corrects technical flaws from capture conditions, and polishes hero images to the standard required for print, OOH, and campaign use. Without it, color drift, skin tone inconsistencies, and fabric distractions undermine the visual coherence of a campaign.
How is retouching different from photo editing?
Editing covers global adjustments — exposure, white balance, contrast — applied to an entire image or batch. Retouching is pixel-level work on specific elements: removing a blemish, evening skin tone with frequency separation, or cleaning up a garment. Many images need editing; only hero and beauty-grade frames typically require full retouching.
Is photo retouching ethical?
Retouching is ethical when it is consent-based and transparent. Removing temporary blemishes, correcting color casts, and cleaning up garments are standard and uncontroversial. Altering body proportions without the subject’s explicit agreement, or lightening skin tone to fit a narrower beauty standard, crosses the ethical line most industry guides draw.
What does retouching actually do to an image?
Retouching makes targeted, deliberate changes to specific elements within a photograph: skin tone, texture, garment detail, background distractions, and color accuracy. The goal is to realize the creative intent of the brief while preserving the photographic integrity of the original capture.
How much does professional fashion retouching cost in the U.S.?
Basic polish runs roughly $15–$50 per image with a 24–72 hour turnaround. Beauty-grade retouching typically falls in the $75–$200 range per image with a 3–7 business day turnaround. High-end composites for campaign hero frames can run $250–$600 or more per image, with multi-week timelines depending on complexity and revision rounds.