
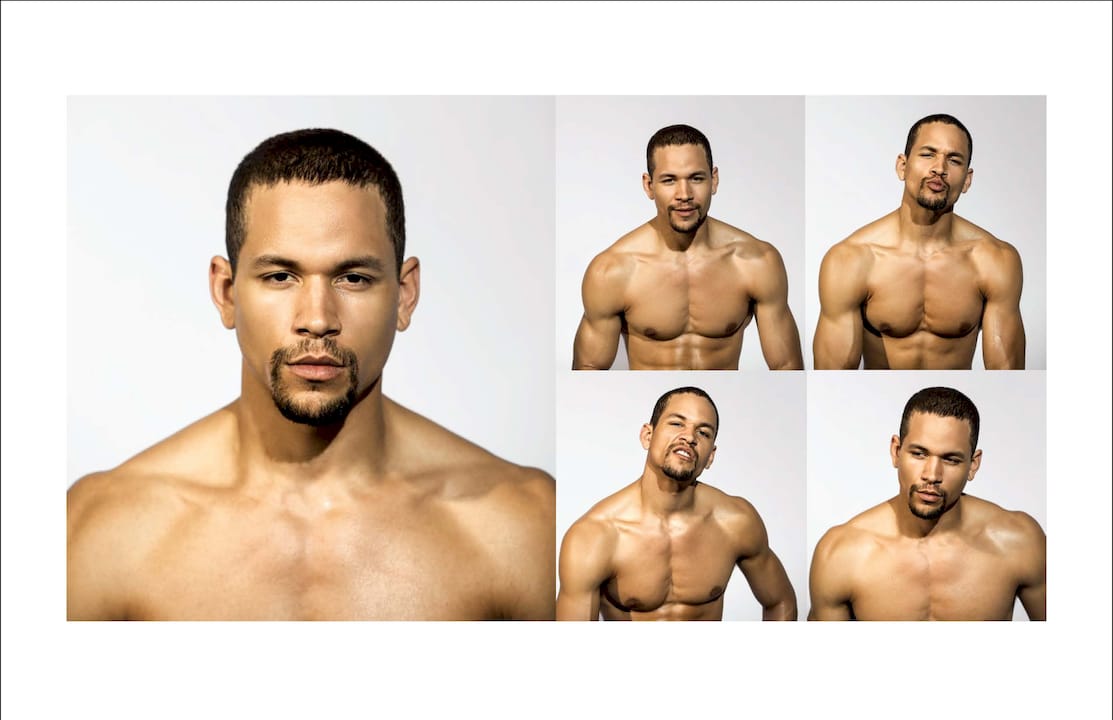
TL;DR:
- Mastering posture, eye contact, and visible hand gestures forms the core of effective on-camera presence for videos. Proper setup, including stable camera, front lighting, and meaningful background, enhances natural posing and movement. Consistent practice of short, focused sessions with movement transitions builds confidence and fluidity in on-camera posing.
A posing video is the practice of presenting your body, movement, and eye contact on camera in a way that communicates confidence, intention, and visual appeal to your audience. The industry term for this discipline is “on-camera presence,” and it covers everything from how you hold your shoulders to how you transition between positions during a shoot. Mastering it is not optional for models, influencers, or content creators who want their work to stand out. This article covers the core fundamentals, the equipment that supports them, how to practice effectively, and the mistakes that quietly undermine otherwise strong footage.
What are the fundamental posing techniques for effective video presence?
Three fundamentals cover 90% of professional on-camera presence: posture, eye contact, and visible natural hand gestures. That statistic means you do not need to master a hundred different techniques before your footage looks polished. Fix those three things first, and the improvement is immediate.
Posture: the foundation of every frame
Posture is the first thing a viewer reads, even before they process what you are saying or doing. Shoulders back, chest open, and spine aligned creates a line that reads as confident and composed on camera. Slouching compresses your frame and signals discomfort, which the lens amplifies rather than softens. Think of your posture as the structural frame that every other element of your pose sits on.
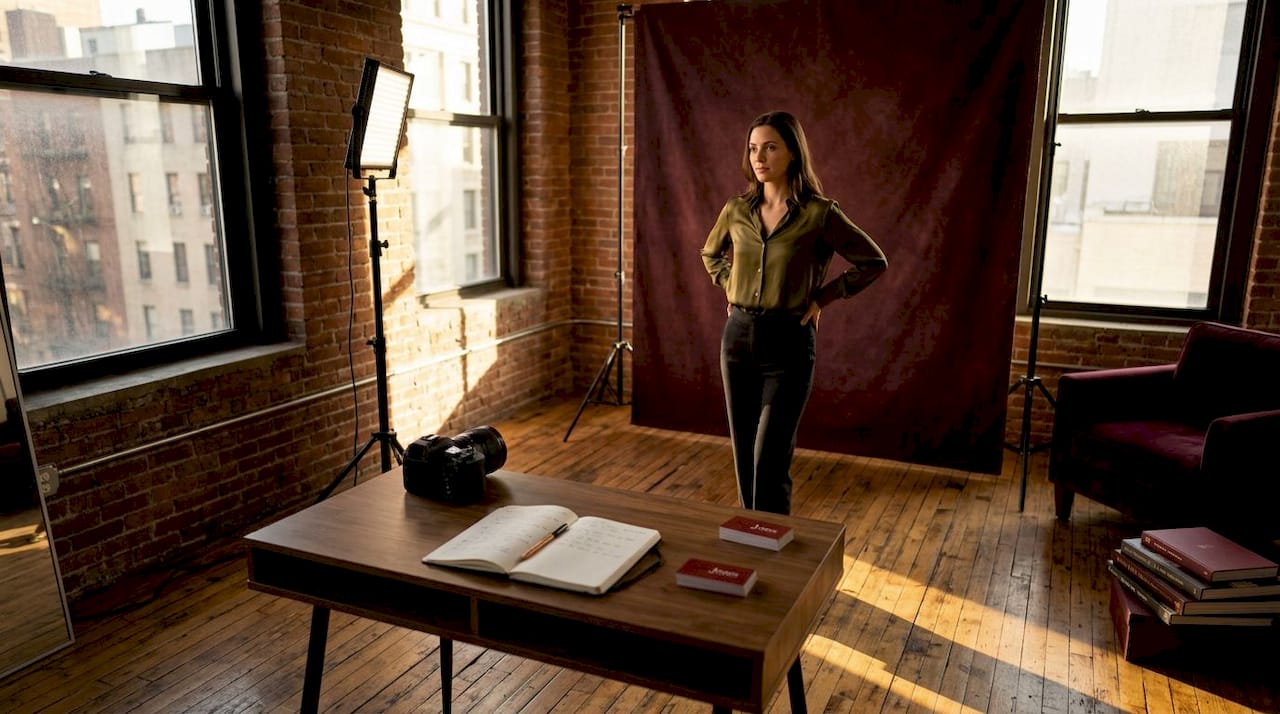
Eye contact and camera lens awareness
Looking into the camera lens is not the same as looking at your screen or at the person operating the camera. The lens is the viewer’s eye, and when you look directly into it, you create a connection that holds attention. Looking slightly off-lens, even by a few degrees, reads as distraction or disengagement on the final footage. Practice placing a small piece of tape or a sticker just above the lens as a focal point during solo shoots.
Hand positioning and body angles
Hands that are hidden, crossed, or pressed flat against your body read as closed-off or nervous. Keep them visible, slightly separated, and purposeful. A relaxed hand resting on a hip or gesturing naturally during speech communicates ease and authority. For body angles, angling hips about 45° toward the camera while keeping shoulders forward creates a dynamic and flattering line. Standing square to the camera flattens your silhouette and removes the visual interest that a slight angle provides.
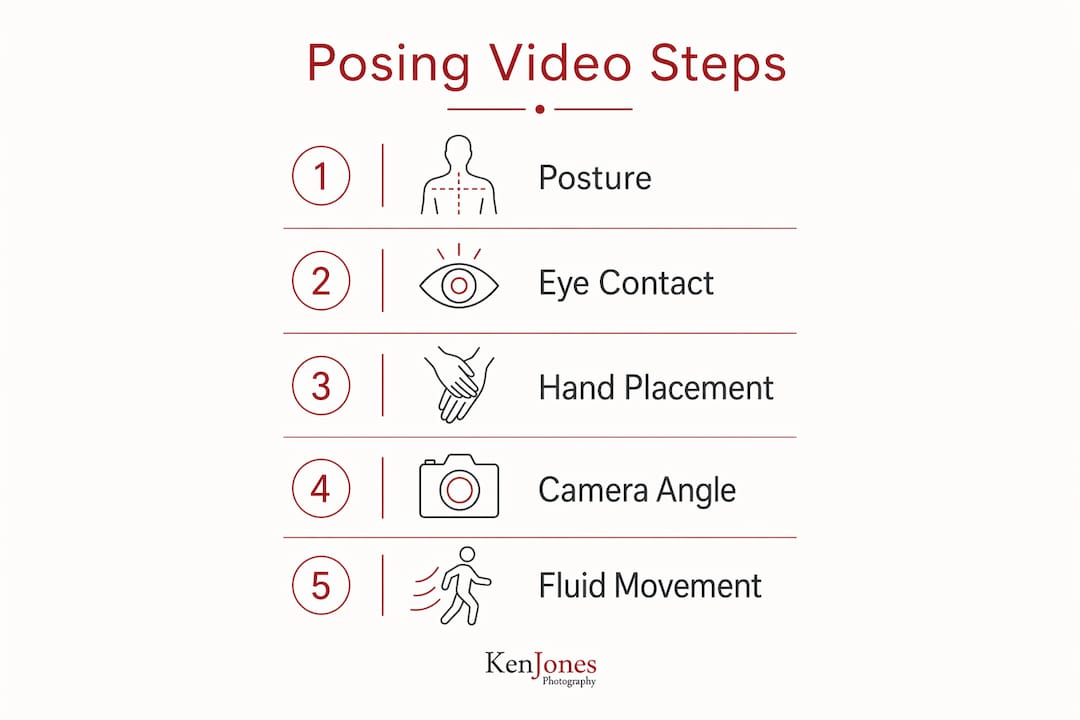
Camera framing and chin position
Camera positioning at or slightly above eye level with your eyes roughly one-third down from the top of the frame produces the most flattering and professional composition. Cameras positioned below eye level create unflattering upward angles that distort facial proportions. Chin position matters too: pushing your chin slightly forward and down elongates the neck and eliminates the appearance of a double chin, which is one of the most common framing complaints from creators reviewing their own footage.
- Shoulders back, chest open, spine aligned
- Eyes on the lens, not the screen
- Hands visible and purposeful, not hidden or stiff
- Hips angled 30° to 45° toward camera
- Chin slightly forward and down to elongate the neck
- Camera at eye level or slightly above, eyes one-third from frame top
Pro Tip: Place your camera on a tripod and record a 60-second clip of yourself standing still. Watch it back without sound. Every posture and framing issue will be immediately obvious, and you will know exactly what to fix before your next shoot.
What equipment and setup help support good posing during video shoots?
Technical setup and posing technique are not separate concerns. The right gear creates the conditions where good posing can actually be captured. The wrong setup makes even excellent posing look flat, shaky, or poorly lit.
The four setup elements that matter most
- Stable camera mount. Handheld footage reads as amateur, and it distracts from the posing itself. A tripod or gimbal stabilizer removes camera shake and lets the viewer focus entirely on the subject. For creators shooting solo content, a reliable tripod with a fluid head is non-negotiable.
- Front-facing light source. Natural light from a window positioned in front of you, or a ring light placed at camera level, illuminates your face evenly and makes your poses readable. Backlight silhouettes the subject and makes body positioning impossible to read. One well-placed light modifier can produce flattering contrast without frequent setup changes, which keeps your workflow moving.
- Clean, purposeful background. A cluttered background competes with your posing for the viewer’s attention. A neutral wall, a styled studio backdrop, or a deliberately chosen environmental setting all work. The background should support the mood of the content, not distract from it.
- External microphone. Audio quality affects how professional a video feels overall. Poor audio undermines strong posing by making the viewer uncomfortable. A Rode VideoMicro or a Deity V-Mic D3 Pro clipped to your camera or positioned off-frame solves this without adding significant bulk to your setup.
Pro Tip: If you are shooting movement-based posing video on a gimbal, choosing lighter lenses improves balance and reduces arm fatigue, which directly affects how smoothly the camera follows your poses.
| Setup element | Why it matters for posing |
|---|---|
| Tripod or gimbal | Eliminates shake so posing reads clearly |
| Front-facing light | Illuminates body lines and facial expression |
| Clean background | Keeps viewer focus on the subject’s movement |
| External microphone | Maintains overall production quality |
| Lightweight lens | Enables smoother camera movement during dynamic poses |
How to practice and execute posing video techniques effectively on set
Practice is where posing technique becomes muscle memory, and muscle memory is what allows you to pose naturally on camera without thinking about every individual element. Consistent and brief practice sessions build this memory faster than occasional long sessions. Ten minutes of focused practice daily produces better results than a two-hour session once a week.
Building your practice routine
- Start with a mirror warm-up. Stand in front of a full-length mirror and run through your basic positions: neutral stance, hip angle, hand placement, chin position. This is not about performing. It is about calibrating your body awareness before the camera comes on.
- Record short clips, not long takes. Set up your camera and record 30 to 60-second clips focused on one element at a time. One clip for posture. One clip for hand positioning. One clip for transitions. Short clips are easier to review critically and less overwhelming to analyze.
- Watch your footage without sound. Muting the audio forces you to evaluate body language and posing objectively. You will notice things you never catch in the mirror, including how your weight shifts, where your eyes drift, and whether your transitions feel natural or mechanical.
- Focus micro-adjustments on three points. Chin position, hand placement, and hip angle are the three variables that most affect how a pose reads on camera. Adjust one at a time rather than trying to fix everything simultaneously.
- Add movement between positions. Recording transitions between poses is where video separates itself from photography. A pose that looks great as a still can look stiff and awkward when you move into it. Practice the entry and exit of each position, not just the position itself.
Managing stiffness and on-camera anxiety
Stiffness on camera almost always comes from self-consciousness, not from a lack of skill. Low-pressure, repeatable practice routines reduce the cognitive load of performing and allow natural expression to come through. Before a shoot, do a physical warm-up: roll your shoulders, loosen your neck, shake out your hands. These are not theatrical gestures. They physically release tension that would otherwise show up in your footage.
Breathing is also a direct posing tool. A slow exhale before you move into a position relaxes your shoulders and softens your facial expression. Many creators hold their breath without realizing it, which creates a subtle rigidity that the camera reads clearly. Breathe out, settle into the position, then begin.
- Use a mirror for initial calibration, not performance
- Record short, focused clips rather than long continuous takes
- Watch footage muted to evaluate body language objectively
- Adjust chin, hands, and hip angle as your primary micro-correction points
- Practice transitions between positions, not just the positions themselves
- Warm up physically before every shoot to release tension
Pro Tip: Simple, repeatable micro movements on vertical video, such as a slight weight shift, a torso turn, or a slow facial tilt, keep fast-scrolling content readable and engaging without requiring complex choreography.
What are common mistakes in posing videos and how to avoid them?
Most posing problems on video fall into a small number of repeatable patterns. Recognizing them in your own footage is the first step to correcting them.
- Locked or stiff body positions. Standing rigid with both feet planted equally and arms at your sides reads as uncomfortable and unnatural. Shift your weight to one hip, soften your knees slightly, and let your arms find a natural resting position.
- Looking off the lens. This is the single most common mistake in self-shot content. Creators look at their own image on the screen rather than at the lens, which means they appear to be looking slightly to the side of the viewer. Mark the lens with a small sticker and train your eye to return to it consistently.
- Poor posture under pressure. Shoulders round forward when people are nervous or self-conscious, and the camera captures this immediately. Engaged posture combined with steady eye contact communicates authenticity and authority. Remind yourself to reset your posture at the start of each take.
- Hands that disappear or fidget. Hands tucked behind the back, shoved in pockets, or constantly moving without purpose signal nervousness. Keep them in the frame, resting naturally or gesturing with intention.
- Ignoring light and framing. Even technically correct posing looks unflattering when the light source is behind the subject or the camera is positioned below eye level. Framing and lighting are not separate from posing. They are part of the same visual equation.
“The camera does not lie, but it does exaggerate. Every tension in your body, every moment of disconnection from the lens, every awkward hand placement reads louder on screen than it ever would in person. The good news is that the same principle works in reverse: confidence, openness, and intention also read louder on camera than they feel in the moment.”
You can learn more about looking comfortable on camera by reviewing posture and eye contact fundamentals that apply equally to video and photography contexts.
Key takeaways
Effective posing video technique requires posture, eye contact, purposeful hand placement, and fluid transitions working together, supported by stable camera setup and front-facing light.
| Point | Details |
|---|---|
| Master three fundamentals first | Posture, eye contact, and visible hands cover 90% of professional on-camera presence. |
| Frame the camera correctly | Position the lens at or slightly above eye level with eyes one-third down from the frame top. |
| Practice transitions, not just poses | Video reveals movement quality, so record and review how you move between positions. |
| Fix your setup before your technique | Backlight and handheld camera shake undermine even strong posing. Stabilize and front-light first. |
| Use short, focused practice sessions | Brief daily practice builds muscle memory faster than infrequent long sessions. |
What 30 years behind the lens taught me about posing on video
I have watched hundreds of talented people freeze up the moment a camera starts recording. It is not a talent problem. It is a preparation problem, and it is entirely fixable.
The most common mistake I see from new models and creators is treating video like a series of still photographs. They hit a pose, hold it, then move to the next one. The result looks mechanical because it is mechanical. Professional models think about how their bodies read in motion. The transition into a pose is part of the pose. The weight shift, the turn of the torso, the way the chin drops slightly as the body settles. That is what separates footage that feels alive from footage that feels posed.
I worked with a fashion client a few years back who had strong still photography experience but had never done video work. She was technically correct in every position, but the footage felt stiff. We spent 20 minutes doing nothing but walking toward the camera and stopping. No posing, just movement. By the end of that session, her transitions were fluid and her posture was natural because she had stopped thinking about the camera and started thinking about the space. That shift in focus changed everything.
Eye contact is the other thing I cannot emphasize enough. Looking into the lens is a skill that takes deliberate practice. It feels unnatural at first because you are looking at a piece of glass, not a person. But the viewer on the other end experiences it as direct, personal connection. That connection is what makes content compelling. Everything else is technique. This is presence.
For anyone working toward professional portrait and video work, the fundamentals covered here are exactly what we focus on during production sessions. Get those right, and the camera becomes your ally rather than your obstacle.
— Ken
Work with Kenjonesnyc to sharpen your on-camera presence
Kenjonesnyc operates out of a full-service studio in Manhattan’s Financial District, with over 30 years of experience directing models, influencers, and commercial clients through fashion, beauty, and editorial shoots. The studio provides professional lighting setups, controlled shooting environments, and hands-on creative direction that puts posing technique into practice immediately. For creators who want to develop their video presence in a professional setting, the NYC studio rental offers access to industry-grade equipment and a space designed for exactly this kind of work. Visit kenjonesnyc.com to learn more about production services and book a consultation.
FAQ
What is a posing video?
A posing video is footage in which a model, influencer, or content creator demonstrates intentional body positioning, movement, and eye contact on camera to communicate confidence and visual appeal. It is the video equivalent of on-camera presence training.
How do I stop looking stiff in my videos?
Stiffness comes from holding static positions rather than moving naturally between them. Practice transitioning into and out of poses, warm up physically before shooting, and use slow exhales to release shoulder tension before each take.
Where should I look when filming a posing video?
Look directly into the camera lens, not at your own image on the screen. Place a small sticker just above the lens as a focal point to train your eye to return to the correct position consistently.
Does lighting really affect how my poses look on video?
Lighting directly affects how body lines and facial expression read on camera. Front-facing light from a window or ring light illuminates your poses clearly, while backlight silhouettes the subject and makes posing unreadable.
How often should I practice posing for video?
Brief, focused daily sessions build posing muscle memory more effectively than infrequent long sessions. Ten minutes of deliberate practice, including recording and reviewing short clips, produces measurable improvement within a few weeks.