
These are the styling mistakes that wreck a fashion shoot — and the practical, on-set fixes that save your images before you ever open a retouching file. Whether you’re a photographer, stylist, or creative director, the problems below show up on nearly every production that skips a proper prep workflow. Most are fixable in under five minutes if you catch them early.
The ten most common fashion shoot styling mistakes and their immediate fixes:
- Wrinkles, tags, and pilling → steam now, relabel, lint-roll before every look
- Wrong fabric weight or stiffness → swap to chiffon or silk blends; add a fan for movement
- Busy micro-patterns and moiré → test at shooting aperture, swap to solids or large-scale prints
- Poor fit and proportion → pin, clip, and tuck on set; call for a sample swap if needed
- Visible undergarments and misscaled accessories → tape, clip, and check jewelry scale for your crop
- Flat or harsh lighting that kills texture → add a rim light or diffusion; flag hot spots on shiny fabric
- Wrong white balance and exposure → set a custom 5500K white balance, shoot RAW, adjust exposure for white or black garments
- Posing that fights the clothing → direct movement, not just position; use “walk and pause” cues
- Missing backups and unlabeled looks → one-page styling guide per look, two to three backup options minimum
- Skipping post-production QA → color-match to your white-balance card, inspect seams at 100%
Pro Tip: Run a ten-minute pre-shoot check before the first look goes in front of the camera: steam, white-balance card, lint-roll, and confirm all accessories are on set. This single habit eliminates the majority of styling blunders in photography before they become retouching problems.
Table of Contents
- 1. Neglecting garment prep ruins images before you shoot a frame
- 2. Choosing the wrong fabric weight kills movement and energy
- 3. Busy patterns and saturated colors create moiré and color clipping
- 4. Poor fit and proportion change the story the image tells
- 5. Accessories and undergarments finish the look or break it
- 6. Lighting that flattens texture or clips color ruins fabric detail
- 7. Wrong camera settings destroy color accuracy and texture detail
- 8. Posing that works against the clothing costs you the shot
- 9. Poor wardrobe logistics burn shoot time and create inconsistent galleries
- 10. Skipping post-production checks creates costly re-edits
- How Ken Jones Photography runs shoots to avoid these mistakes
- How weather and environment affect clothing on location
- How to fix unexpected wardrobe malfunctions quickly on set
- Why creative direction and a shot list prevent most styling errors
- How to coordinate outfits across multiple models without clashing
- Key Takeaways
- What thirty years of NYC shoots taught me about styling mistakes
- Ken Jones Photography: production support for fashion shoots in NYC
- Useful sources and further reading
- FAQ
1. Neglecting garment prep ruins images before you shoot a frame
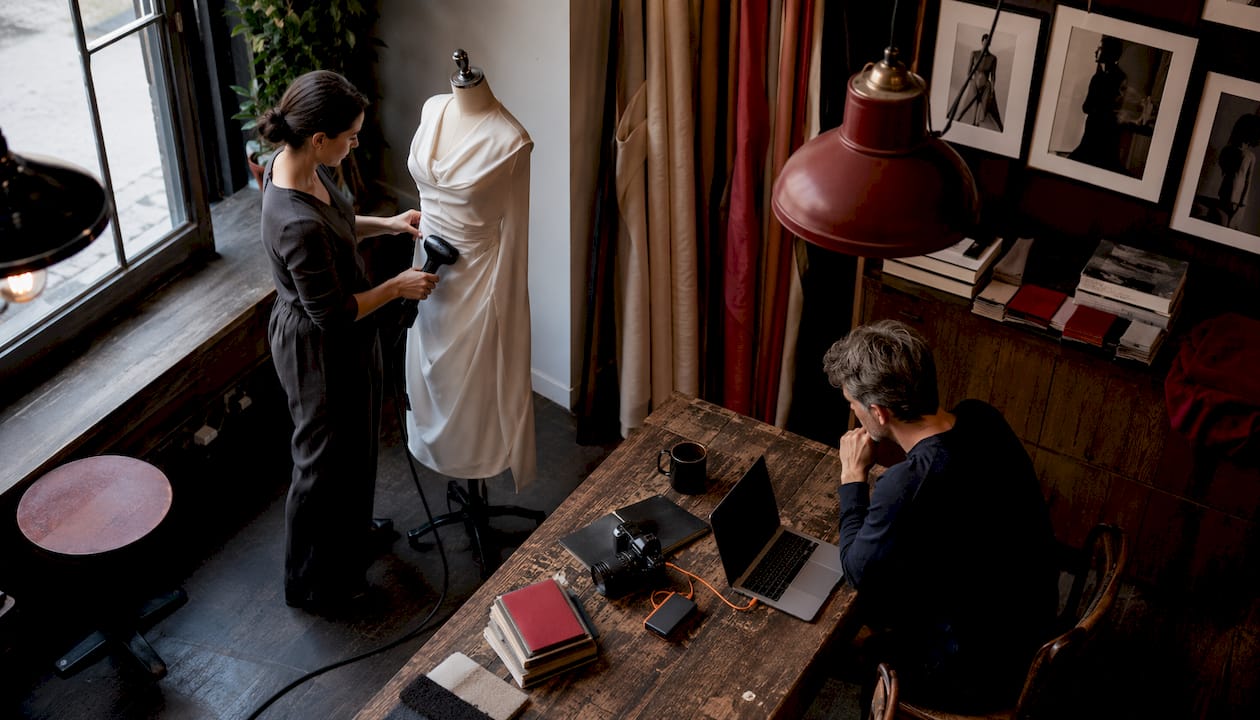
Poor garment prep is the single most common time-waster on a fashion shoot, and it shows on camera in ways that are expensive to fix in post. Wrinkles, loose threads, visible size tags, and pilling all read clearly at high resolution, and garment prep mistakes like skipping steaming or forgetting to remove labels are among the most frequently cited causes of reshoots.
On-set garment prep checklist:
- Inspect every garment under a bright light before it goes on the model
- Steam rather than iron: steam relaxes fibers without flattening texture, which matters for georgette, chiffon, linen, and crinkle cotton
- Lint-roll after steaming, not before
- Clip or hand-stitch any loose threads
- Remove all size labels, hang tags, and care labels — or tape them flat if removal risks damage
- Do a fit check on the model before calling the look ready
The correct sequence is inspect, steam, lint-roll, fit check, then pin or clip for silhouette. Skipping any step means you are solving the problem in Photoshop instead of on set, which costs far more time.
Pro Tip: Professionals prefer a vertical steamer over a flat iron for most on-set garments. Steam preserves drape and is safer for synthetic blends that can shine or even melt under an iron’s direct pressure. Pre-steam everything the night before when possible, and bring the steamer to set for touch-ups between looks.
2. Choosing the wrong fabric weight kills movement and energy
Fabric choice is a creative decision that has direct technical consequences. Heavy, stiff fabrics appear static and lifeless in outdoor or motion-focused shots. High-sheen synthetics reflect light unpredictably and can clip highlights in ways that are difficult to recover, even from RAW files.
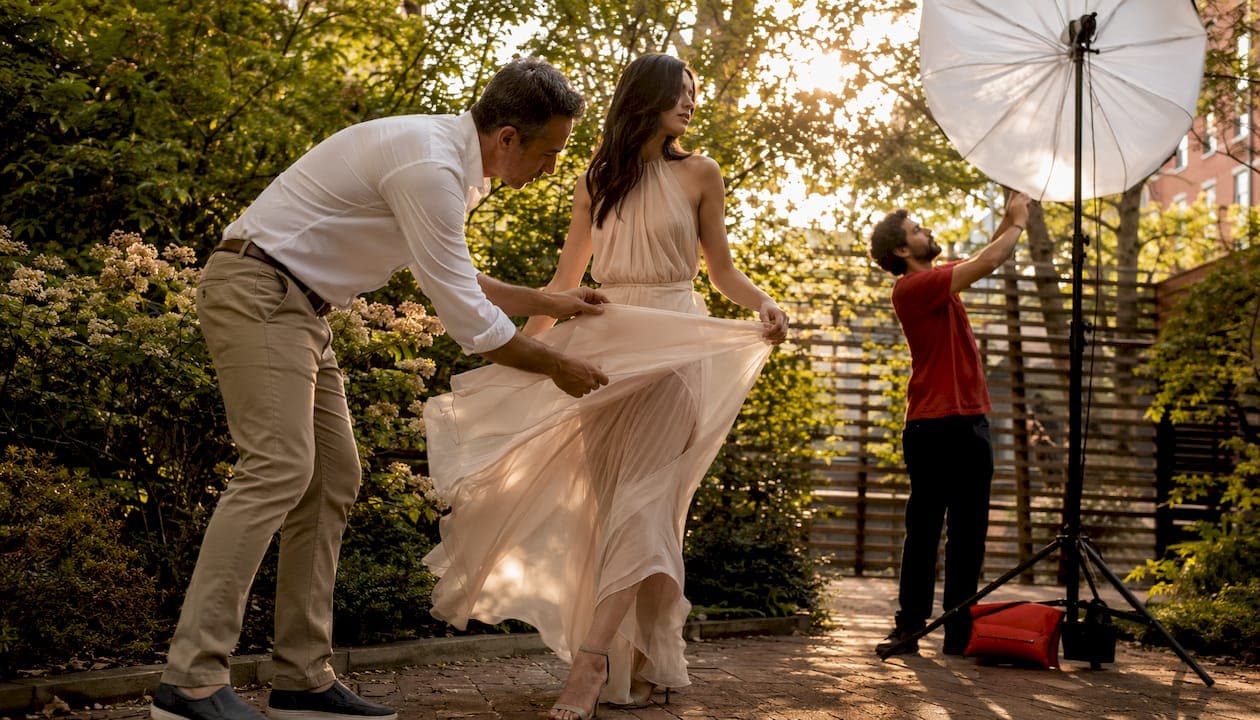
For shoots where movement is a goal, lightweight breathable fabrics like chiffon or silk produce the natural flow that reads as alive in a frame. Heavy denim, thick wool, or structured neoprene can work for editorial concepts built around stillness and architecture, but they require deliberate posing and direction to avoid looking rigid.
On-set fabric fixes:
- Run a quick line-of-action test: have the model walk toward camera and watch how the fabric responds
- Add a handheld fan or a C-stand fan at low speed to introduce movement in still air
- Lightly mist chiffon or silk with water to add weight and slow the flutter for a more controlled drape
- Swap to a lighter-weight option from your backup rack if the hero garment reads too stiff
Pro Tip: When working with high-sheen synthetics, position your key light at a wider angle to the fabric surface rather than straight on. Direct frontal light on polyester satin, for example, creates a flat, washed-out highlight that no amount of retouching fully restores.
3. Busy patterns and saturated colors create moiré and color clipping
Small repeating patterns are a production risk that most teams underestimate until they see the problem on a 100% crop. Micro-stripes, tight herringbone, and micro checks interact with digital sensors to produce a visible “visual buzz” known as moiré, and fixing it in post often destroys the fabric texture you were trying to show. The reliable approach is to test before you commit to shooting.
Overly saturated colors present a separate problem. Digital sensors have limited dynamic range, and extreme saturation can clip in a single channel, particularly with bright reds and neons in direct sunlight. Pure white in bright outdoor conditions has the same problem from the opposite direction.
Camera test steps to run immediately on set:
- Frame the garment at your intended focal length and shooting distance
- Open the aperture to your planned shooting aperture
- Check a 100% crop on the camera’s rear screen or a tethered monitor for visual buzzing
- Try a slightly different aperture or focal length to see if the pattern resolves
- If moiré persists, swap to a solid or large-scale print from the backup rack
Color guidance: prefer muted mid-tones and desaturated palettes when shooting outdoors in bright sun. Avoid neon, unchecked bright red, and pure white without exposure compensation. Large-scale prints and solids are the safest choices for consistent color rendering across a series.
Pro Tip: Tether to a laptop or monitor during the first look and zoom to 100% on the fabric. Catching moiré in the first five frames saves you from shooting an entire look you cannot deliver.
4. Poor fit and proportion change the story the image tells
Fit is not a model problem or a sample-size problem. It is a styling problem, and it is your job to fix it on set. Pulling at the seams, sagging shoulders, lost waist definition, and collapsed collar points all read clearly on camera and communicate the wrong thing about the garment.
Step-by-step on-set fit corrections:
- Do a full-length mirror check on the model before the first frame
- Identify the primary fit issue: pulling (too tight), sagging (too loose), or proportion (wrong silhouette for the frame)
- For pulling: use garment clips or binder clips at the back seam to take in excess fabric
- For sagging: use double-sided fashion tape to anchor fabric to the model’s body at key points
- For proportion: add a belt, tuck the hem, or roll a sleeve to shift the visual weight
- For collapsed structure: use a small piece of interfacing or a folded tissue to support a collar or lapel
Common fit symptoms and what they look like on camera:
- Pulling across the chest or hips: fabric distortion that reads as the wrong size
- Sagging at the shoulder seam: the garment looks borrowed, not worn
- No waist definition: the silhouette reads boxy and shapeless
- Visible undergarment lines through thin fabric: immediately distracting
Pro Tip: If a sample is two sizes off and no amount of pinning creates a clean silhouette, call for a swap. Spending forty minutes trying to make a size 2 sample work on a size 8 model is a losing battle. A clean fit on a different size reads better than a pinned compromise.
5. Accessories and undergarments finish the look or break it
Accessories and undergarments are not optional styling details. They are the difference between a look that reads finished and one that reads cheap or careless. Visible bra straps in the wrong color, panty lines through thin fabric, or jewelry that disappears at the shooting distance are all styling blunders that show up in the final image.
Pre-shoot accessories and undergarment checklist:
- Confirm bra type and color match the garment’s neckline and fabric weight
- Check for panty lines through any fabric that reads thin on camera
- Clean the soles of all shoes before they go on set
- Confirm jewelry scale is appropriate for your shooting crop: delicate pieces disappear in a three-quarter shot
- Remove or tape all visible tags, including shoe brand labels on insoles that appear in low-angle shots
- Check earring backs, necklace clasps, and ring orientations before every look
On-set quick fixes:
- Fashion tape for bra straps and neckline gaps
- Garment clips to anchor loose waistbands or gaping buttons
- A temporary hem with double-sided tape when a trouser break is too long
- Jewelry swap from the accessories kit when a piece disappears at the intended focal length
Pro Tip: Scale jewelry to your crop, not to the garment. A statement necklace that reads beautifully in a full-length shot can look overwhelming in a tight three-quarter frame. Conversely, delicate studs that work in a close-up portrait become invisible in a wide editorial frame. Confirm your shot list before finalizing accessories.
6. Lighting that flattens texture or clips color ruins fabric detail
The wrong light is one of the most cited clothing photography problems, and it compounds every other styling mistake on set. Flat frontal light removes texture from fabric. Hard direct light clips highlights on shiny surfaces. No rim or backlight means the garment loses its three-dimensional shape against the background.
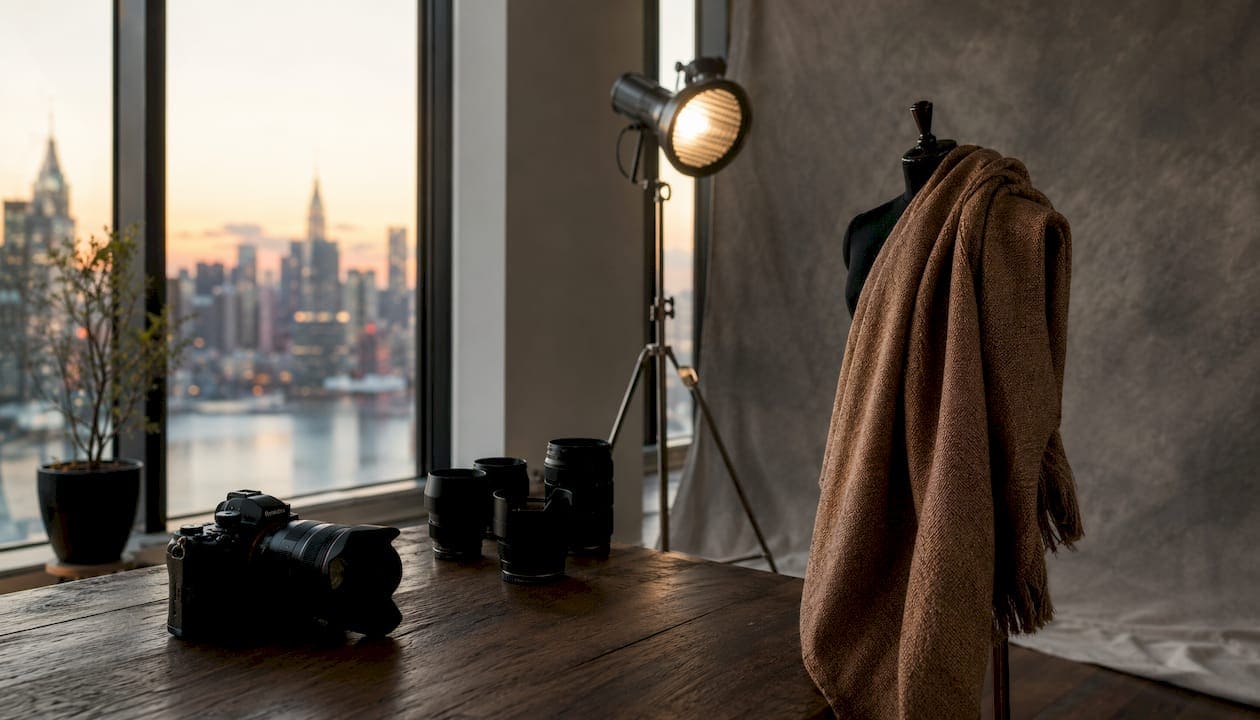
Solving lighting before you rely on retouching is the correct order of operations. Retouching can refine, but it cannot restore texture that was never captured.
| Lighting setup | Best use | Key adjustment |
|---|---|---|
| Large softbox, angled key | Matte fabrics, structured garments | Add fill card to preserve shadow detail |
| Strip light, side position | Textured knits, denim, linen | Flag the front to avoid spill on face |
| Rim or hair light | Sheer fabrics, flowing silhouettes | Reduce power to avoid blowing out edges |
| Backlight through diffusion | Chiffon, silk, translucent layers | Meter separately; watch for sensor flare |
Lighting checklist for fabric accuracy:
- Set a custom white balance at 5500K for daylight-balanced LED setups; never rely on auto white balance
- Check for hot spots on shiny fabric by shooting a test frame and reviewing at 100%
- Add a rim light to separate the garment from the background and restore three-dimensional shape
- Use a flag or black card to control reflections on high-sheen synthetics
Pro Tip: Lighting is the fastest way to improve or destroy fabric texture. A well-designed lighting setup for fashion work considers the fabric type before it considers the model’s face. Adjust for the garment first, then refine for the portrait.
7. Wrong camera settings destroy color accuracy and texture detail
Incorrect white balance and exposure are responsible for most color and texture problems that show up in post. Auto white balance drifts between frames, creating color inconsistency across a series that is time-consuming to correct in editing. The fix is straightforward: lock your settings and test before you shoot.
Camera settings checklist:
- Set a custom white balance using a gray card or white-balance card under your shoot lighting
- Use 5500K as your baseline for daylight-balanced LED setups; adjust for tungsten or mixed sources
- Shoot RAW for every look so you retain the full color and exposure latitude
- For white garments, add +2/3 to +1 stop of exposure compensation to retain texture rather than blowing out to flat white
- For black garments, pull back -1/3 to -2/3 stop to avoid a flat, textureless result
- Set your base ISO to the lowest native ISO your camera supports for maximum texture detail
On-set verification steps:
- Shoot a test frame with your intended lens and focal length before committing to a look
- Zoom to 100% on the fabric and check for texture retention and color accuracy
- Review the histogram: fabric highlights should sit below the right edge, not clipped
- Compare the test frame against your white-balance card to confirm color accuracy
Pro Tip: Save a custom camera profile for each lighting style you use regularly — daylight studio, LED panel, mixed natural light — and document the settings in your shot list. When you change looks or locations mid-shoot, you can restore accurate settings in thirty seconds instead of re-testing from scratch.
8. Posing that works against the clothing costs you the shot
Posing the clothing, not just the model, is a discipline that separates a well-directed fashion shoot from a portrait session with nice outfits. Small pose changes show or hide shape, reveal or collapse drape, and either support or undermine the garment’s silhouette.
Pose examples and their effect on garments:
- Front-facing, weight on one hip: shows the full silhouette and waist definition; works for structured pieces
- Three-quarter turn: reveals side seam and shoulder construction; good for tailored garments
- Walking toward camera: activates fabric movement and shows drape in motion
- Sleeve swirl or arm extension: demonstrates fabric weight and flow; useful for blouses and dresses
- Seated with crossed legs: can compress a skirt or trouser; check the fabric before committing
On-set direction scripts for natural movement:
- “Walk toward me slowly and stop when I call it” — produces natural mid-stride fabric movement
- “Sweep your shoulder back and hold” — opens the chest and shows lapel or neckline construction
- “Turn slowly to your left while we shoot a sequence” — captures fabric in rotation without a forced pose
- “Shake out your hands and let them fall naturally” — resets stiff arm positions between frames
Pro Tip: Non-professional models often freeze when asked to “look natural.” Give them a physical task instead of an emotional direction. “Walk to that mark and look back over your shoulder” produces genuine movement and expression. An assistant standing just outside frame, waving fabric or holding a fan, can add the motion cue the model needs without interrupting the shot.
9. Poor wardrobe logistics burn shoot time and create inconsistent galleries
Wardrobe logistics failures are quiet and expensive. Missing accessories, unlabeled looks, no backup options, and a shoot order that ignores setup changes all burn time that cannot be recovered. A one-page styling guide per look, with reference photos and notes on collar presentation, sleeve folds, and pin locations, is the single fastest way to enforce consistency across a full team.
A common client mistake: sending sample garments to the shoot instead of final production pieces. Samples often have unfinished seams, missing hardware, or fit that differs from the production run. The production lesson is simple — confirm with the client before shoot day that every garment is final production, not a prototype.
Wardrobe logistics checklist:
- Label every look with a SKU or look number on the garment bag
- Produce a one-page styling guide with reference photos for each look
- Pack two to three backup options for every hero look
- Sequence the shoot order to minimize setup changes: group looks by lighting setup, not by collection order
- Include a quick-repair kit: safety pins, double-sided tape, a needle and thread, a lint roller, and a small steamer
Shoot-day labeling system:
- Number garment bags by look (Look 01, Look 02, etc.)
- Attach a printed reference card to each bag showing the complete outfit including accessories
- Mark any pinned or clipped adjustments on the reference card so the team can replicate them
- Flag any garments that need re-steaming between looks
Pro Tip: Batching your shoot by method — all flat-lay first, then on-model — saves a half-day of cross-setup reconfiguration. Apply the same logic to lighting: shoot all looks that use the same lighting setup consecutively before striking and rebuilding.
10. Skipping post-production checks creates costly re-edits
Post-production QA is not optional on a professional fashion shoot. Skipping the check phase creates inconsistent galleries, missed garment repairs, and color drift across a series that clients notice immediately. The handoff to the retoucher should include everything they need to work without guessing.
Retoucher handoff template:
- Color reference: include a frame of the white-balance card shot under each lighting setup
- Flag frames with fabric repairs needed: loose threads, lint, or wrinkles that were not caught on set
- Note any alpha channel or masking complexity for sheer or textured fabrics
- Include continuity notes: which looks share the same background, lighting, or crop so the retoucher can match them
| QA check | What to look for | Action |
|---|---|---|
| Color match | Compare to white-balance card frame | Correct global WB before individual adjustments |
| Histogram consistency | Check that exposure matches across a series | Batch-correct in Lightroom or Capture One |
| Seam and trim inspection | Zoom to 100% on collar, cuffs, and hems | Flag for retouching or note as acceptable |
| Crop alignment | Confirm consistent framing across similar shots | Adjust in post or flag for re-crop |
Pro Tip: Build a naming convention for flagged frames so the retoucher can prioritize true garment issues over stylistic choices. A simple suffix like “_REPAIR” for fabric fixes and “_REVIEW” for creative questions keeps the workflow clean and prevents missed corrections.
How Ken Jones Photography runs shoots to avoid these mistakes
The checklist below reflects the workflow used at Ken Jones Photography’s Manhattan studio, where production discipline is built into every shoot day from the first fitting to the final image delivery.
Ken Jones Photography on-set checklist:
- Pre-shoot: confirm all garments are final production, not samples; steam and lint-roll the night before
- Camera: set custom white balance, shoot RAW, test exposure for white and black garments before the first look
- Lighting: check for hot spots on shiny fabric, add rim light for separation, flag reflections
- Posing: direct movement with physical cues, not emotional direction; use a fan or assistant for fabric motion
- Continuity: one-page styling guide per look, labeled garment bags, backup options on rack
- Post-shoot handoff: color reference frame, flagged repair frames, continuity notes for retoucher
A real example from a recent NYC editorial: the client sent four looks to the studio, two of which were pre-production samples with unfinished seams and missing buttons. The shot list had been built around those looks. Rather than shooting around the problem, the team paused, identified the two final-production pieces, rebuilt the shot order around those, and used the sample looks only for behind-the-scenes reference frames. The client received a consistent, deliverable gallery instead of a mixed set of finished and unfinished garments.
Preparation is not a luxury on a fashion shoot. It is the difference between a gallery you can deliver and a day you have to repeat. Every minute spent steaming, labeling, and testing camera settings before the first frame saves ten minutes of retouching and avoids the conversation about reshoots.
Studio tips from Ken Jones Photography:
- Fittings happen before shoot day, not on it
- The steamer stays on and accessible throughout the shoot
- Backup looks are always on a separate rack, labeled and ready
- The shot order is built around lighting setups, not collection sequence
Pro Tip: A well-planned shot list is the most underused tool in fashion photography. It is not just a sequence of images — it is a production document that controls setup time, garment order, and crew efficiency. Build it before shoot day and share it with every person on set.
How weather and environment affect clothing on location
Outdoor and location shoots introduce variables that no amount of studio prep fully eliminates. Wind, humidity, direct sunlight, and uneven surfaces all affect how clothing looks and behaves on camera.
Wind is the most common disruptor. It can create beautiful fabric movement or it can flip a collar, flatten a structured shoulder, or push a skirt in the wrong direction at the wrong moment. The fix is to work with the wind direction rather than against it: position the model so the wind moves fabric away from the body and toward camera, which creates the most flattering drape.
Humidity affects fabric weight and behavior. In high humidity, lightweight fabrics like chiffon absorb moisture and lose their float. Linen wrinkles faster. Structured garments can soften and lose their shape. Bring a portable steamer to location shoots and plan for touch-ups between every two or three looks.
Direct sunlight creates harsh shadows on structured garments and clips highlights on white or light-colored fabric. Shooting in open shade or using a scrim to diffuse direct sun gives you the soft, even light that shows fabric texture without blowing out highlights. If you are shooting in full sun by choice, adjust exposure compensation and check your histogram after every look change.
Cold weather stiffens fabric and can make a flowing dress read as a rigid panel. Warm the garments before they go on the model, and keep looks covered until the moment before shooting to preserve their intended drape.
How to fix unexpected wardrobe malfunctions quickly on set
Wardrobe malfunctions happen on every shoot. A button pops, a zipper sticks, a hem drops, a strap breaks. The difference between a professional set and an amateur one is how fast the team recovers.
The most useful tool on set is a well-stocked repair kit. Pack safety pins in multiple sizes, double-sided fashion tape, a needle and thread in neutral colors, small binder clips, a lint roller, and a small pair of scissors. Keep it within arm’s reach of the styling station, not buried in a bag across the room.
For a broken zipper, a safety pin at the top of the zipper pull holds the look together for the duration of the shot. For a dropped hem, double-sided tape is faster than a needle and thread and holds cleanly for the camera. For a popped button, a safety pin on the inside of the placket is invisible from the front and takes thirty seconds to place.
The most important habit is to check the garment after every adjustment. A fix that works standing still may shift when the model moves. Have the model walk two steps and turn before you call the look ready. That thirty-second check prevents a frame-by-frame discovery in post that the fix did not hold.
Why creative direction and a shot list prevent most styling errors
Most common photography styling errors trace back to a planning failure, not a styling failure. When the creative direction is vague, the stylist makes guesses. When there is no shot list, the photographer and stylist are solving different problems at the same time. The result is a shoot that runs long, produces inconsistent images, and requires expensive reshoots.
A fashion editorial shot list is the document that aligns the entire team before anyone touches a garment. It specifies the look number, the garment description, the intended crop, the lighting setup, the background, and the pose reference. When every person on set is working from the same document, styling decisions are made in advance rather than improvised under pressure.
Creative direction should be specific enough to make styling choices obvious. “Editorial, moody, dark tones” is not creative direction. “Black structured blazer, wide-leg trousers, minimal jewelry, three-quarter crop against a gray seamless, side lighting to show shoulder construction” is creative direction. The more specific the brief, the fewer styling mistakes reach the camera.
Build the shot list before shoot day and share it with the stylist, the model, the hair and makeup team, and any assistants. Review it together at the start of the day. When everyone understands the sequence and the intent, the shoot runs faster and the images are more consistent.
How to coordinate outfits across multiple models without clashing
Multi-model shoots introduce a coordination problem that single-model shoots do not have: the looks must work individually and together in the same frame. Clashing colors, mismatched formality levels, and competing silhouettes all create visual noise that pulls attention away from the garments.
The most reliable approach is to build a color palette for the shoot before any garments are selected. Choose two or three anchor colors and allow variations within that range. If one model wears a warm terracotta, the second should wear a complementary tone, not a competing one. Avoid placing two models in the same color unless the concept specifically calls for it, because identical colors flatten the visual separation between figures.
Formality level matters as much as color. Mixing a structured blazer with a casual sundress in the same frame creates a disconnect that reads as a styling error, not an editorial choice, unless the concept is built around contrast. Match the formality register across all models in a shared frame.
Silhouette coordination prevents visual crowding. If one model wears a voluminous skirt, the second should wear something more fitted to create contrast and visual balance. Two voluminous silhouettes in the same frame compete for space and can make the image feel chaotic.
Review all looks together on a rack before shoot day. Photograph the rack and share it with the creative director for approval. Catching a coordination problem on a hanger is far less expensive than catching it in a frame.
Key Takeaways
Avoiding common fashion shoot styling mistakes comes down to preparation, testing, and a production workflow that catches problems before they reach the camera.
| Point | Details |
|---|---|
| Steam, don’t iron | Steam preserves fabric texture and drape; use a vertical steamer on set for touch-ups between every look. |
| Lock white balance at 5500K | Custom white balance at 5500K for LED setups prevents color drift across a series; always shoot RAW. |
| Test patterns before committing | Check micro-patterns at 100% crop for moiré before shooting a full look; swap to solids if the buzz persists. |
| One-page styling guide per look | A reference card with photos and notes on collar, sleeve, and pin placement enforces consistency across the full team. |
| Ken Jones Photography production support | Ken Jones Photography’s Manhattan studio runs fittings, steaming, backup looks, and retoucher handoffs as standard production practice. |
Pro Tip: Pack a compact on-set repair kit for every shoot: safety pins in three sizes, double-sided fashion tape, a lint roller, a needle and thread in neutral colors, and a small steamer. This kit resolves the majority of wardrobe malfunctions in under two minutes.
What thirty years of NYC shoots taught me about styling mistakes
The conventional wisdom is that styling mistakes are a stylist’s problem. After decades of fashion and commercial work in New York City, the more accurate view is that they are a production problem — and the photographer owns the outcome.
The most expensive mistake I see repeatedly is teams that treat garment prep as someone else’s job. On a well-run shoot, the photographer checks the garment before the first frame, not after. If the collar is wrong, the lighting is wrong, or the fit is off, the image is already compromised. Retouching cannot fix what was never captured correctly.
The judgment call that separates a tight production from a costly one is knowing when to stop trying to fix a look and swap to a backup. A pinned, clipped, and taped garment that still does not read correctly after five minutes of adjustments is a garment that will not deliver. Call for the backup, reset, and move forward. The shoot day has a fixed number of hours, and spending them on a losing look is a decision that affects every image that follows.
Ken Jones Photography: production support for fashion shoots in NYC
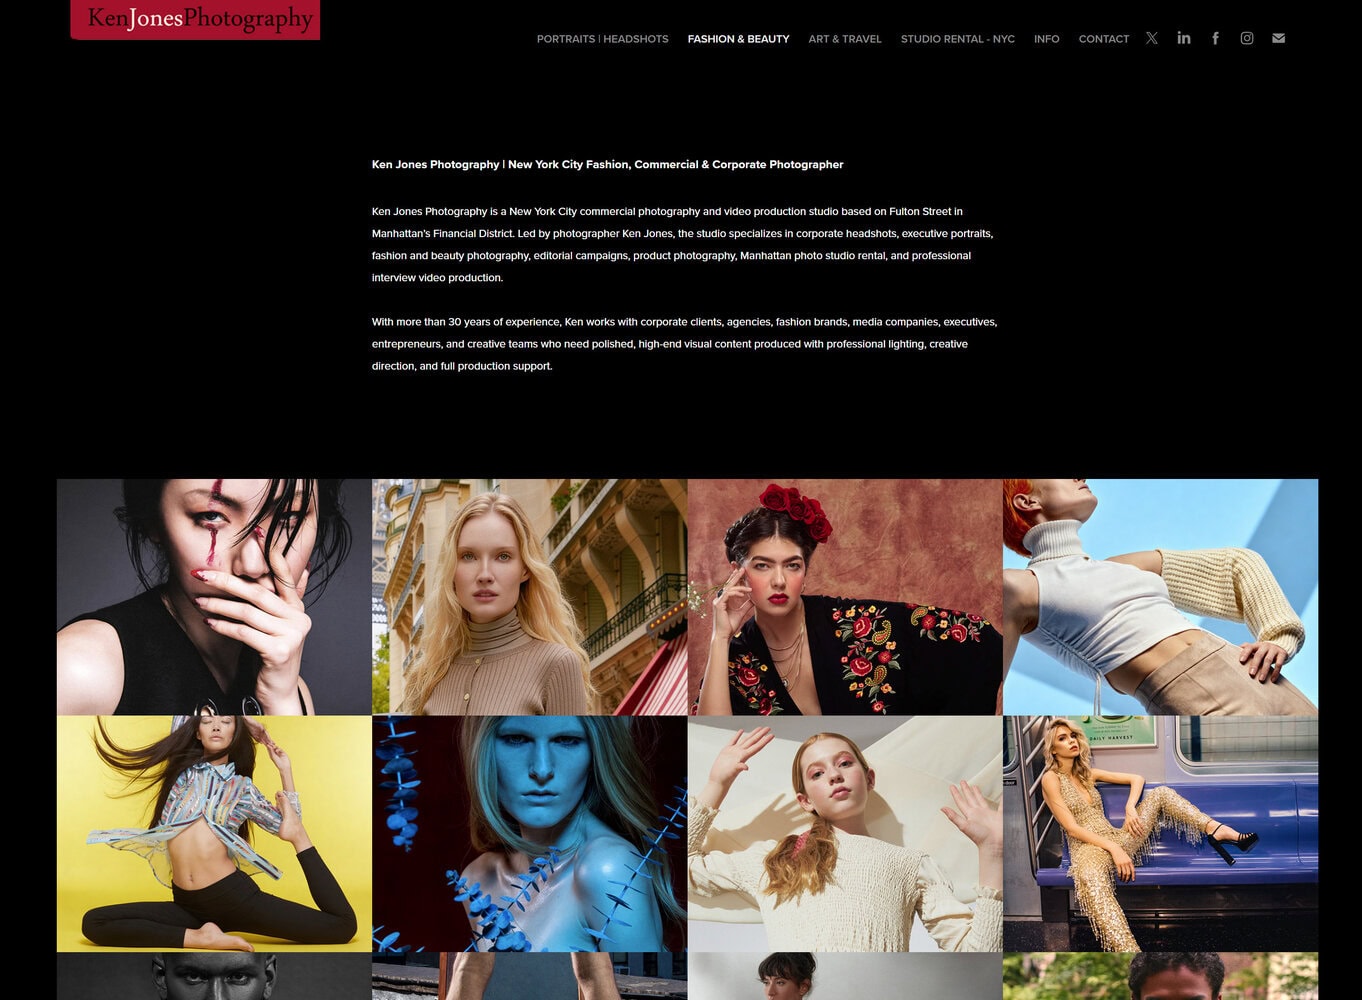
Ken Jones Photography runs tight, consistent production days in Manhattan’s Financial District, with full-service support that addresses the exact mistakes covered in this article. The studio’s fashion photography portfolio reflects a production approach built around preparation: fittings before shoot day, on-set steaming and repair kits, custom white-balance profiles per lighting setup, and a structured retoucher handoff with color references and flagged frames.
For teams that need space, equipment, and production support without assembling a full crew independently, the FultonStudio rental in Lower Manhattan offers a fully equipped studio with lighting, a styling station, and production management available on request. Whether you are planning a designer lookbook, a multi-model editorial, or a commercial campaign, the studio is set up to run the kind of day where styling problems get solved before they reach the camera.
Contact Ken Jones Photography at kenjonesnyc.com to discuss your next production.
Useful sources and further reading
External references used in this article:
- How To Prepare Garments For An E-commerce Model Photoshoot — garment prep, steaming vs. ironing, and common prep mistakes
- How to Pick Outfits for Photoshoots: A Stylist’s Guide — moiré, pattern selection, and color guidance
- Summer Photoshoots Common Styling Mistakes — fabric movement, outdoor styling, and weather factors
- Apparel Product Photography Guide — white balance, exposure compensation, styling guides, and shoot batching
- Clothing Photography Mistakes That Ruin Your Fashion Shots — lighting, prep, and post-production QA
Ken Jones Photography internal resources:
- How to Plan a Fashion Editorial Shoot — shot list workflow and creative direction
- Why Lighting Defines Fashion Photography Results — lighting setups and fabric rendering
- Fashion Campaign Shot List Guide — sequencing, batching, and production templates
- How a Fashion Photography Shoot Works — full production process from prep to delivery
FAQ
What are the most common fashion shoot styling mistakes?
The most frequent styling blunders in photography are poor garment prep (wrinkles, visible tags, pilling), wrong fabric weight for the shoot’s movement goals, small repeating patterns that cause moiré, and incorrect white balance that creates color drift across a series. Fixing these before the first frame is shot eliminates the majority of retouching problems.
What is the 3-3-3 rule in fashion?
The 3-3-3 rule is a styling guideline suggesting no more than three colors, three patterns, and three accessories in a single outfit. On a fashion shoot, it helps stylists avoid visual noise that competes with the garment being featured and keeps the image readable at a glance.
What is the 80/20 rule in photography?
Strong images come mostly from preparation — lighting, styling, garment prep, and creative direction — while post-production contributes less. This is why experienced photographers invest heavily in the pre-shoot workflow rather than relying on retouching to fix avoidable mistakes.
What is the 70/30 rule in fashion?
Fashion styling often balances a look with a dominant element and a contrasting or complementary accent. On a multi-model shoot, applying this principle across all looks keeps the group cohesive without making every outfit identical.
How do you avoid moiré in fashion photography?
Test the garment at your intended focal length and aperture before committing to a full look. If a micro-pattern creates visual buzzing at 100% crop, try a slightly different aperture or focal length; if the moiré persists, swap to a solid or large-scale print, because moiré is often impossible to fully remove in post without damaging fabric texture.