

TL;DR:
- Effective beauty posing begins with proper body mechanics, including angling the body 30 to 45 degrees away from the camera to create depth and slimness. Relaxed hands with purpose, subtle movement, and precise head and chin positioning enhance natural, confident expressions, while avoiding stiff poses and tension is essential for authentic results. Successful portraits rely more on timing, relaxation, and confidence than on perfect shapes, making awareness and mindful adjustments crucial throughout the session.
Posing for beauty shots is the art of using body angles, facial expressions, and hand placements to highlight your best features and produce images that feel both polished and authentic. In professional beauty photography, the industry term is directed posing, and it covers everything from how you distribute your weight to the millimeter-level tilt of your chin. Whether you are a working model, an influencer building a content library, or someone stepping in front of a camera for the first time, this guide to posing for beauty shots gives you the practical tools to look confident, natural, and camera-ready from the first frame.
What are the foundational posing techniques for beauty shots?
Directed posing for beauty portraits starts with body mechanics, not facial expression. The face follows the body. Get the body right first, and the rest becomes easier.

The single most effective structural adjustment is shifting your weight onto your back leg. Angling the body 30 to 45 degrees away from the camera, with the face turned back toward the lens, creates a slimming silhouette and adds dimension that a flat, square-on stance never produces. Photography is a 2D medium, and angled positioning is what restores depth to a flat image.
From there, work through these foundational steps in order:
- Shift your weight. Place your weight on your back foot and let the front leg relax slightly. This creates a natural hip angle without forcing it.
- Open your arms. Bent elbows and slight arm separation from the torso slim the silhouette. Pressing arms flat against the body widens it.
- Soften your shoulders. Drop them down and back. Raised shoulders read as tension on camera, even when you feel relaxed.
- Position your chin. Extend the chin slightly forward and tilt it just a few degrees down. This defines the jawline and reduces shadows that create the appearance of a double chin.
- Relax your jaw. Part your lips slightly and breathe through your mouth. A clenched jaw tightens the entire face.
- Check your hands. Fingers should be slightly separated and softly curved, not pressed together or balled up.
Common mistakes that undercut otherwise solid poses include slouching, pressing arms flat against the body, and ignoring hand placement entirely. These three errors appear in the majority of amateur beauty shots and are completely correctable with awareness.
Pro Tip: Before the photographer takes a single frame, take one full breath, exhale slowly, and let your shoulders drop on the exhale. This single habit removes more visible tension from photos than any pose adjustment.
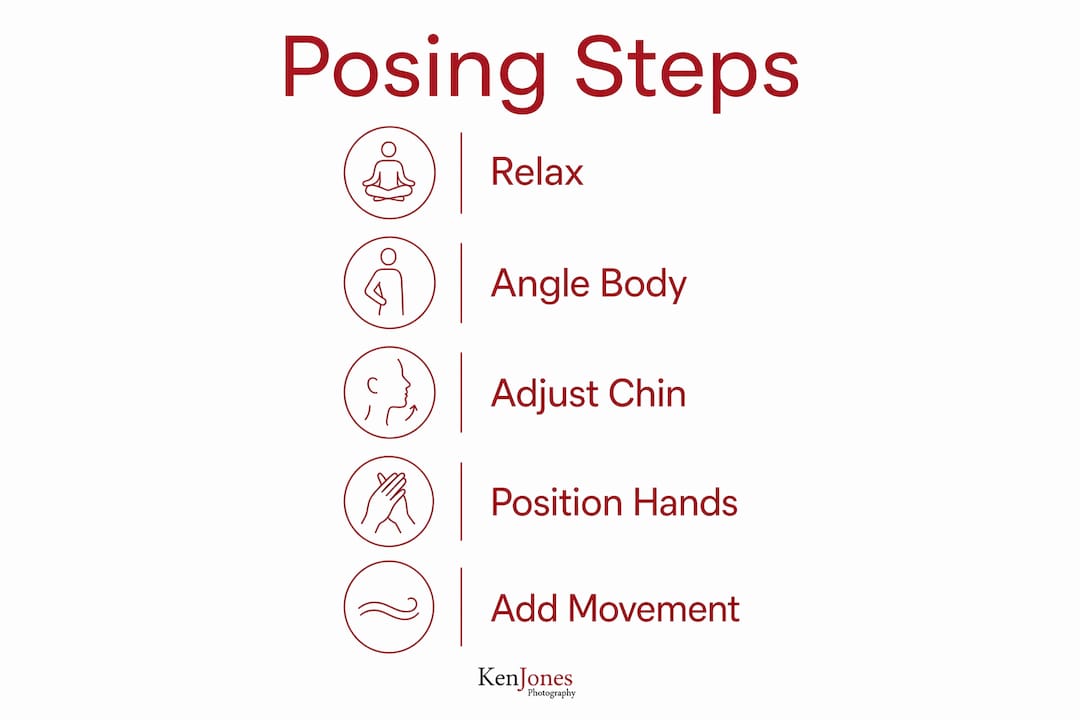
The goal at this stage is not perfection. It is a neutral, relaxed baseline from which you can make small, precise adjustments. Think of it as setting up a clean canvas before adding detail.
How can movement and micro-adjustments improve your beauty shot poses?
Stillness is the enemy of natural beauty portraits. The most common mistake non-models make is freezing the moment the camera comes up. The result is a stiff, self-conscious image that no amount of retouching fully fixes.
The solution is a movement-first methodology: start with physical action, then let the pose emerge from the transition. Before the shoot begins, walk around the set, do a few shoulder rolls, and shake out your arms. This is not warm-up theater. It resets your nervous system and gets your body out of its defensive, held posture.
During the shoot itself, the best frames often come from the moments between poses. A photographer who shoots during transitions captures expressions that feel genuine because they are. The subject is not performing a pose. They are moving through one.
Micro-adjustments are the refinements that separate a good beauty shot from a great one:
- Chin millimeter tweaks. After anchoring the head position, micro-adjustments to the chin of just a few millimeters translate to significant differences in jawline definition and shadow placement.
- The squinch. Slightly squinting the lower eyelid while keeping the upper lid relaxed creates a confident, engaged look. It is the difference between wide-eyed and uncertain versus focused and present.
- Soft smize. Engaging the eyes without a full smile produces warmth without the forced quality of a commanded grin.
- Hand drift. Let your hands drift naturally to your collarbone, jaw, or hair rather than holding them in a fixed position. Movement in the hands keeps the whole image alive.
- Weight micro-shifts. Subtly shifting weight from one hip to the other between frames gives the photographer variety without requiring a full pose reset.
Pro Tip: Ask your photographer to give you one instruction at a time. Processing multiple simultaneous cues causes visible hesitation on camera. One clear action produces a cleaner, more confident result.
The practical takeaway is this: posing confidence comes from timing and relaxation, not from memorizing shapes. When you stop trying to hold a perfect pose and start responding to single, clear prompts, the images improve immediately.
What are the best hand and arm positions for beauty photography?
Hands are the most difficult part of the body to pose well, and the most frequently neglected. In beauty portraits, awkward hands pull focus from the face and signal discomfort to the viewer even when they cannot articulate why.
The foundational rule is to give your hands a job. An idle hand with no purpose almost always looks stiff or unnatural. A hand with a task looks intentional. Here are the positions that work consistently in beauty photography:
- Rest on the hip. Place one hand lightly on the hip with the elbow angled back. This creates negative space between the arm and torso, which slims the silhouette and adds structure to the frame.
- Graze the collarbone or décolletage. Let fingertips rest lightly on the collarbone. Keep fingers relaxed and slightly separated, as if you are holding something delicate. This draws the eye upward toward the face.
- Frame the jaw or cheek. Cup the jaw lightly or let the back of the hand rest against the cheek. This is a classic beauty portrait gesture that frames the face without covering it.
- Touch the hair. Running fingers lightly through the hair or holding a strand creates movement and a casual, editorial quality.
- Hold a prop. A small prop such as a flower, a piece of fabric, or a piece of jewelry gives the hands purpose and the subject something to focus on beyond the camera.
The critical technical point: never press your arms flat against your body. Bent elbows and arm separation create a slimmer, more dynamic silhouette. When an arm is pressed against the torso, it compresses and widens. Even a small gap changes the entire shape of the image.
Keep fingers softly curved and slightly separated at all times. Pressed-together fingers look tense. Spread fingers look dramatic in the wrong way. The middle ground, a relaxed, natural curve, reads as effortless on camera.
For clients who are not experienced models, using the environment to anchor the hands works well. Leaning against a wall with one hand resting on the surface, or sitting with hands loosely in the lap, removes the need to actively manage hand position and lets the subject focus on expression instead.
How do facial expressions and head positioning impact beauty shots?
The face is the subject of a beauty portrait, which means head angle and expression carry more weight here than in any other photography genre. A technically perfect body pose with a flat or unflattering head angle produces a mediocre image. The reverse, a compelling expression with a slightly awkward body, can still produce a strong shot.
The following table compares the most common head positions and their visual effects:
| Head position | Visual effect |
|---|---|
| Full face, straight to camera | Flat, wide appearance; works only with strong symmetry |
| Slight turn left or right (15 to 20 degrees) | Creates dimension, emphasizes cheekbones, reduces perceived width |
| Chin forward and slightly down | Defines jawline, eliminates double chin shadows, lengthens neck |
| Chin up | Elongates neck but can expose nostrils; use sparingly |
| Head tilt (ear toward shoulder) | Adds softness and approachability; effective for lifestyle beauty |
| Three-quarter angle | The most universally flattering position for most face shapes |
Precise verbal cues using “tilt” for up and down movement and “turn” for left and right rotation give subjects clear, actionable direction. Mixing these terms causes confusion and produces the exact wrinkles and double chin shadows you are trying to avoid.
Camera height also shapes perceived features significantly. A lens positioned slightly above eye level softens the jawline and slims the face. A lens at or below eye level emphasizes the forehead and can make the face appear heavier. For beauty portraits, a camera positioned just above eye level is the standard starting point.
Expressions in beauty photography fall into three practical categories: the neutral gaze (direct, confident, no smile), the soft smile (lips slightly parted, eyes engaged), and the full smile (teeth visible, eyes crinkled). Each serves a different mood and client brief. The most common mistake is forcing a full smile when the brief calls for editorial cool. Use mood prompts rather than commands. “Think about something you are genuinely proud of” produces a more authentic expression than “smile.”
Gestures around the face, such as cupping the jaw, grazing the temple, or letting fingers rest near the lips, frame the features and draw the viewer’s eye exactly where you want it. These gestures also give the subject something to do, which reduces self-consciousness and produces more natural expressions.
What are common posing mistakes and how can you fix them on set?
Recognizing a posing problem quickly and correcting it without disrupting the subject’s confidence is a skill that separates experienced photographers and prepared subjects from everyone else. Here are the most common issues and their direct fixes:
- Stiff, frozen posture. The fix is movement. Ask the subject to walk toward the camera, stop, and look up. Shoot during the stop. The body retains the energy of the walk and the pose looks natural rather than held.
- Awkward hands. Assign a specific task immediately. “Rest your right hand lightly on your collarbone” is more effective than “relax your hands.” Specificity removes guesswork and the tension that comes with it.
- Shoulders too high. Ask the subject to take a breath and drop the shoulders on the exhale. Repeat before each new setup. High shoulders are almost always a stress response, not a deliberate choice.
- Double chin shadow. Extend the chin slightly forward and tilt it a few degrees down. This is counterintuitive because it feels like you are creating a double chin, but the forward extension actually lengthens the neck and eliminates the shadow.
- Fake or forced smile. Stop using the word “smile” as a direction. Use a mood prompt instead. Ask the subject to think of a specific person or moment. The resulting expression will be genuine and far more compelling on camera.
- Flat, square-on stance. Redirect the body to a 30 to 45 degree angle immediately. This single adjustment adds more dimension to a beauty portrait than almost any other change you can make.
Using the environment to support the pose is an underused troubleshooting tool. A subject who is struggling with where to put their hands instantly looks more natural when they have a wall to lean against, a chair back to rest a hand on, or a surface to sit on. The environment provides structure that the subject does not have to manufacture themselves.
Key takeaways
Successful beauty shot posing requires intentional body angles, precise chin positioning, and relaxed hands working together to produce images that feel natural and flattering.
| Point | Details |
|---|---|
| Angle the body, not just the face | Position the body 30 to 45 degrees from the camera to add dimension and slim the silhouette. |
| Chin forward and slightly down | This single adjustment defines the jawline and eliminates double chin shadows in most subjects. |
| Give hands a purpose | Assign a specific gesture or prop to remove tension and make hand placement look intentional. |
| Use movement to reset stiffness | Start with physical action before each setup to produce more authentic expressions and natural poses. |
| One cue at a time | Giving a single clear direction produces cleaner, more confident results than multiple simultaneous instructions. |
What 30 years behind the camera taught me about posing
I have photographed beauty portraits in Manhattan studios, on rooftops in the Meatpacking District, and on location from Paris to São Paulo. The subjects have ranged from seasoned editorial models to first-time clients who had never stood in front of a professional light before. The single consistent truth across all of them is this: the pose is never the problem. The tension is the problem.
I had a client a few years ago, a corporate executive who had booked a beauty portrait session for a rebranding campaign. She was accomplished, articulate, and completely frozen the moment the strobe fired. Every frame in the first ten minutes showed a woman who looked like she was waiting for a medical procedure. We stopped. I asked her to walk from one side of the set to the other, look back at me over her shoulder, and just breathe. We shot during the walk. The third frame from that sequence became the hero image for her entire campaign.
What changed was not her knowledge of posing. It was her relationship with the camera. Once she stopped trying to perform a pose and started just moving through the space, her body found its own natural angles. My job shifted from directing shapes to capturing the moments between them.
The posing tips in this guide are real and they work. But the deeper truth is that posing success depends on timing and confidence, not on executing a perfect technical shape. Learn the mechanics, practice the chin and shoulder adjustments, understand what your hands should be doing. Then let go of the checklist and trust the process. The best beauty portraits I have ever made came from subjects who stopped thinking about posing and started simply being present in the frame.
For anyone preparing for a beauty shoot, I also recommend reading through beauty photography lighting and retouching before your session. Understanding how light interacts with your features gives you context for why certain chin and head adjustments matter so much.
— Ken
Work with Ken Jones Photography on your next beauty session
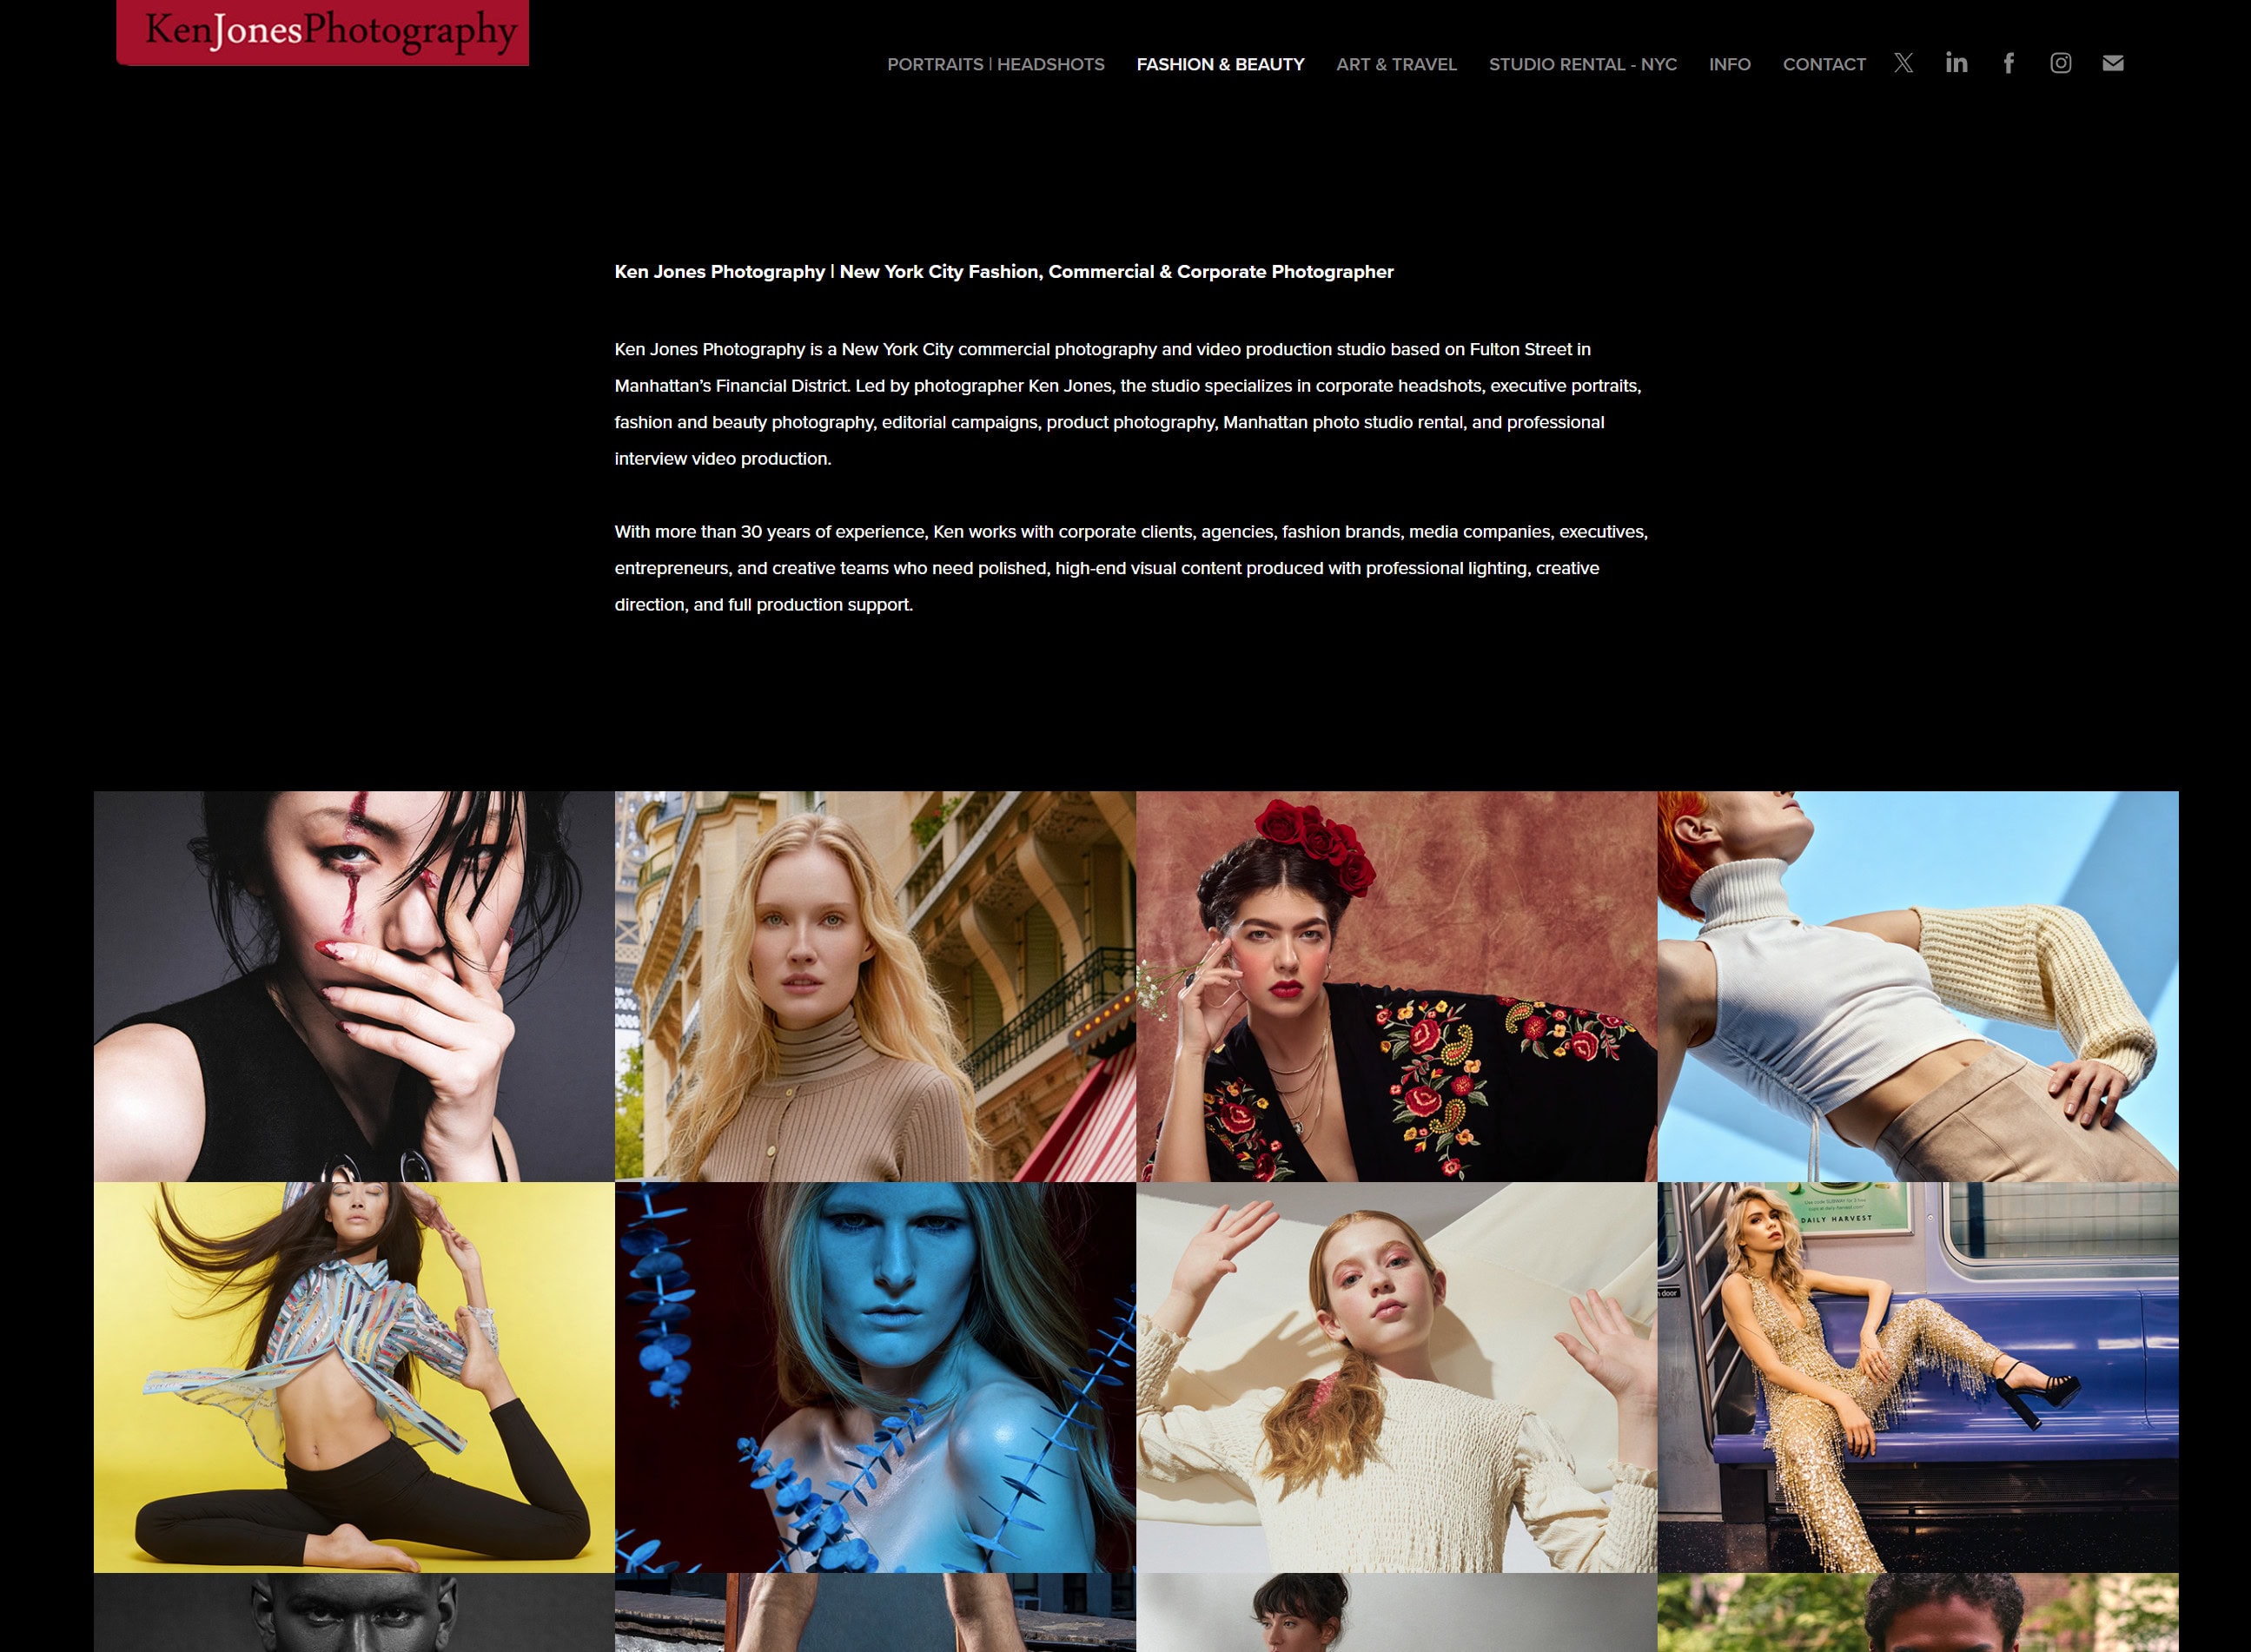
Kenjonesnyc has spent over 30 years directing beauty, fashion, and commercial portrait sessions from its studio in Manhattan’s Financial District. Every session includes hands-on posing direction tailored to your face shape, body type, and the specific visual brief you are working toward. You do not need prior modeling experience. You need a photographer who knows how to draw out your best work through clear communication and a relaxed, professional environment. Browse the Beauty by Bora editorial and the Fur and Lace campaign to see what directed beauty posing looks like at the highest level, then reach out to book your session at kenjonesnyc.com.
FAQ
What is the most flattering body angle for beauty shots?
Angling the body 30 to 45 degrees away from the camera with the face turned back toward the lens is the most universally flattering position. It adds dimension and slims the silhouette compared to facing the camera directly.
How do I avoid a double chin in photos?
Extend your chin slightly forward and tilt it a few degrees downward rather than pulling it back. Camera positioned slightly above eye level further softens the jawline and reduces the shadow that creates the double chin appearance.
What should I do with my hands during a beauty portrait?
Assign your hands a specific task such as resting lightly on the collarbone, framing the jaw, or holding a small prop. Idle hands with no purpose almost always appear tense or awkward on camera.
How do I look natural if I am not a professional model?
Start with movement before each setup. Walk, do shoulder rolls, and shake out your arms to release nervous energy. The best frames often come from the transitions between poses rather than from holding a static position.
Does camera height affect how my face looks in beauty shots?
A camera positioned slightly above eye level softens facial features and slims the face. A camera at or below eye level emphasizes the forehead and can make the face appear wider. For most beauty portrait sessions, slightly above eye level is the standard starting point.